 Save to Pinterest
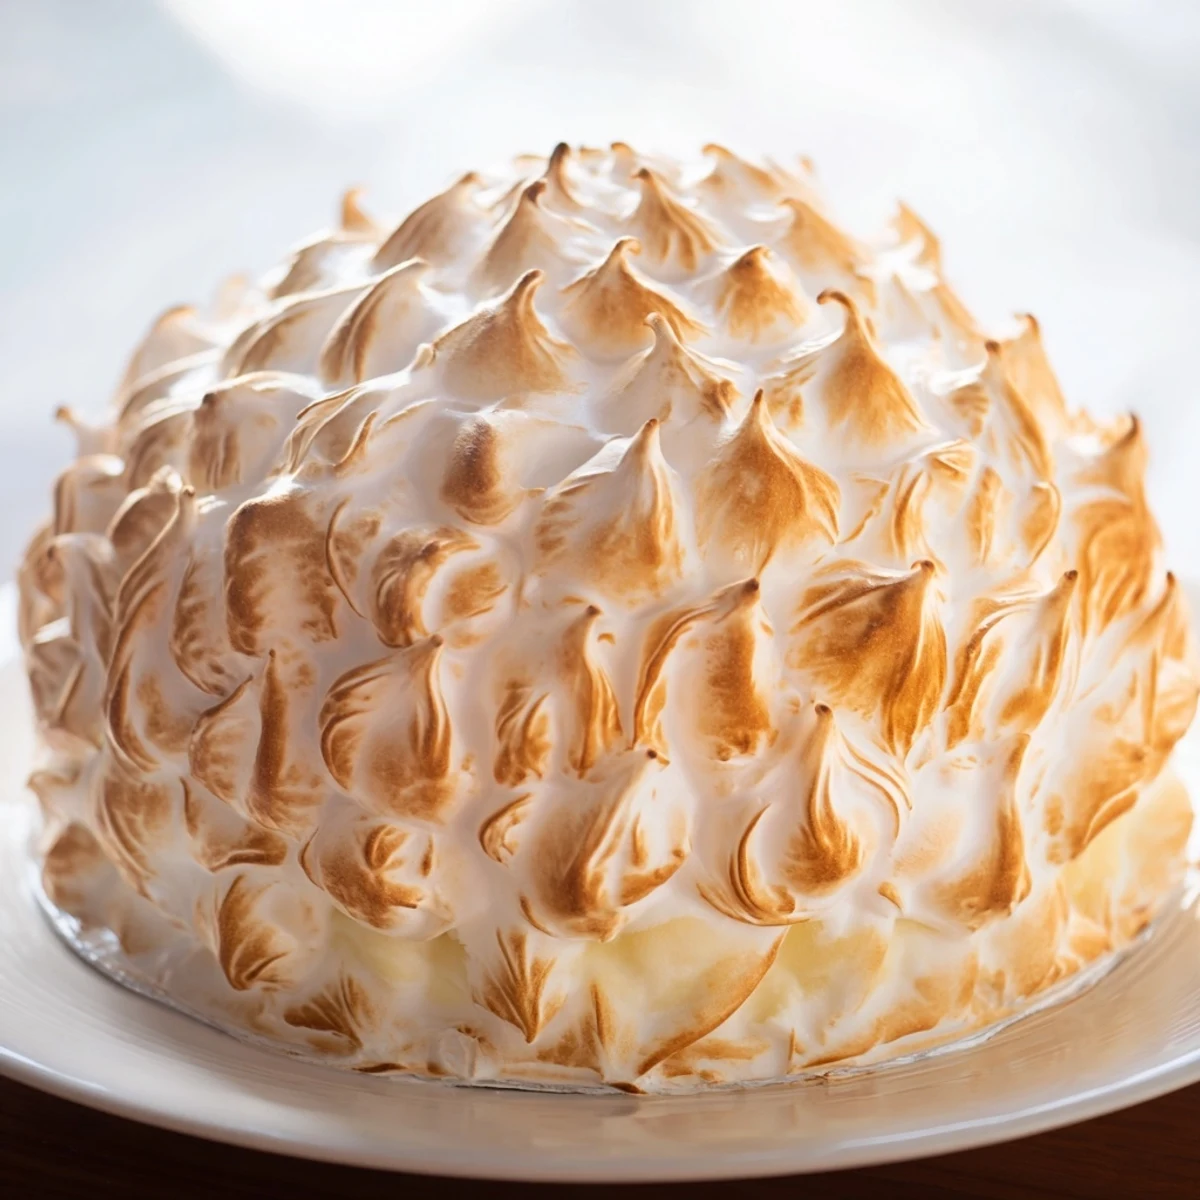
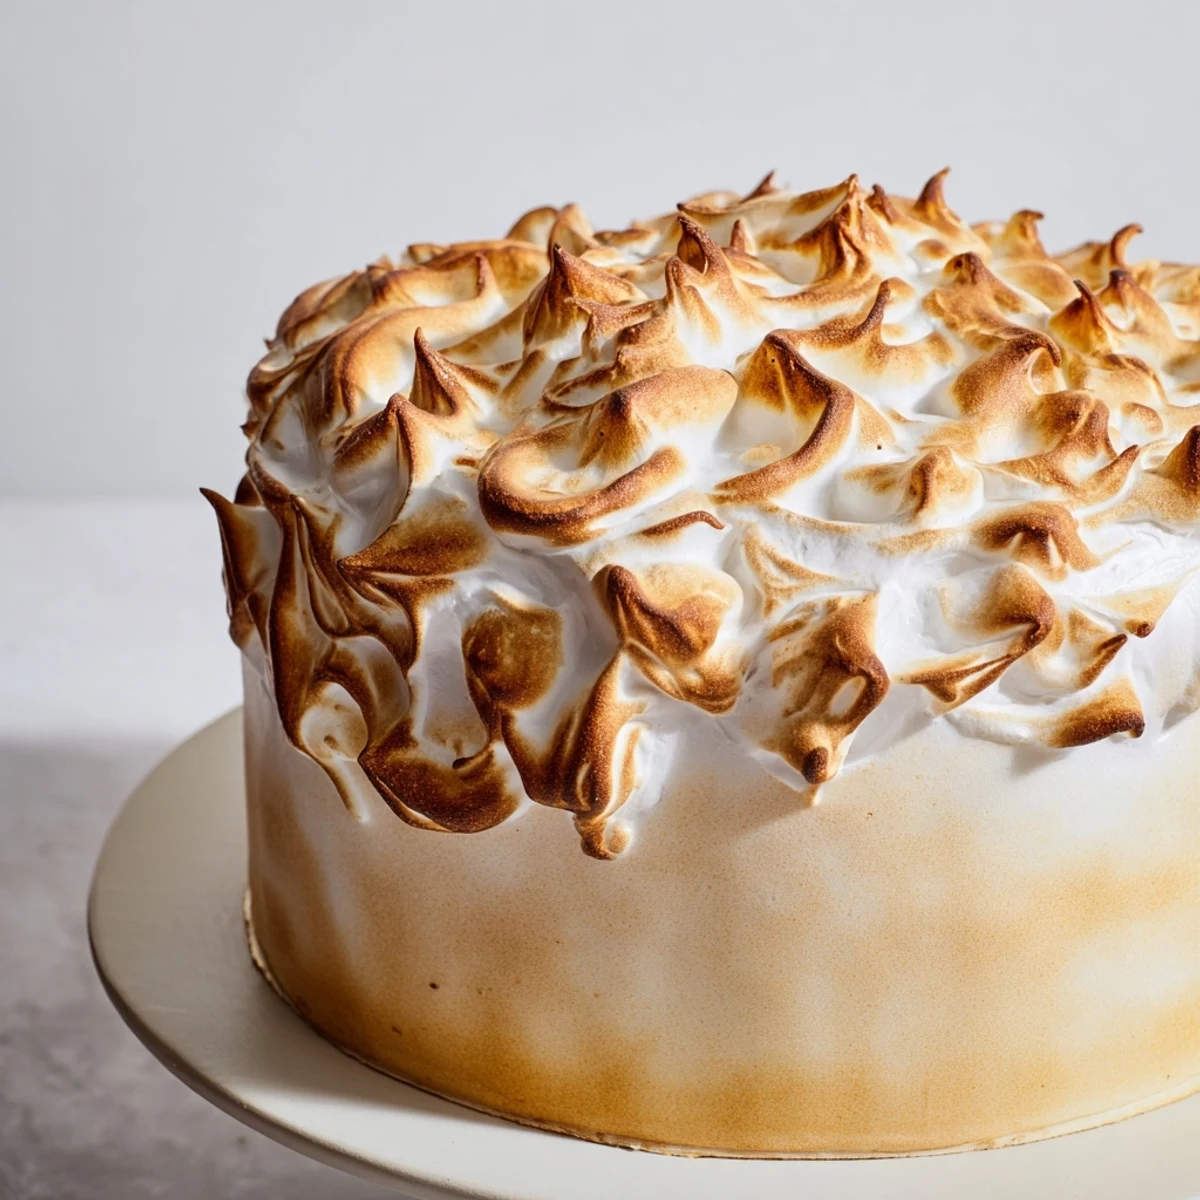
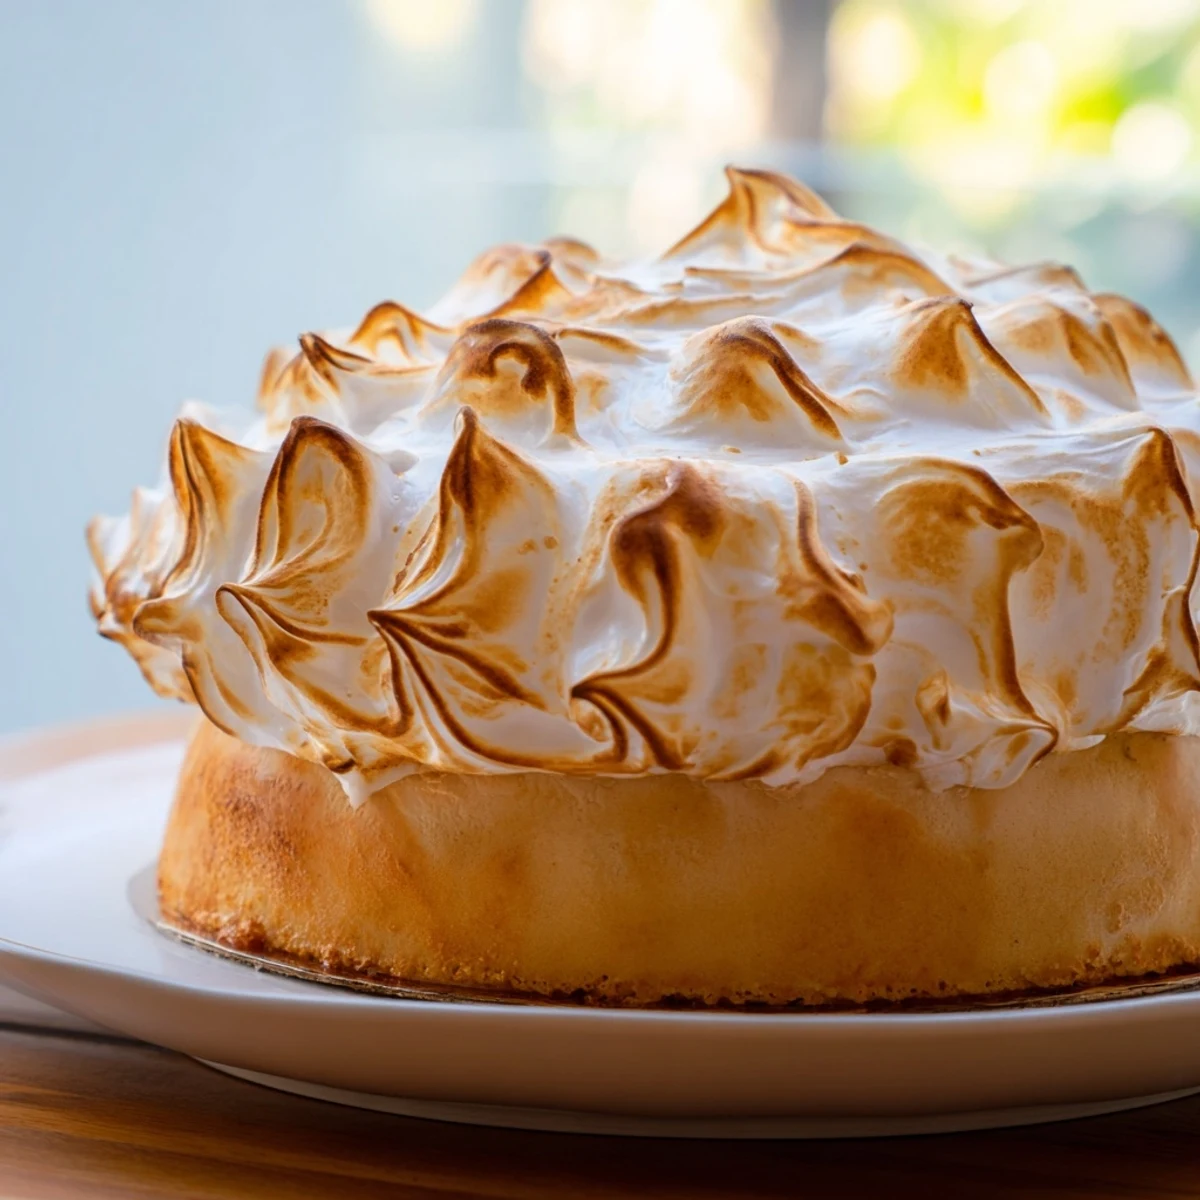
 Baked Alaska combines a soft sponge cake base with creamy vanilla ice cream, encased in a sweet toasted meringue. Preparing it involves freezing the ice cream shaped in a bowl, inverting it onto the cake, and then quickly spreading the fluffy meringue over before browning it in the oven or with a torch. This dessert balances textures and temperature beautifully, making it ideal for special celebrations. Variations include using different ice cream flavors or adding fruit preserves.
The first time I made Baked Alaska, I was convinced I'd discovered a magic trick. My sister was getting married and I wanted to serve something that would genuinely surprise people—not just taste good, but actually make them gasp when it came to the table. I'd watched the meringue tower on top of ice cream go into the oven and come out still frozen, still perfect, somehow both delicate and bold. That moment taught me that the most theatrical desserts are often the ones worth mastering.
I remember standing in my kitchen at midnight the night before that wedding, watching the ice cream dome slowly harden in the freezer while I stressed about everything else. By the time I torched that meringue golden brown, I wasn't worried anymore—I was just excited. One guest asked for the recipe before dessert was even finished, which felt like the highest compliment I could get.
Ingredients
- Sponge cake layer (9 inches, homemade or store-bought): This is your foundation, so use something sturdy enough to support the ice cream weight without getting soggy. A quality store-bought cake works beautifully and saves you time.
- Vanilla ice cream (1.5 liters, softened): Softening it matters more than you'd think—it needs to be moldable but not melting. This is where the texture comes together.
- Egg whites (4 large): Room temperature eggs beat more easily and create the glossiest meringue with the most stable peaks.
- Granulated sugar (200 g or 1 cup): Adding it gradually while beating is the secret to meringue that holds its structure through the heat.
- Cream of tartar (1/4 tsp): This stabilizes the egg whites and prevents weeping, which sounds dramatic but really matters when you're torching.
- Vanilla extract (1/2 tsp): Just a whisper of vanilla balances the sweetness and adds depth.
Instructions
- Build your ice cream dome:
- Line a 9-inch bowl with plastic wrap and fill it with softened ice cream, pressing down as you go to remove air pockets that'll cause collapse. Smooth the top, cover it, and let it freeze solid for at least 4 hours—patience here saves heartbreak later.
- Transfer to cake:
- Place your sponge cake on parchment paper on a baking sheet, then carefully flip your ice cream dome onto the cake. It should land centered and proud, looking like you know exactly what you're doing. Back to the freezer it goes while you make the meringue.
- Whip the meringue:
- In a perfectly clean, dry bowl, beat your egg whites and cream of tartar until soft peaks form, then gradually add sugar while beating. Keep going until the peaks are stiff and glossy—you want it to hold its shape, not collapse into itself.
- Seal and swirl:
- Work quickly now because ice cream is unforgiving. Spread that meringue over the ice cream and cake in confident strokes, making sure every bit of ice cream is covered completely, then swirl it into peaks and valleys.
- Toast and serve:
- Either bake at 230°C (450°F) for 3–5 minutes until golden, or use a kitchen torch to brown it yourself. The moment it's done, slice and serve immediately while the magic is still happening—warm outside, frozen inside.
 Save to Pinterest
 The day of my sister's wedding, someone told me years later that Baked Alaska was the moment they stopped thinking I just followed recipes and started believing I could actually cook. That single dessert shifted how people saw my kitchen confidence, which is funny because it's mostly just about freezing things thoroughly and not panicking.
Ice Cream Flavor Adventures
Vanilla is classic for a reason, but once you master the basic technique, the variations become genuinely fun. I've made this with salted caramel ice cream and it was richer, with chocolate and it was almost decadent, with strawberry and it felt summery and lighter. The beauty is that the technique stays exactly the same—you're just changing what's frozen inside.
The Layers Beneath
Some people add a layer of fruit preserves or jam between the cake and ice cream, which is a lovely touch if you want extra flavor and moisture. I've done it with apricot preserve when making this for someone who loved that combination, and it genuinely elevated the whole thing. Think of what flavors make you happy and build from there.
Timing and Temperature Reality
This dessert teaches you patience in the best way. The freezing time feels long, but it exists because you actually need rock-solid ice cream to survive what comes next. Once you understand that the meringue is insulation doing a real job, the whole process makes sense and stops feeling rushed.
- Freeze the ice cream dome for at least 4 hours before assembly, or overnight if your kitchen is warm.
- After torching, you can actually freeze it again for up to 2 hours if you need to serve later, which is secretly brilliant for entertaining.
- Serve with something cold to drink and watch people's faces when warm meringue meets frozen ice cream.
 Save to Pinterest
 Baked Alaska stopped being intimidating for me the moment I realized it's mostly just planning and freezing, wrapped up in a moment of theatrical torching. Make it once and you'll want to make it again.
Recipe Questions & Answers
- → How do I prevent the ice cream from melting while assembling?
-
Ensure the ice cream is well frozen and work quickly during assembly to keep it firm. Freezing the shaped ice cream before placing the meringue helps maintain structure.
- → What is the purpose of cream of tartar in the meringue?
-
Cream of tartar stabilizes the egg whites, helping them reach and hold stiff peaks for a glossy, firm meringue coating.
- → Can I use a kitchen torch instead of baking the meringue?
-
Yes, torching allows for precise browning without melting the ice cream, giving a nice toasted finish quickly.
- → Are there good alternative ice cream flavors for this dessert?
-
Chocolate, strawberry, or other creamy frozen flavors work well to add variety and complement the sweet meringue and cake.
- → How long can Baked Alaska be stored after preparation?
-
It’s best served immediately but can be frozen for up to 2 hours before serving to maintain texture and freshness.
