 Save to Pinterest
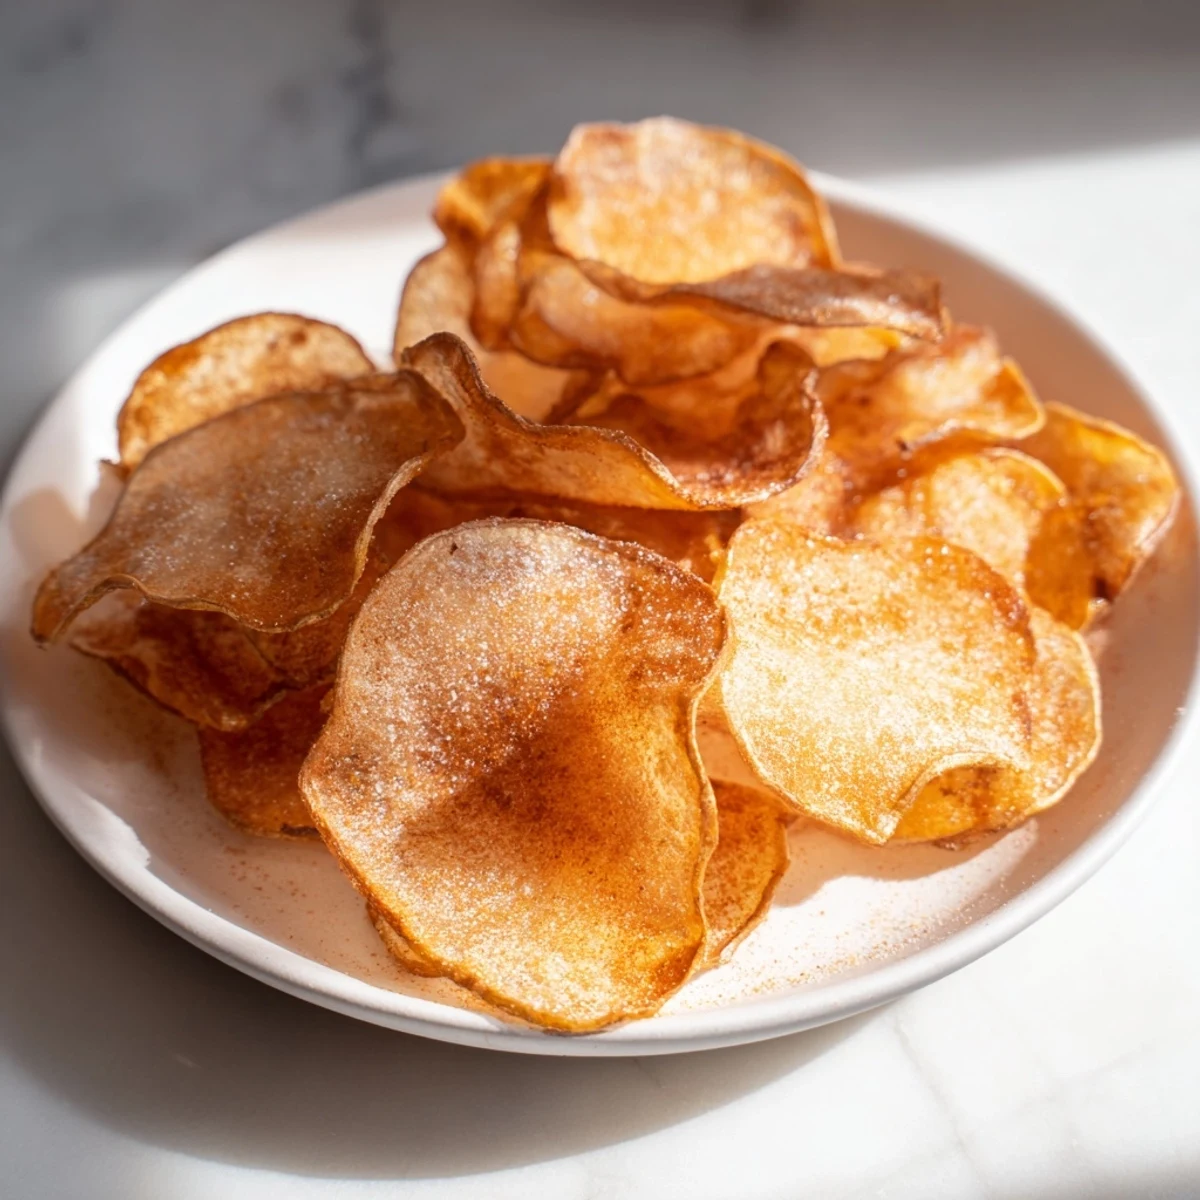
 Discover a simple method to prepare delightfully crispy potato slices, fried to golden perfection. Sliced thinly and soaked to remove excess starch, these chips are cooked in hot oil for a crunchy finish. Seasoned with sea salt, black pepper, and optional spices like smoked paprika, they offer a satisfying snack for any occasion. Perfect for sharing at parties or enjoying as a homemade treat, this snack delivers comforting texture and flavor with easy-to-follow steps.
My neighbor once challenged me to recreate the crispy chips from the local deli, convinced it was some kind of magic. After my first batch burned to charcoal and the second turned soggy in minutes, I realized the real trick wasn't the potatoes—it was the water bath and the oil temperature. Now whenever someone bites into a batch I've made, they always ask the same thing: how are they so impossibly crunchy?
I brought a batch to my sister's last summer, still warm in a paper bag, and watched her teenage kids abandon their phones mid-scroll. That moment—when food so simple can pull everyone away from screens and into the same room—that's when I knew this recipe was worth perfecting.
Ingredients
- Russet potatoes: Look for medium ones that feel heavy for their size, which means more starch content that turns gloriously golden when fried.
- Vegetable oil: Keep a thermometer nearby because this is the single biggest variable that separates crispy from sad, and you really do need the right heat.
- Fine sea salt: Coarser salt doesn't stick to the hot chips the same way, so don't skip this detail.
- Freshly ground black pepper: The smell of it hitting hot potatoes is part of the ritual, so fresh is non-negotiable.
- Smoked paprika or garlic powder: Optional but honestly, once you taste them with a whisper of smoked paprika, you'll never go back to plain.
Instructions
- Slice your potatoes paper-thin:
- A mandoline makes this effortless, though a sharp knife works if you take your time. Aim for about 2 mm—thin enough that you can almost see light through them, but thick enough they don't fall apart in your hands.
- Soak away the starch:
- This step is what so many people skip, and then wonder why their chips aren't crispy. Ten minutes in cold water lets the excess starch escape and makes a real difference in the final texture.
- Dry them completely:
- Moisture is the enemy of crispiness, so don't just pat them—really dry them with towels until they feel almost papery.
- Get your oil to the right temperature:
- 175°C (350°F) is the sweet spot, and a cooking thermometer will save you from guessing. Drop a tiny piece of potato in first—it should sizzle immediately but not splatter aggressively.
- Fry in small batches:
- Crowding the pot drops the oil temperature and you end up with greasy chips instead of crispy ones. Work in batches even if it takes longer.
- Watch for the golden moment:
- Two to three minutes is usually enough, but keep turning them so they color evenly. You'll know they're ready when they've turned a deep golden brown and the edges start to curl slightly.
- Drain on paper towels immediately:
- This captures them at peak crispiness before they soften. The paper towels absorb the excess oil that would make them greasy.
- Season while hot:
- The salt and pepper stick much better to warm chips, and the flavors somehow taste more vibrant right off the heat.
 Save to Pinterest
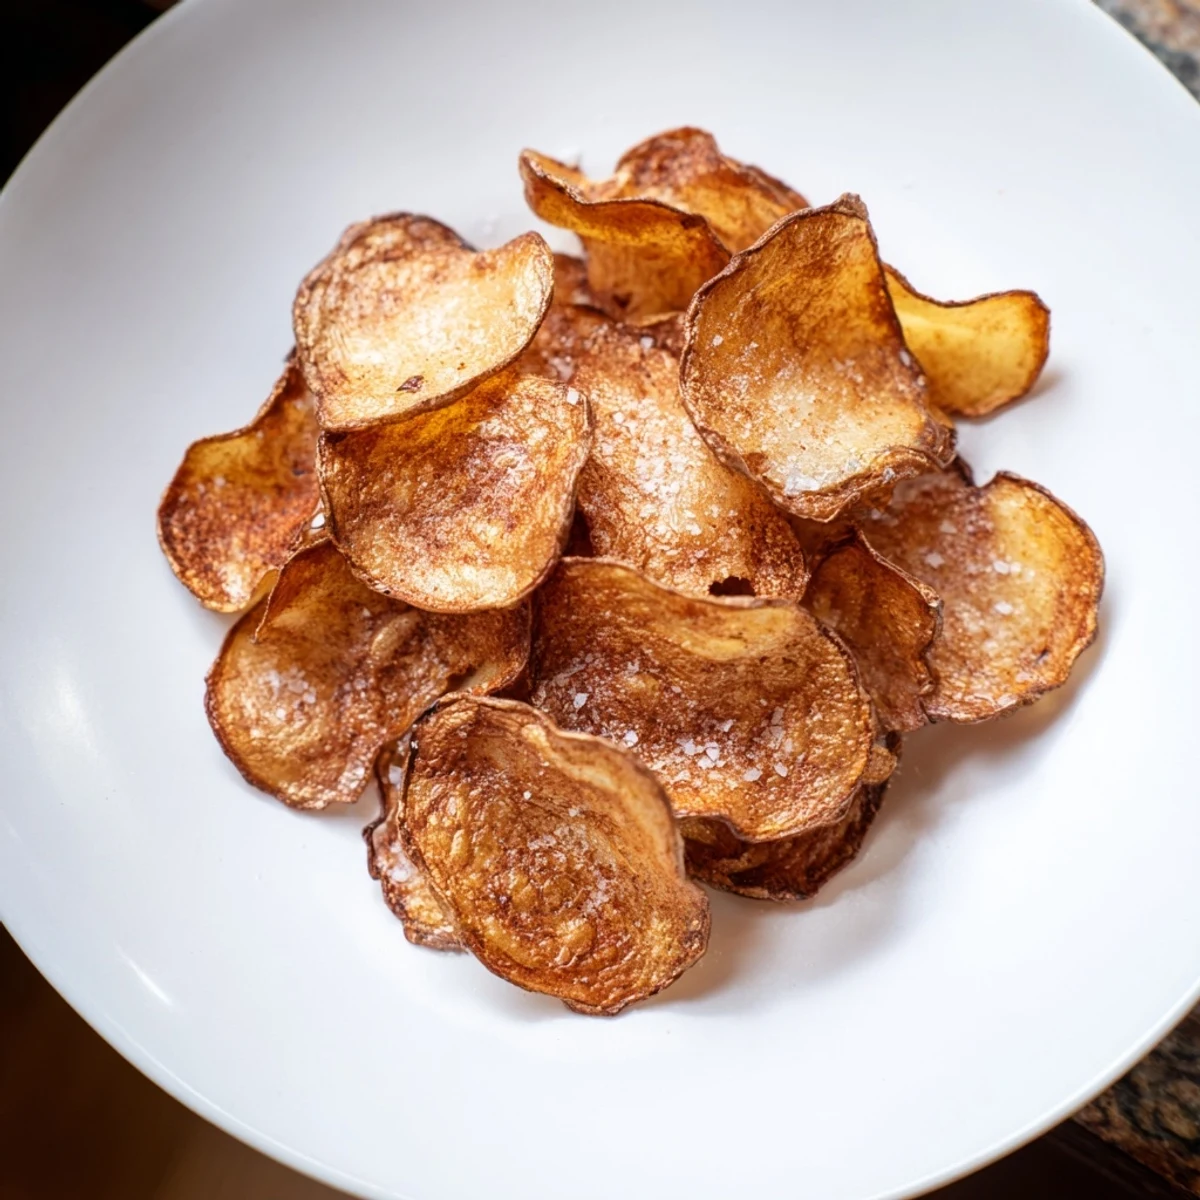
 My partner once described the sound of biting into these chips as the most satisfying noise in the world, and I've never heard a better description. That snap of resistance followed by easy crunch—it's the whole experience right there.
Flavor Variations Worth Trying
Once you nail the basic recipe, the real fun begins. I've experimented with everything from a tiny sprinkle of nutritional yeast (gives them an umami boost) to old bay seasoning mixed with paprika, and each variation feels like discovering something new.
Storage and Make-Ahead Tips
Homemade chips stay crispy for about two days if you store them in an airtight container with a paper towel to catch any stray moisture. I've found that reheating them gently in a 150°C oven for five minutes brings back some of their crunch if they've started to soften, though they're always best enjoyed fresh.
Why This Beats Anything Bagged
Once you understand how simple this really is, store-bought chips start tasting like they're made of air and regret. You control every element—how thin, how salty, what seasonings—and somehow that makes them taste better even when the technique is identical.
- Homemade chips have a purity of flavor that comes from not containing preservatives or mystery ingredients.
- You can adjust saltiness and seasonings to your exact preference, which bagged varieties never let you do.
- The satisfaction of serving something you made with your own hands transforms a simple snack into something meaningful.
 Save to Pinterest
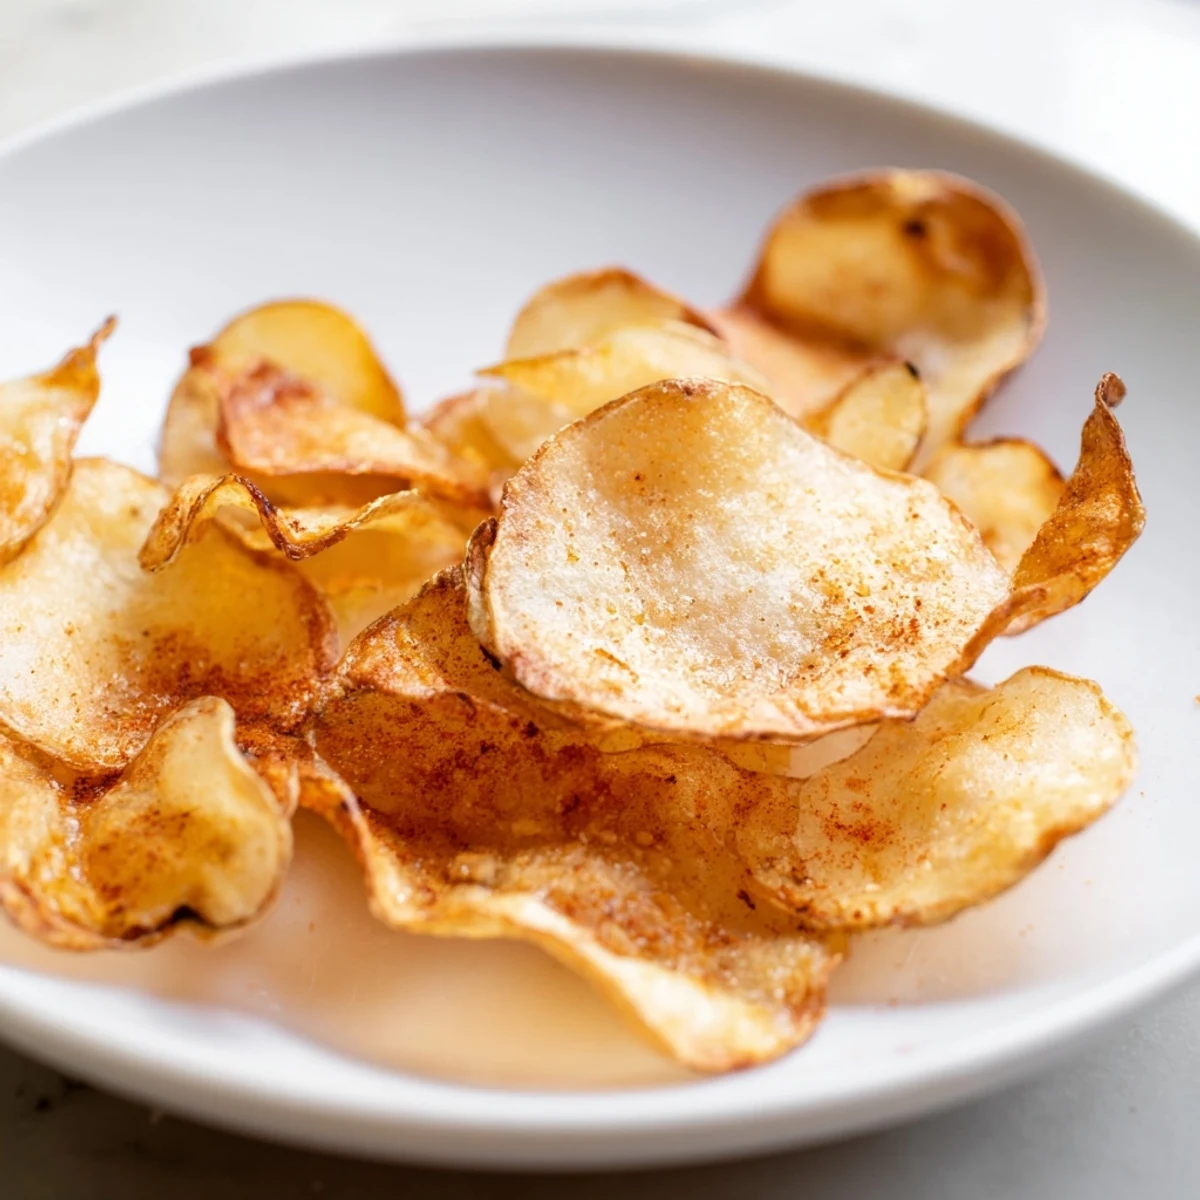
 There's something deeply satisfying about making chips from scratch, and the fact that they're better than anything you can buy should be incentive enough. Once you master this, you'll find yourself making them for every gathering, every craving, every moment that calls for something crispy and real.
Recipe Questions & Answers
- → How thin should the potato slices be?
-
Potatoes should be sliced about 2 mm thick for optimal crispiness and even frying.
- → Why soak the potato slices before frying?
-
Soaking removes excess starch, preventing the slices from sticking and ensuring a crisp texture.
- → What oil temperature is best for frying?
-
Heat the oil to approximately 175°C (350°F) for perfectly golden and crispy chips.
- → Can other seasonings be used?
-
Yes, spices like smoked paprika, garlic powder, or your favorite blends can enhance flavor after frying.
- → How should the chips be stored?
-
Keep cooled chips in an airtight container for up to 2 days to maintain crunchiness.
