 Save to Pinterest
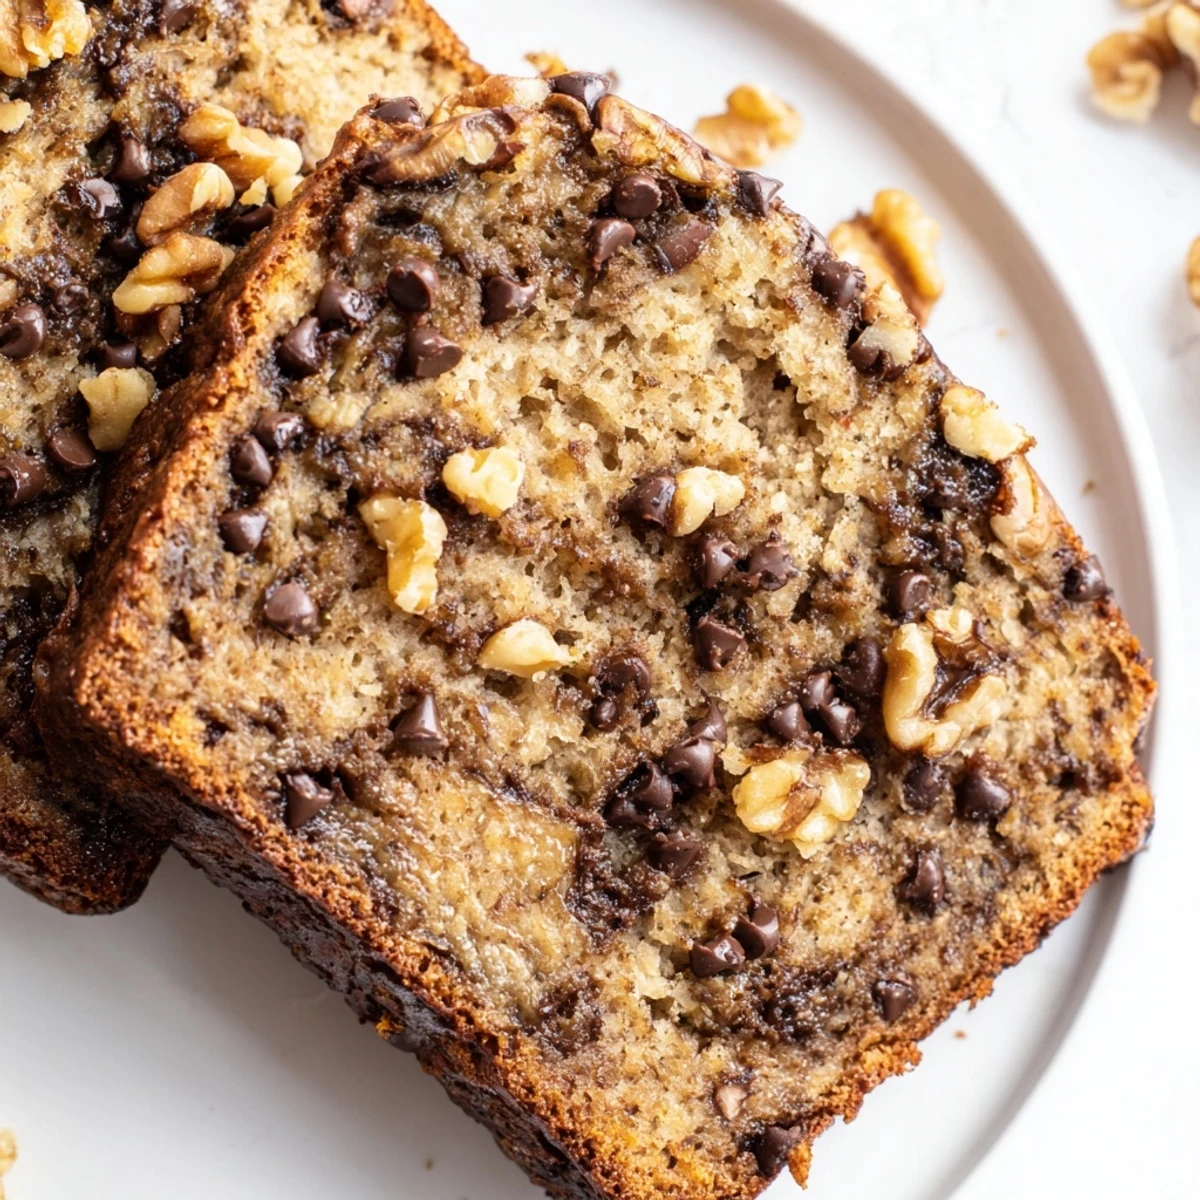
 This classic banana bread combines mashed ripe bananas with melty semisweet chocolate chips for a moist, tender crumb. The addition of brown sugar creates a rich depth of flavor while the chocolate adds pockets of sweetness throughout. Ready in about an hour, this loaf is perfect for breakfast, afternoon snacks, or even dessert. Optional walnuts or pecans provide a delightful crunch, and the bread stays fresh for days when stored properly.
The way my apartment smelled when I first pulled a loaf of banana bread from the oven changed everything for me. I had three bananas going brown on my counter and zero motivation to make anything elaborate, but something about that warm, sweet scent filling every corner of the room made me feel like I'd accomplished something real. My roommate wandered out of her bedroom, sleepy and confused, asking what bakery I'd secretly opened in our kitchen.
I started making this bread every Sunday during my first real job after college. It became this weird ritual where I'd mash bananas and think about the week ahead, the kitchen peaceful and dark except for the oven light. My coworkers started expecting a loaf on Monday mornings, and honestly, knowing they were slicing into something I'd made with my own hands felt better than any performance review.
Ingredients
- 3 very ripe bananas, mashed: The blacker the better, honestly. Those spots you think mean the bananas are goners? That's where all the sweet, intense flavor lives.
- 1/3 cup unsalted butter, melted: Let it cool slightly before adding, or you'll scramble your eggs. Learned that the messy way.
- 1/2 cup granulated sugar: Provides that crackly, sugary crust on top that people fight over.
- 1/4 cup light brown sugar, packed: Adds moisture and a subtle caramel note that makes the bread taste more complex.
- 2 large eggs, at room temperature: Cold eggs can seize up melted butter, so just let them sit on the counter while you gather everything else.
- 1 teaspoon pure vanilla extract: Don't skimp here. The real stuff makes a difference you can actually taste.
- 1 3/4 cups all-purpose flour: Spoon and level it instead of scooping directly, or you'll end up with dense bread.
- 1 teaspoon baking soda: This is what gives you that beautiful rise and tender texture.
- 1/2 teaspoon baking powder: Works with the baking soda for extra lift and lightness.
- 1/2 teaspoon salt: Balances all that sweetness and makes the chocolate flavor pop.
- 3/4 cup semisweet chocolate chips: I toss a handful on top too because that melty, exposed chocolate on the crust is magical.
- 1/2 cup chopped walnuts or pecans: Totally optional, but that crunch against the soft bread is worth it.
Instructions
- Get your oven ready:
- Preheat to 350°F and grease your 9x5-inch loaf pan. I use butter and a dusting of flour because parchment paper can sometimes leave wrinkles in the bottom crust.
- Mash your bananas:
- Use a fork or potato masher until they're mostly smooth with some small chunks remaining. Those little bits of banana create pockets of intense sweetness throughout the bread.
- Whisk the wet ingredients:
- In a large bowl, combine the mashed bananas, melted butter, both sugars, eggs, and vanilla. Whisk until everything's incorporated and the mixture looks smooth and glossy.
- Mix the dry ingredients:
- In a separate bowl, whisk together the flour, baking soda, baking powder, and salt. This ensures everything's evenly distributed before you combine the two mixtures.
- Combine gently:
- Add the dry ingredients to the wet mixture and fold with a spatula just until you no longer see streaks of flour. Overmixing makes tough bread, and nobody wants that.
- Add the good stuff:
- Fold in the chocolate chips and nuts if you're using them. The dough will be thick, and that's exactly right.
- Into the pan:
- Pour the batter into your prepared pan and smooth the top. This is when I scatter extra chocolate chips across the surface for that bakery-style look.
- Bake until golden:
- Bake for 50 to 60 minutes. The top should be deep golden brown, and a toothpick inserted in the center should come out with just a few moist crumbs attached.
- Patience pays off:
- Cool in the pan for 10 minutes, then turn out onto a wire rack. Let it cool completely before slicing, or you'll end up with smooshed, gummy bread. Ask me how I know.
 Save to Pinterest
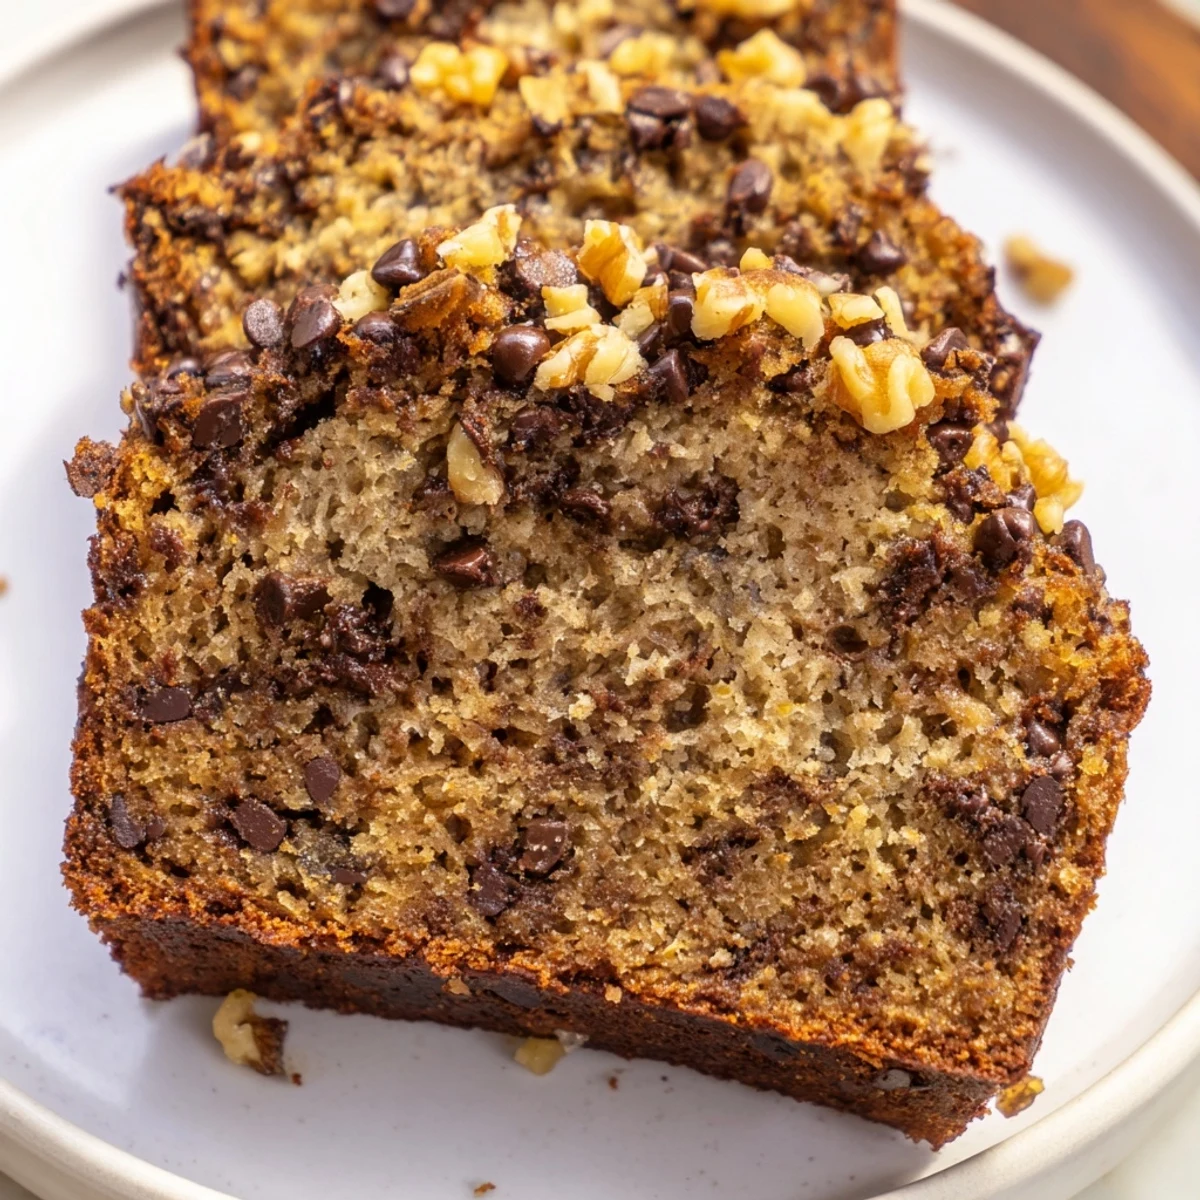
 My mom called me the first time she tried this recipe, asking what I'd done differently because hers never turned out this moist. I told her about melting the butter instead of creaming it, and the way the brown sugar caramelizes slightly in the oven. Now she makes it my way, and honestly, that feels like the best kind of passing of the torch.
Getting the Perfect Texture
Temperature matters more than you'd think. Room temperature ingredients blend together seamlessly, while cold ones can create pockets of unmixed batter or prevent proper aeration. I set everything out on the counter before I even start measuring, and those extra ten minutes make a noticeable difference in the final crumb.
Making It Your Own
Sometimes I swap half the chocolate chips for white chocolate, or add cinnamon and nutmeg for a spiced version that tastes like fall. The base recipe is forgiving enough to handle tweaks, and I've found that adding a tablespoon of sour cream or Greek yogurt makes it even more tender without changing the flavor profile.
Storage and Freezing Tips
This bread keeps beautifully in an airtight container for about three days, though it rarely lasts that long in my house. For longer storage, wrap the cooled loaf tightly in plastic wrap, then again in foil, and freeze for up to two months.
- Thaw frozen bread at room temperature, still wrapped, to prevent condensation from making the crust soggy.
- Individual slices freeze beautifully too. Wrap each one separately and grab one for a quick breakfast or snack.
- To refresh day-old bread, warm slices in a 300°F oven for about 5 minutes.
 Save to Pinterest
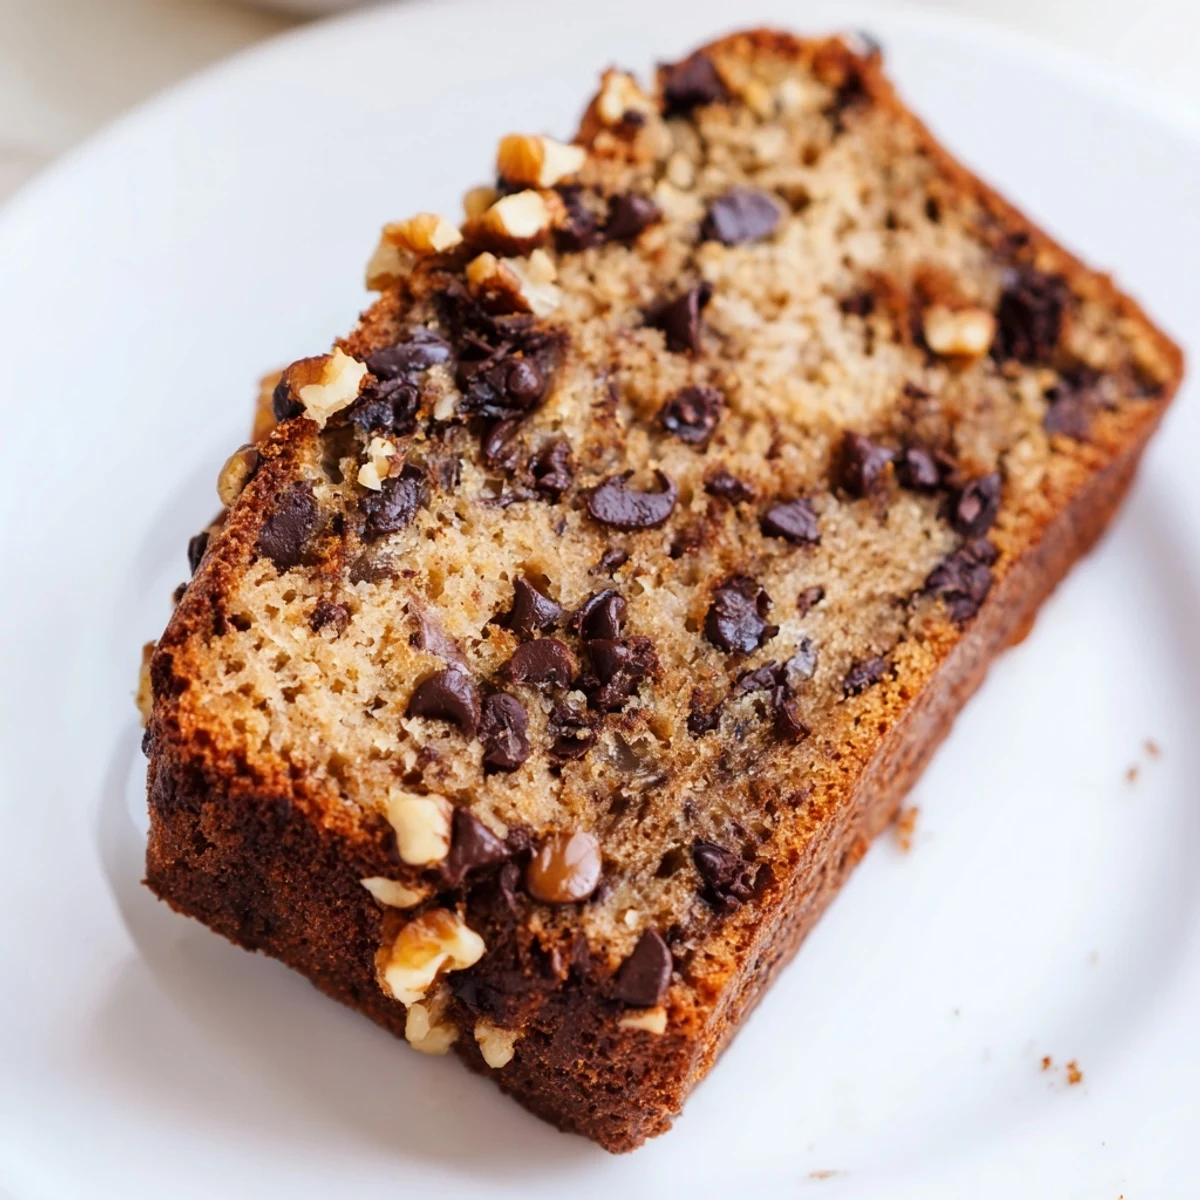
 There's something profoundly satisfying about turning ingredients you almost threw away into something that makes your whole kitchen feel like home. That first warm slice, with melty chocolate and tender banana, is worth every minute of waiting for those bananas to reach their perfect peak.
Recipe Questions & Answers
- → How ripe should the bananas be?
-
Use very ripe bananas with plenty of brown spots on the peel. The darker the bananas, the sweeter and more flavorful your bread will be. Overripe bananas mash easily and incorporate better into the batter.
- → Can I make this without nuts?
-
Absolutely. The walnuts or pecans are completely optional. The bread turns out wonderfully with just the chocolate chips, making it perfect for those with nut allergies or preferences.
- → How do I know when it's done baking?
-
Insert a toothpick into the center of the loaf. It should come out with just a few moist crumbs, not wet batter. The top should be golden brown and a tester should feel set in the middle.
- → Can I freeze this bread?
-
Yes. Wrap the completely cooled loaf tightly in plastic wrap and aluminum foil, then freeze for up to 2 months. Thaw at room temperature before serving. You can also slice it first and freeze individual portions.
- → Why did my bread turn out dense?
-
Overmixing the batter can create a dense texture. Fold the dry ingredients into the wet mixture just until combined—some streaks of flour are okay. Overmixing develops too much gluten, making the bread tough.
- → Can I use dark chocolate instead of semisweet chips?
-
Yes. Dark chocolate chunks or chips work beautifully and create a richer, less sweet version. The slight bitterness of dark chocolate balances nicely with the sweet banana base.
