 Save to Pinterest
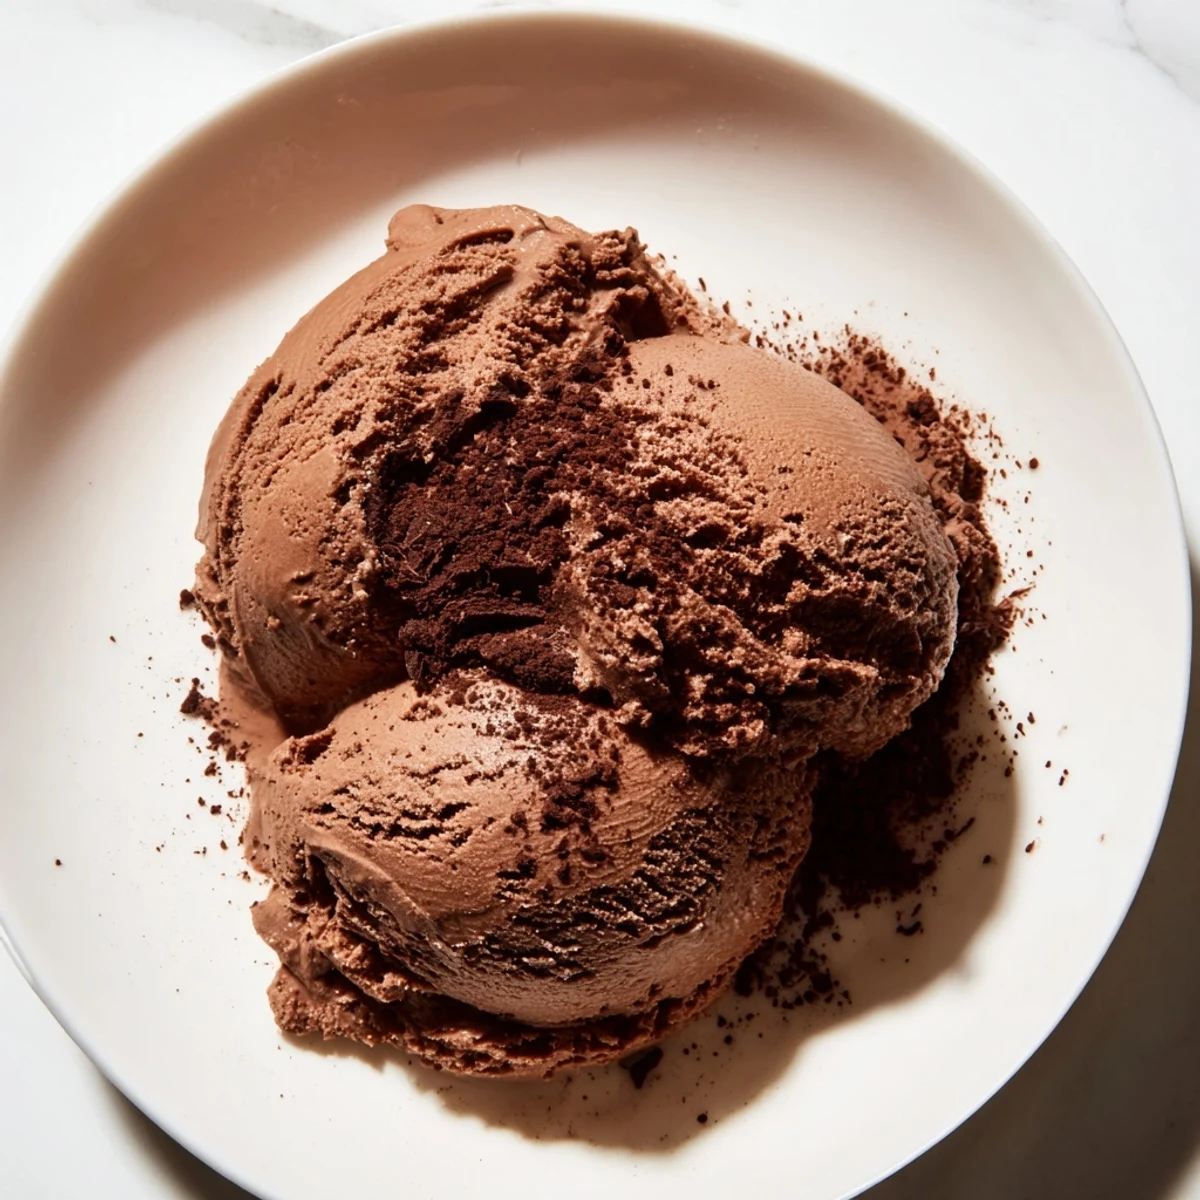
 This creamy chocolate dessert boasts a deep cocoa flavor balanced with sweet richness. It starts by gently heating cocoa and sugar with milk, then blending in dark chocolate until smooth. Egg yolks temper the mixture, which thickens over low heat before folding in cream and vanilla. After chilling, it’s churned for a smooth, velvety texture and frozen to set. Ideal for those seeking a luscious and satisfying chocolate frozen dessert.
There's something about making ice cream on a sweltering afternoon that feels like pure rebellion. I'd been standing in front of the open freezer at three o'clock, staring blankly at store-bought tubs, when my neighbor mentioned she'd made chocolate ice cream from scratch. That single sentence changed everything. By evening, my kitchen smelled like a chocolate factory, and I was standing over a saucepan watching dark cocoa powder transform into something that looked impossibly smooth. That first taste, pulled straight from the churner and still soft, made me realize I'd never truly tasted chocolate ice cream before.
I made this ice cream for a dinner party last summer, and watching my friend Sarah take that first spoonful while her eyes went wide is a memory I return to whenever I'm in the kitchen. She'd been skeptical about homemade ice cream, convinced it couldn't possibly compete with the fancy brands, but something about that cocoa-forward flavor silenced her doubts completely. By the end of the evening, we'd gone through two-thirds of the batch, and people were asking for the recipe before they'd even finished their bowls.
Ingredients
- Heavy cream (2 cups): This is where the velvet texture comes from—don't skimp or substitute with half-and-half, as you'll lose that luxurious mouthfeel.
- Whole milk (1 cup): Balances the richness without making the ice cream feel heavy, and helps it scoop more easily straight from the freezer.
- Unsweetened cocoa powder (3/4 cup): The backbone of the flavor—I always whisk it with sugar first to break up any clumps before adding liquid.
- Dark chocolate, chopped (100g): Use quality chocolate here because its flavor will shine through; 70% cocoa creates a more sophisticated bitterness that keeps it from tasting like a dessert for children.
- Granulated sugar (3/4 cup): Dissolves completely into the custard base and makes the texture scoopable once frozen.
- Egg yolks (4 large): The secret to creaminess and richness—this is what transforms it from a simple chocolate mixture into true ice cream.
- Vanilla extract (1 tsp): A subtle whisper that rounds out the cocoa without announcing itself.
- Salt (pinch): Magnifies the chocolate flavor in a way that feels almost mysterious if you don't tell people it's there.
Instructions
- Create your chocolate foundation:
- Whisk together the cocoa powder, sugar, and salt in a medium saucepan, then pour in the milk and stir constantly over medium heat. The mixture will go from grainy to silky as the sugar dissolves, and you'll start smelling that unmistakable cocoa richness filling your kitchen.
- Melt in the dark chocolate:
- Once the milk is warm, add your chopped dark chocolate and keep stirring until every piece disappears into a smooth, glossy mixture. Don't rush this step—let the heat do the work for you.
- Temper those egg yolks carefully:
- Whisk your egg yolks in a separate bowl, then slowly pour about a cup of the warm chocolate mixture into them while whisking constantly. This prevents scrambled eggs and gives you silky custard instead.
- Build your custard:
- Pour the yolk mixture back into the saucepan and keep everything moving with a wooden spoon over low heat, stirring constantly. Watch for the moment when the mixture coats the back of the spoon—you'll feel it thicken slightly, and that's your signal to stop before it overcooks.
- Cool and finish:
- Remove from heat and stir in the heavy cream and vanilla extract, then strain through a fine-mesh sieve to catch any cooked egg bits. Let it cool to room temperature before chilling.
- Chill overnight:
- Cover the bowl and refrigerate for at least four hours—overnight is even better, as the flavors deepen and the mixture gets properly cold for churning.
- Churn and freeze:
- Pour into your ice cream maker and follow the manufacturer's instructions, which usually takes twenty to thirty minutes. Transfer to a freezer-safe container and freeze for at least two hours until it reaches that perfect scoopable consistency.
 Save to Pinterest
 There was a moment last winter when my eight-year-old nephew took a bite of this ice cream and declared it tasted like 'chocolate dreams' before falling silent for what felt like three full minutes. His quiet joy, the way he savored each spoonful instead of rushing through it, reminded me that homemade food carries something more than flavor—it carries attention and care.
The Magic of Cocoa Powder
Cocoa powder is honestly underestimated in ice cream. When you whisk it into sugar before adding any liquid, you're creating a foundation that dissolves smoothly rather than clumping up mid-mix. The unsweetened variety gives you control over sweetness while delivering that deep, almost wine-like flavor that makes chocolate ice cream feel sophisticated instead of cloying. I've experimented with Dutch-process cocoa and natural cocoa, and the natural variety creates a slightly more vibrant chocolate taste.
Patience Between Steps
The hardest part of this recipe isn't the technique—it's waiting. After you've poured that gorgeous chocolate custard into a bowl, the anticipation builds as you watch the hours tick by in the refrigerator. But this patience is exactly why homemade ice cream tastes so different from soft-serve; the cold custard base churns into something with body and texture that can't be rushed. I've started using those waiting hours to prepare toppings or set the table, turning the process into an event rather than just a dessert.
Serving and Storing
This ice cream scoops best when you let it sit at room temperature for about five minutes—it'll be creamy rather than rock-hard. I keep mine in a freezer-safe container at the back of the freezer where it stays coldest, and it holds beautifully for up to two weeks, though it rarely lasts that long in my house. The texture actually improves slightly on the second or third day as the flavors meld together further.
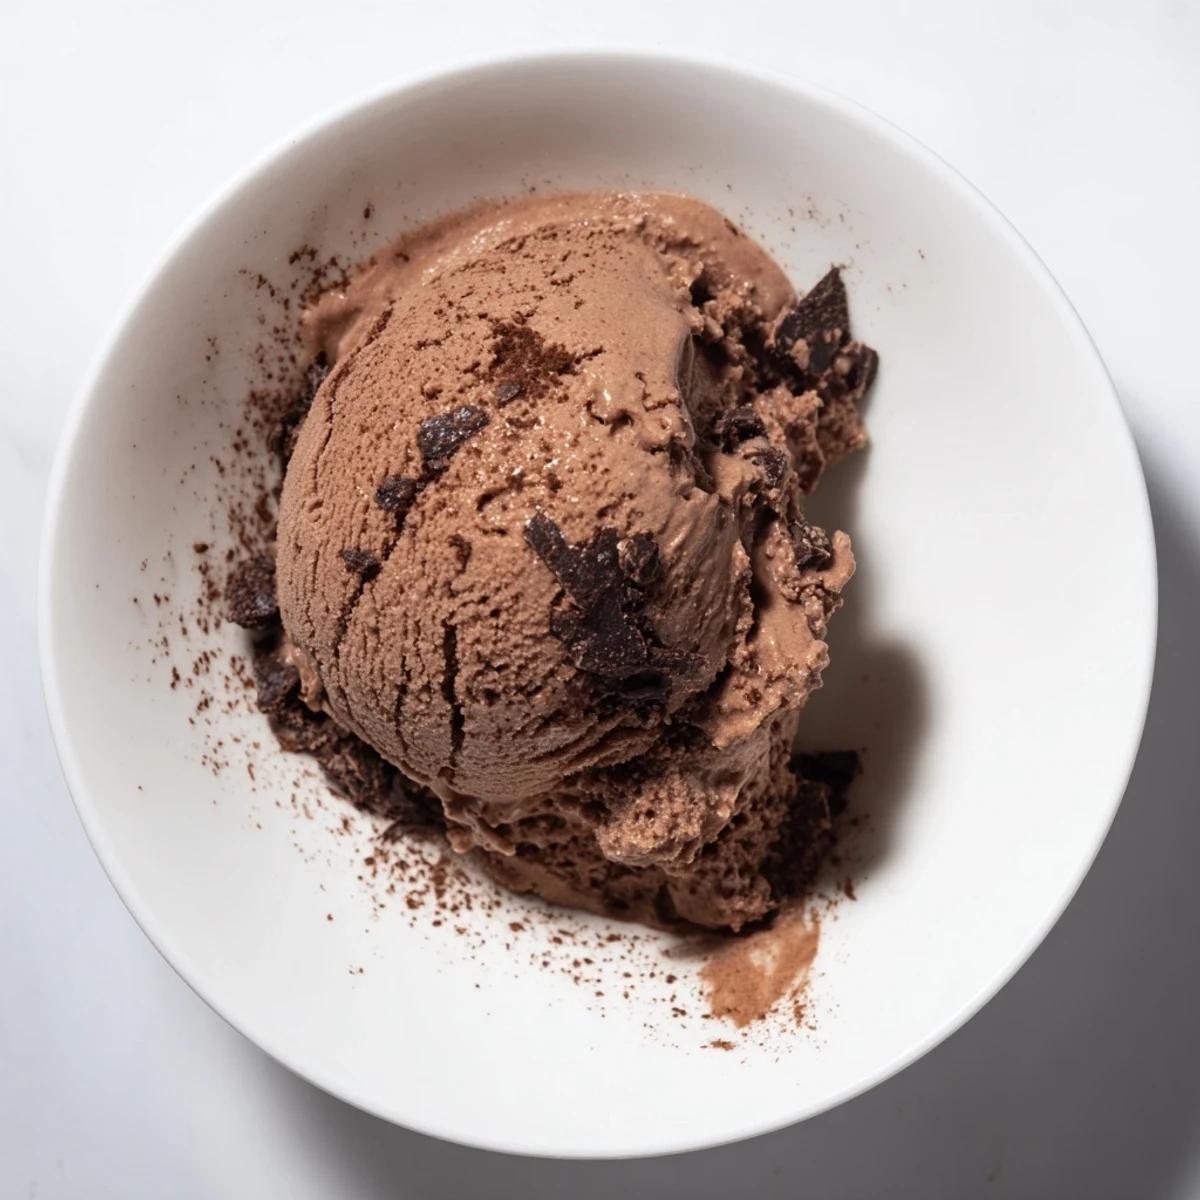
- Scatter dark chocolate shavings on top for extra richness and visual drama.
- Serve alongside fresh berries to cut through the richness with bright acidity.
- Add a dash of instant espresso powder to the base if you want a sophisticated chocolate-coffee edge.
 Save to Pinterest
 Making chocolate ice cream from scratch feels like a small act of devotion to the people you're feeding. Every spoonful carries the effort of your afternoon and the care you took at each step.
Recipe Questions & Answers
- → What type of chocolate is best for this dessert?
-
Using 70% cocoa dark chocolate enhances the richness, but unsweetened cocoa powder combined with chopped dark chocolate also works well for balanced flavor.
- → How do I achieve a smooth, creamy texture?
-
Tempering the egg yolks and gentle cooking without boiling ensure a silky custard base. Straining the mixture removes lumps, and thorough chilling before churning helps develop creaminess.
- → Can I add any flavor variations?
-
Adding a half teaspoon of instant espresso powder with cocoa gives a subtle coffee twist that deepens the chocolate notes wonderfully.
- → What tools are essential for preparation?
-
A medium saucepan, whisk, wooden spoon, fine-mesh sieve, and an ice cream maker are important to create the smooth texture and proper consistency.
- → How long should the dessert freeze before serving?
-
Freezing for at least 2 hours after churning allows it to firm up properly for the best texture and scoopability.
