 Save to Pinterest
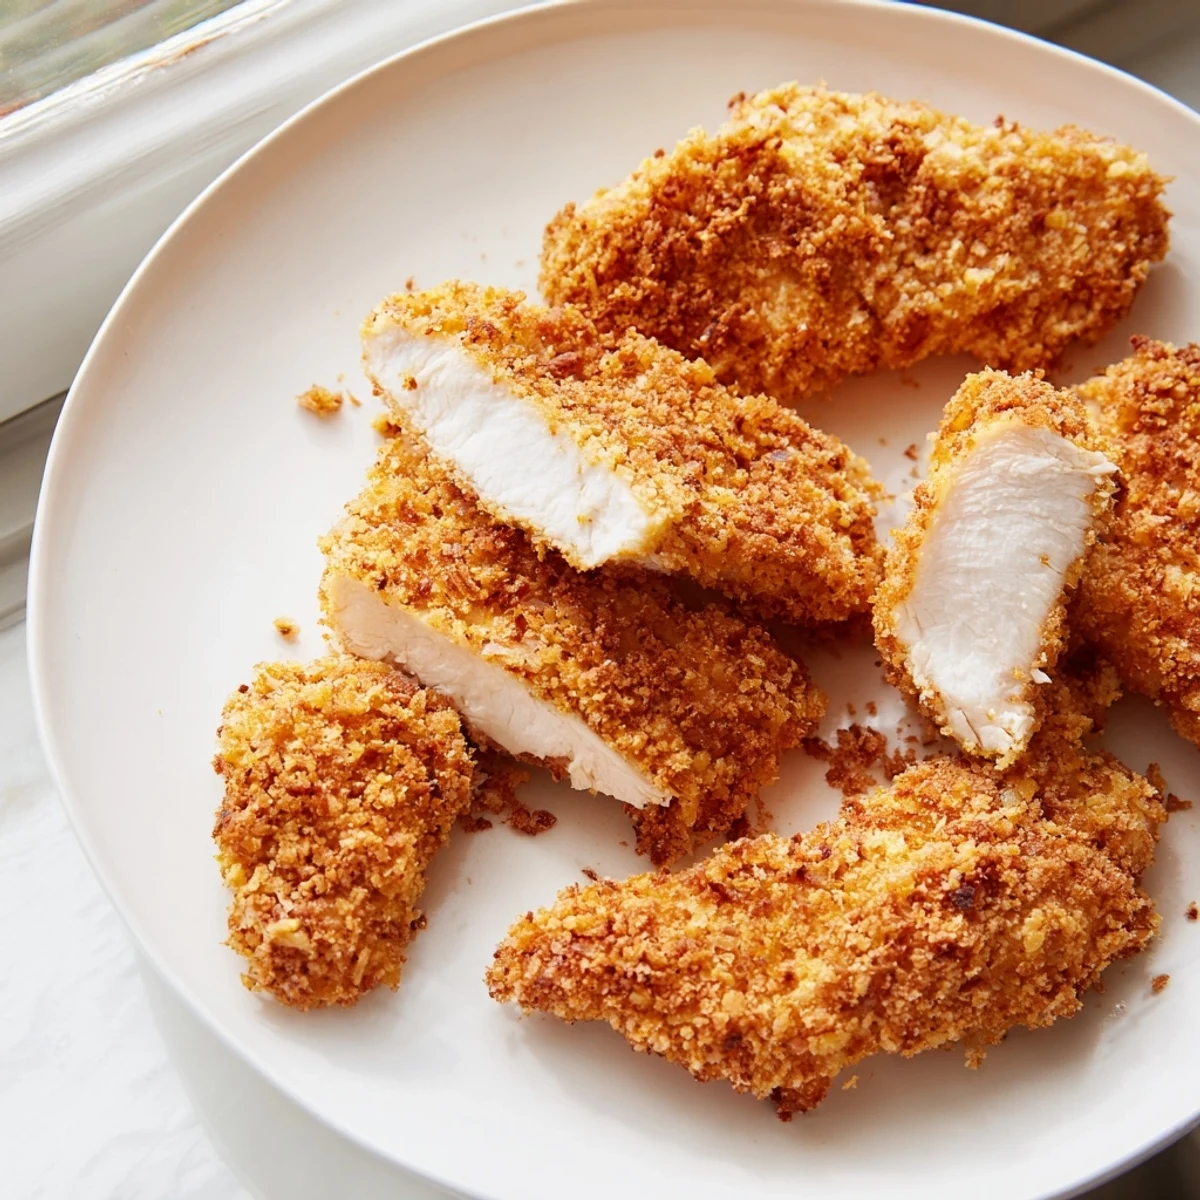
 These crispy golden chicken tenders feature a juicy interior achieved by coating tender strips of chicken in a seasoned breadcrumb mixture and deep-frying until perfectly crisp. The balance of spices including paprika, garlic, and onion powder adds rich flavor, while frying at the right temperature ensures a crunchy crust without greasiness. For a lighter alternative, these tenders can be baked with the same breading for a tasty finish. Serve hot with preferred dipping sauces for a satisfying meal or snack.
I still remember the first time I made chicken tenders from scratch—I was in college, trying to impress friends with something more homemade than frozen nuggets from the grocery store. My mom had given me this basic technique, and when those golden strips came out of the oil, sizzling and perfect, I felt like a real cook for the first time. Now, whenever I make them, I'm transported back to that tiny apartment kitchen, the smell of frying chicken filling every corner, and the simple joy of watching people enjoy something I'd made with my own hands.
My favorite memory isn't from cooking alone, though—it's from a Sunday afternoon when my partner was stressed about a work presentation, and I quietly made a batch of these to have waiting when they got home. The simple act of biting into one seemed to shift their whole mood. Food has this quiet power to say 'I'm thinking of you' without needing words.
Ingredients
- Chicken breast tenders or strips, 500 g (1.1 lb): The star of the show—look for pieces that are roughly the same thickness so they cook evenly. If using whole breasts, slice them lengthwise into strips about the thickness of your thumb. Pat them completely dry before breading; any moisture will make the coating soggy rather than crispy.
- All-purpose flour, 120 g (1 cup): This is your first defense against moisture. It helps the egg wash grip the chicken and creates a seal.
- Eggs and milk, 2 large eggs plus 60 ml (1/4 cup): The binding agent that holds everything together. The milk thins the egg slightly, making it easier to coat evenly without clumping.
- Panko breadcrumbs, 100 g (1 cup): These are the secret to that signature crunch. They're larger and airier than regular breadcrumbs, creating pockets that fry up crispy and golden.
- Fine breadcrumbs, 50 g (1/2 cup): These fill in the gaps and create an even, compact coating layer.
- Paprika, 1 tsp: Adds warmth and a hint of sweet pepper flavor that makes people wonder what your secret is.
- Garlic powder and onion powder, 1/2 tsp each: Savory depth without any grittiness. These are your flavor multipliers.
- Salt and black pepper, 1 tsp salt plus 1/2 tsp pepper: Season the coating generously—this is where your seasoning lives, not in the chicken itself.
- Vegetable oil, 500 ml (2 cups): For deep frying. Use neutral oil with a high smoke point. I learned the hard way that olive oil burns and ruins the flavor.
Instructions
- Prepare your station:
- Line up three shallow bowls in a row—flour in the first, whisked eggs and milk in the second, and your breadcrumb mixture in the third. Pat your chicken tenders completely dry with paper towels; this step matters more than you'd think. Moisture is the enemy of crispiness, so don't skip it.
- Build the coating:
- Working with one tender at a time, dredge it in flour, coating all sides, then shake off the excess—you want a light, even dusting, not a thick cake. Dip it into the egg mixture, let any excess drip back into the bowl, then press it firmly into the breadcrumb mixture. Make sure every surface is covered; any exposed chicken will steam instead of fry.
- Heat your oil carefully:
- Pour oil into your deep skillet or saucepan to about 2 inches depth. Use a kitchen thermometer to check when it reaches 175°C (350°F). This temperature is crucial—too cool and your tenders will be greasy; too hot and they'll burn outside before cooking through. You'll know it's ready when a small piece of breadcrumb sizzles immediately when dropped in.
- Fry in batches:
- Carefully lower 3-4 tenders into the hot oil, depending on your pan size. Don't overcrowd; they need space to fry, not steam. They'll sink first, then bob to the surface as they cook. Let them cook undisturbed for about 2 minutes, then turn them gently with tongs. Watch for that deep golden-brown color—it should happen around 4-5 minutes total.
- Drain and rest:
- Use a slotted spoon or tongs to lift each tender out, letting excess oil drip back into the pan. Place them on a plate lined with paper towels. The residual heat will continue crisping them up. This is when your kitchen will smell absolutely incredible.
- Serve while golden:
- Serve immediately with your choice of dipping sauces. The magic window is right now—while they're still warm and crispy. Every minute they sit, the steam from the hot interior softens the coating slightly.
 Save to Pinterest
 There's something deeply satisfying about biting through that crispy exterior and finding tender, juicy chicken waiting inside. It's the sound more than anything—that first crunch—that reminds me why simple food cooked with attention matters. It's not fancy, but it's unforgettable.
Variations to Try
Once you master the basic technique, the breading mixture becomes your playground. I love adding a tablespoon of grated Parmesan to the breadcrumb mix for extra umami, or mixing in dried herbs like Italian seasoning or thyme. For a spicy kick, add a pinch of cayenne pepper to the flour. I've even crushed up some fried onions and mixed them into the breadcrumbs for unexpected texture and flavor. The beauty is that once you understand the method, you can adapt it endlessly.
Making It Healthier
If deep frying isn't what you're after, you can absolutely bake these. Arrange your breaded tenders on a parchment-lined baking sheet, spray them lightly with cooking spray, and bake at 200°C (400°F) for 18-20 minutes, flipping halfway through. They won't have quite the same crispy crunch, but they'll be golden and delicious with a fraction of the oil. The cooking time is almost the same, so it's genuinely convenient.
Dipping Sauce Ideas
The right sauce can elevate these from simple to memorable. Honey mustard is my go-to—that sweet-tangy combination just works. But I've also been known to make a quick aioli by mixing mayo, minced garlic, and lemon juice, or a sriracha honey situation for when I want a bit of heat. Ranch is a classic for good reason, and don't overlook a simple mixture of ketchup and hot sauce.
- Honey mustard balances sweetness and tang perfectly
- A quick aioli with mayo, garlic, and lemon feels fancy but takes two minutes
- Sriracha honey adds heat and sophistication with almost no effort
 Save to Pinterest
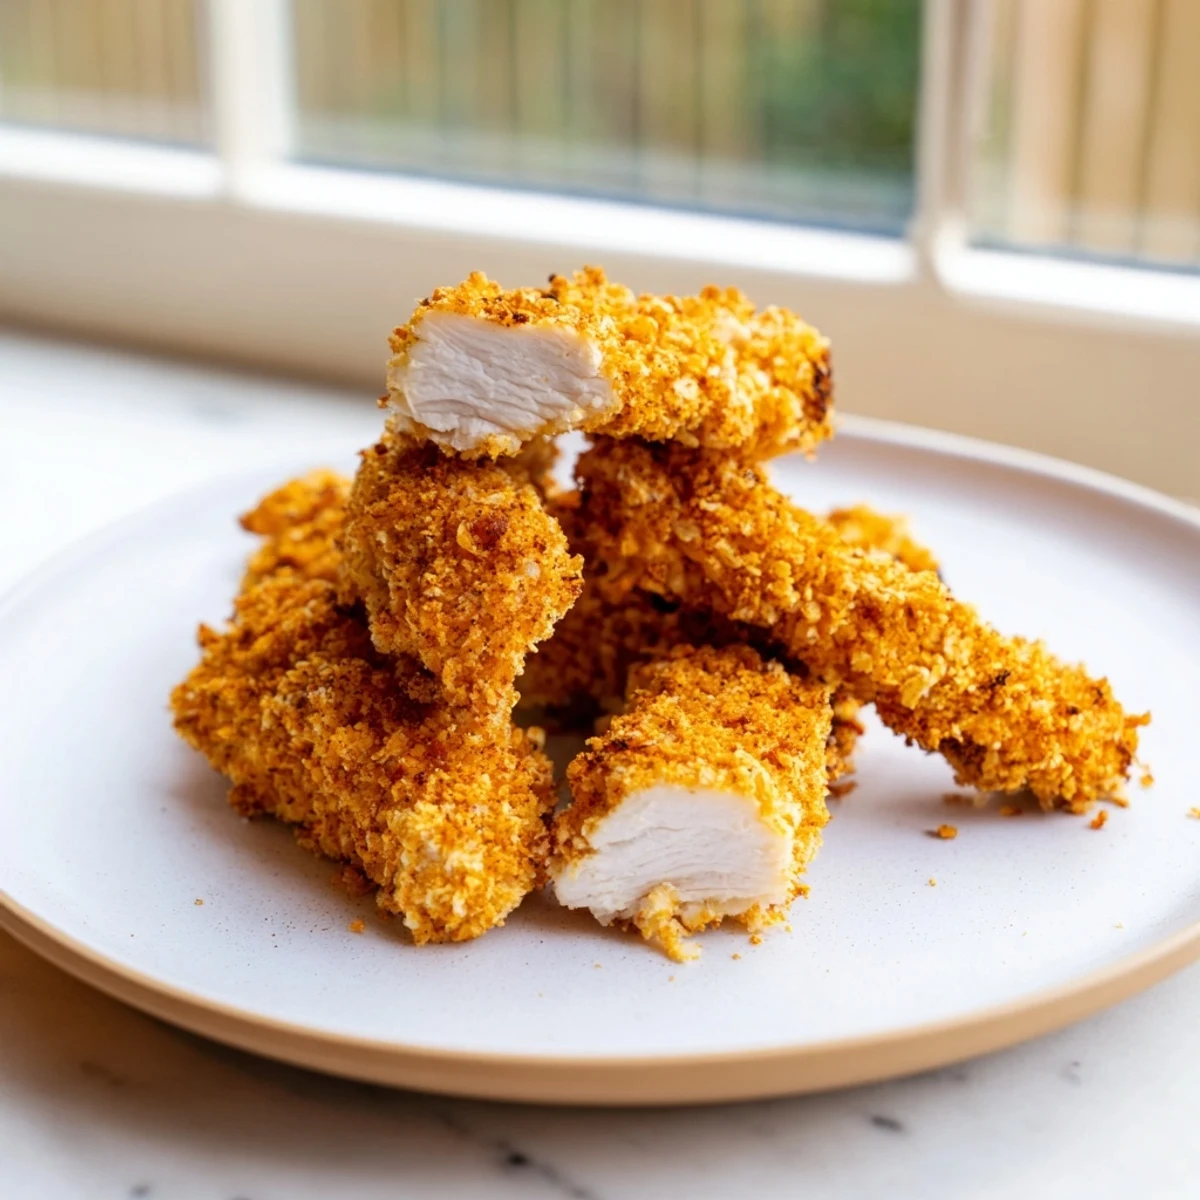
 These chicken tenders are proof that the simplest dishes, made with care and attention, become the ones people remember. Make a batch this week.
Recipe Questions & Answers
- → What type of chicken is best for making crispy tenders?
-
Use chicken breast tenders or chicken breasts sliced into strips for even cooking and optimal juiciness.
- → How can I ensure the coating stays crispy after frying?
-
Double dredging in flour, egg, and breadcrumbs followed by frying at 175°C (350°F) helps achieve a crisp and golden crust.
- → Is it possible to bake these instead of frying?
-
Yes, bake at 200°C (400°F) for 18–20 minutes, flipping halfway, to get crispy tenders with less oil.
- → What seasoning enhances the breadcrumb coating?
-
Adding paprika, garlic powder, onion powder, salt, and pepper gives a flavorful and aromatic crust.
- → Can I substitute the breadcrumbs for gluten-free options?
-
Gluten-free flour and breadcrumbs can be used as substitutes to accommodate dietary needs without sacrificing texture.
- → What dipping sauces complement these chicken tenders?
-
Honey mustard, BBQ sauce, and ranch dressing are popular sauces that pair well with the crispy tenders.
