 Save to Pinterest
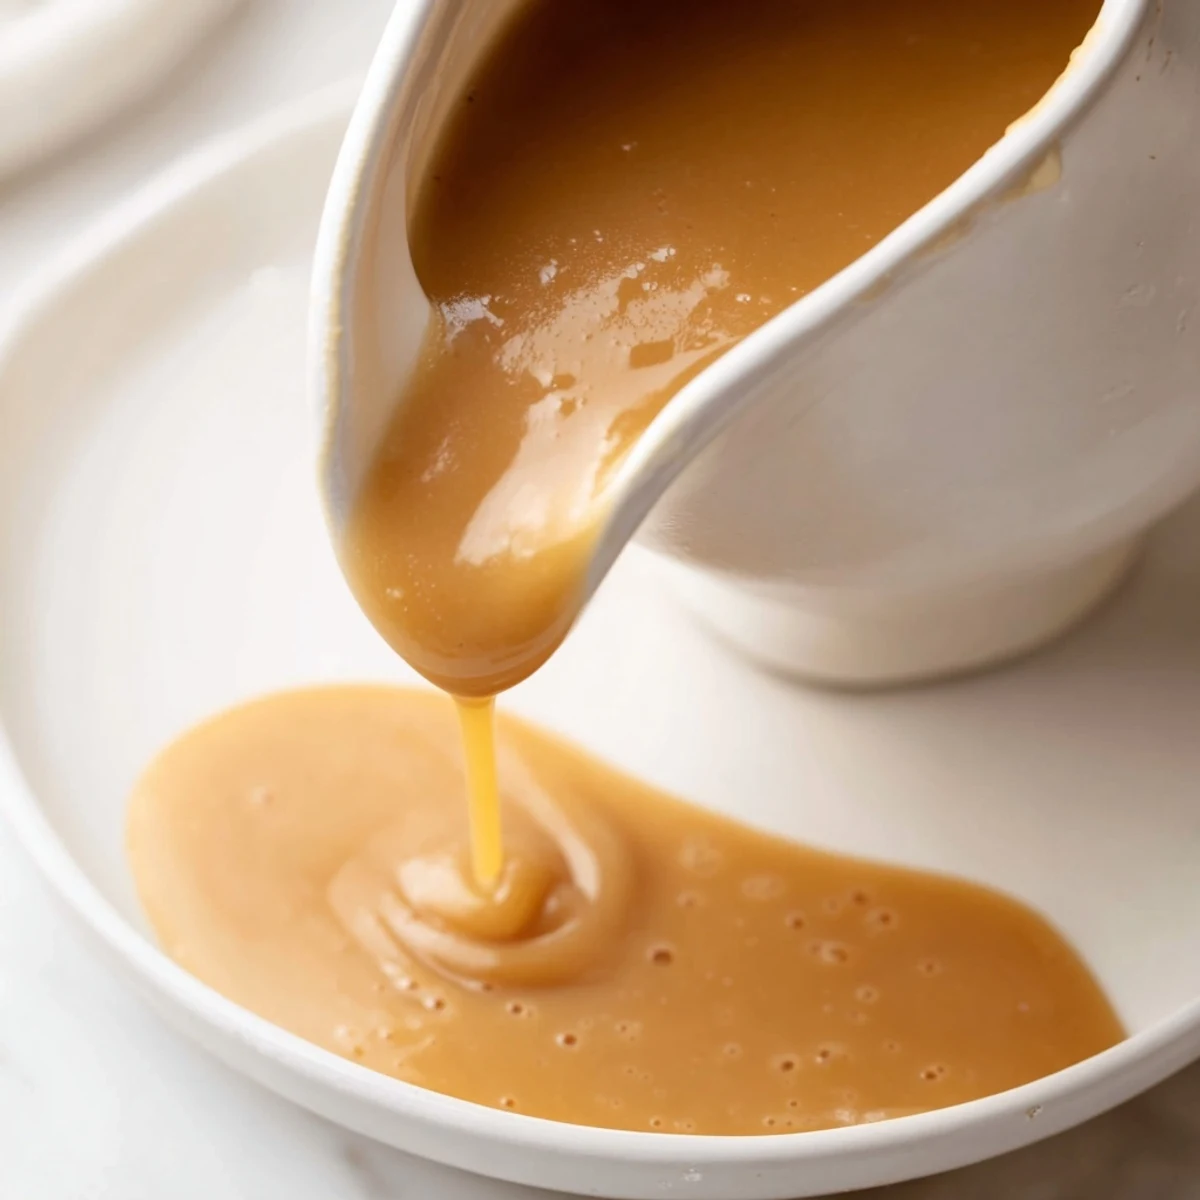
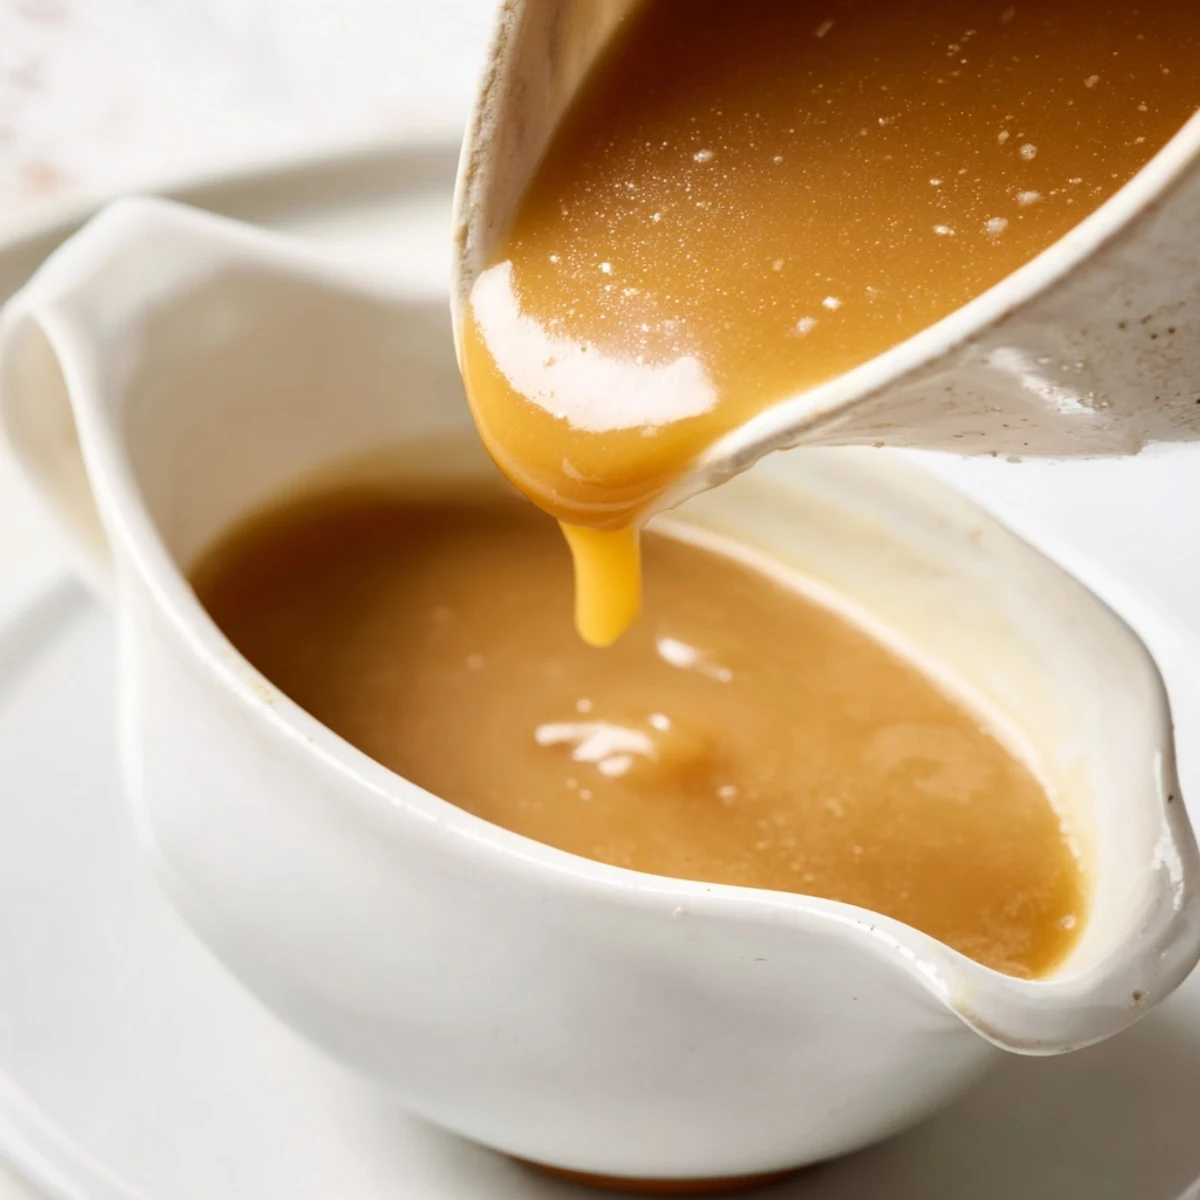
 Craft restaurant-quality gravy at home with this foolproof technique. Start by creating a smooth roux with butter and flour, then gradually whisk in warm stock for lump-free results. The key is constant whisking while adding liquid and simmering until thickened.
This versatile base works with chicken, beef, or vegetable stock depending on your main dish. Season simply with salt and pepper, or add thyme and sage for herbaceous notes. For extra richness, finish with a splash of cream or deepen the flavor with sautéed shallots.
Straining through a fine-mesh sieve guarantees ultra-smooth texture, though this step is optional. Make ahead and reheat gently, adding more stock if needed. Perfect for Thanksgiving, Sunday roasts, or anytime you need that comforting finishing touch.
My grandmother never measured anything when making gravy, which terrified me the first time I tried it alone. She'd swirl her wooden spoon and say 'when it looks like a coat of paint on the back of the spoon, it's ready.' I stood over that pan for twenty minutes, dipping and redipping, until I finally understood what she meant. Now I can tell by the way the bubbles slow down and the sauce glosses over the whisk.
Last Thanksgiving, my brother actually ate his mashed potatoes with a spoon just to get more gravy on every bite. That's when I knew this recipe had become the real star of the meal, not the turkey.
Ingredients
- 4 tbsp unsalted butter: Pan drippings work beautifully too, but starting with butter gives you consistent results every time
- 1/4 cup all-purpose flour: This creates the roux base that thickens everything, and the toasting step removes that raw flour taste
- 2 cups low-sodium chicken stock: Low sodium is crucial here because you'll control the seasoning yourself
- 1/2 tsp kosher salt: Start with this and adjust, remembering that gravy should taste slightly more seasoned than you think
- 1/4 tsp freshly ground black pepper: Freshly ground makes a surprising difference in the final flavor depth
- Optional 1/2 tsp dried thyme or sage: These herbs bridge the gap between everyday dinner and holiday fare
Instructions
- Melt your butter:
- Let it foam and settle in a medium saucepan over medium heat, watching for those tiny brown specks that mean maximum flavor
- Make your roux:
- Whisk in the flour and keep it moving for 2 to 3 minutes until it smells like toasted nuts and turns golden
- Add the stock slowly:
- Pour in just a splash at first, whisking furiously to incorporate before adding more, until everything is smooth
- Let it thicken:
- Bring to a gentle bubble and cook for about 10 minutes, whisking often, until it coats the back of a spoon
- Season and serve:
- Taste first, then add your salt, pepper, and herbs, remembering you can always add more but you can't take it back
 Save to Pinterest
 My daughter now asks for 'gravy bread' as a snack, torn pieces of baguette soaked in whatever leftover sauce we have. Some traditions find you.
Making It Your Own
A splash of cream at the end turns this into something restaurant worthy, while soy sauce adds an umami punch that people notice but can't quite identify. A minced shallot sautéed in the butter before the flour goes in adds sweetness that balances the savory elements beautifully.
Timing Is Everything
Start your gravy about fifteen minutes before you plan to carve or serve, keeping it warm but not boiling. If it gets too thick, whisk in a tablespoon of warm stock or water until it flows again.
Troubleshooting Like A Pro
Too thin? Keep simmering and it will reduce. Too thick? Add liquid. Too salty? Dilute with more stock or unsalted butter. These fixes have saved more than one of my dinners.
- Straining through a fine mesh sieve makes the difference between home cooking and professional smoothness
- Make extra roux and freeze it in tablespoons for instant gravy thickening later
- Always warm your stock before adding it to the roux to prevent shocking the sauce
 Save to Pinterest
 Good gravy turns a Tuesday night meatloaf into something worth gathering around. That's the magic worth holding onto.
Recipe Questions & Answers
- → How do I prevent lumps in my gravy?
-
Whisk constantly while adding stock gradually to the roux. Ensure the roux is smooth before pouring in liquid. If lumps form, strain through a fine-mesh sieve or use an immersion blender to smooth it out.
- → Can I make gravy without pan drippings?
-
Absolutely. Use butter as your fat source instead of drippings. The flour and stock create the base flavor, enhanced by salt, pepper, and herbs. For deeper flavor without drippings, sauté minced shallots or garlic in the butter first.
- → How long will homemade gravy keep?
-
Store cooled gravy in an airtight container in the refrigerator for up to 3 days. Reheat gently on the stovetop, whisking in additional stock or water if it becomes too thick. Gravy can also be frozen for up to 3 months.
- → What's the best thickener for gravy?
-
All-purpose flour creates the classic roux-based gravy with smooth texture. For gluten-free needs, use cornstarch mixed with cold liquid (1:2 ratio) or a certified gluten-free flour blend. Cornstarch creates a glossier finish while flour yields more traditional results.
- → How can I make my gravy more flavorful?
-
Enhance depth by adding a splash of soy sauce or Worcestershire for umami, or a bit of tomato paste for richness. Sautéed shallots, garlic, or mushrooms boost savory notes. Fresh herbs like thyme, sage, or rosemary add aromatic complexity, while a touch of cream creates luxurious mouthfeel.
- → Why is my gravy too thin or too thick?
-
If too thin, continue simmering to reduce, or create a slurry with equal parts flour and cold water, whisk in, and cook 2-3 minutes more. If too thick, gradually whisk in additional warm stock or water until desired consistency is reached. Remember, gravy thickens as it cools.
