 Save to Pinterest
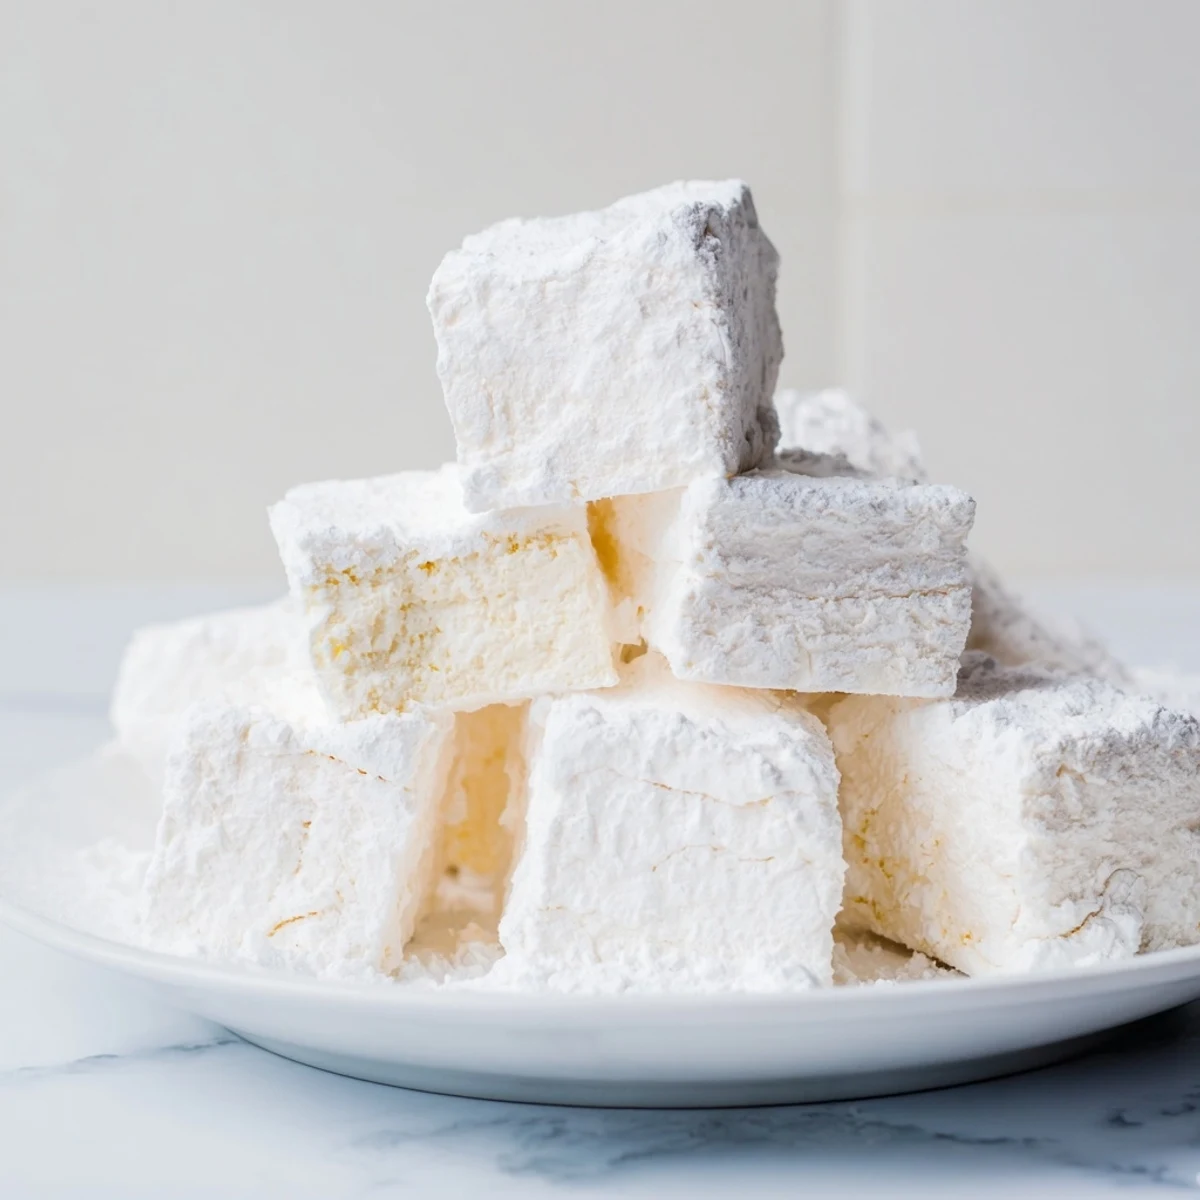
 Craft delicate homemade marshmallows using gelatin, sugar syrup, and pure vanilla extract. The process involves blooming gelatin, cooking sugar to softball stage, then whipping until tripled in volume for that signature fluffy texture. After setting for four hours or overnight, cut into squares and coat with powdered sugar mixture.
These vanilla marshmallows elevate hot chocolate, make exceptional s'mores, or serve as light snacks. Customize with peppermint or almond extracts, add food coloring for festive occasions, or toast until golden for that classic campfire experience.
The kitchen counter was covered in a fine white dust, looking like a winter wonderland had exploded indoors. I had just attempted my first batch of homemade marshmallows, and my arms were trembling from ten minutes of beating what started as liquid into glossy white peaks. When I finally took that first bite of a still-warm, freshly cut square, I understood why people bother making something you can buy for two dollars at the grocery store.
My youngest helped me make these for a summer camping trip, and we ended up eating half the batch before we even packed the car. There is something magical about watching the syrup transform into these pillowy clouds, and kids seem to find that transformation absolutely mesmerizing.
Ingredients
- 1 cup granulated sugar: This forms the structure of your marshmallows, so resist the urge to reduce it even if you want something less sweet
- 1 cup light corn syrup: Prevents crystallization and keeps your marshmallows soft and chewy for days
- 1/4 cup water: Just enough to dissolve the sugar before it reaches temperature
- 1/8 tsp salt: A tiny pinch that balances all that sweetness and makes the vanilla pop
- 3 envelopes unflavored gelatin: The magic ingredient that transforms liquid into fluffy clouds, so do not try to substitute or reduce this
- 1/2 cup cold water: Must be cold to properly bloom the gelatin
- 2 tsp pure vanilla extract: The only flavor that truly matters here, and please use the real stuff
- 1/2 cup confectioners sugar: Coats the outside to keep them from sticking to everything in sight
- 1/2 cup cornstarch: Mix this with the powdered sugar for that classic marshmallow exterior
Instructions
- Prepare your pan:
- Line a 9x9-inch pan with parchment and dust it generously with half your powdered sugar and cornstarch mixture
- Bloom the gelatin:
- Combine gelatin with 1/2 cup cold water in your stand mixer bowl and let it sit for at least 10 minutes while you work on the syrup
- Make the sugar syrup:
- Combine granulated sugar, corn syrup, 1/4 cup water, and salt in a saucepan over medium heat
- Reach the right temperature:
- Bring to a boil without stirring and cook until your thermometer hits exactly 240°F, which takes about 10 to 12 minutes
- Combine and whip:
- With mixer on low, carefully pour the hot syrup into the gelatin, then gradually increase to high and whip for 8 to 10 minutes until tripled in volume
- Add flavor:
- Pour in vanilla and mix for just 30 more seconds to incorporate
- Set the marshmallows:
- Working quickly, scrape the mixture into your prepared pan and smooth the top with a damp spatula
- Wait patiently:
- Dust with remaining sugar mixture and let sit uncovered for at least 4 hours, though overnight is even better
- Cut and coat:
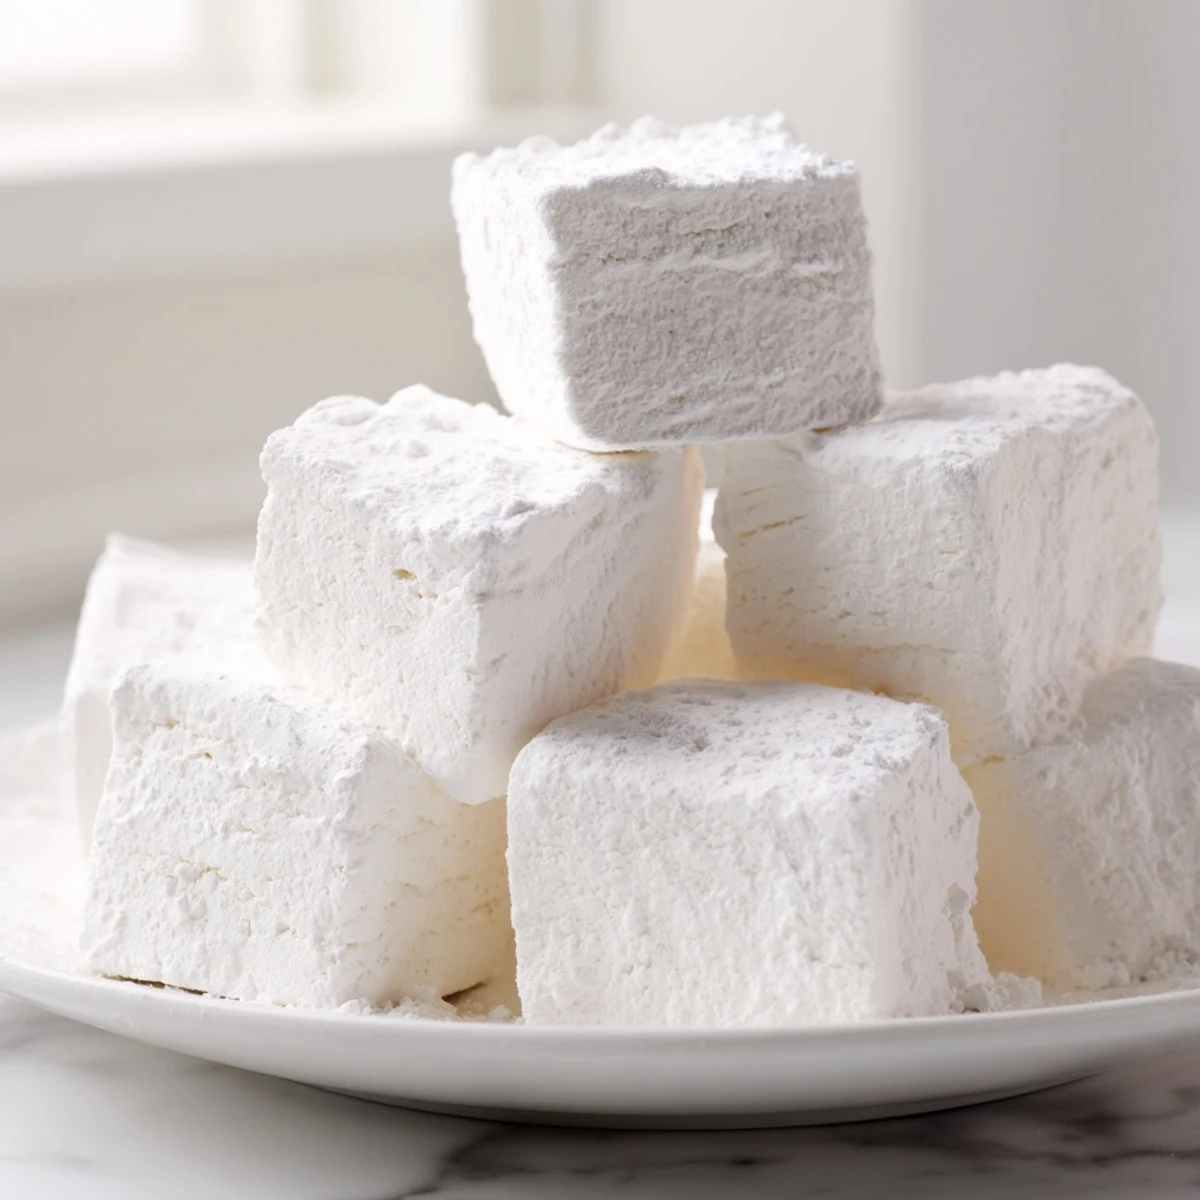
- Turn the slab onto a board, cut into squares with a powdered sugar-dusted knife, and toss each piece in the coating
 Save to Pinterest
 We served these at a winter dinner party, and grown adults were literally fighting over the last piece. Something about homemade marshmallows makes people feel like kids again, and that is the kind of magic worth standing over a hot stove for.
Getting Creative With Flavors
Beyond vanilla, I have made peppermint versions that taste like holiday in a square, and almond extract creates something reminiscent of a fancy Italian candy. A few drops of food coloring during the final whip turns these into festive treats for any holiday or celebration.
Working With The Sticky Stuff
This recipe taught me that patience really is a virtue, especially when waiting for sugar to reach temperature. Rushing the syrup stage always results in marshmallows that do not set properly, and no amount of补救 can save them at that point.
Storage And Serving Ideas
Keep these in an airtight container and they will stay fresh for up to a week, though they rarely last that long in my house.
- Drop them into hot chocolate and watch them melt into this incredible creamy foam
- Toast them over a fire pit for the best s mores you have ever tasted
- Cut them into smaller cubes and fold into homemade rocky road ice cream
 Save to Pinterest
 There is something deeply satisfying about making something from scratch that most people only know from a plastic bag. Happy cooking, and enjoy every fluffy, sweet bite.
Recipe Questions & Answers
- → How long do marshmallows need to set?
-
Allow marshmallows to set at room temperature for at least 4 hours, though overnight setting yields the best texture. The mixture needs this time to firm completely before cutting.
- → Can I make marshmallows without a stand mixer?
-
A stand mixer with whisk attachment works best for achieving proper volume, but a hand mixer can suffice. Expect longer whipping time—potentially 12-15 minutes—to reach the thick, tripled volume needed.
- → Why use a candy thermometer?
-
Heating sugar syrup to exactly 240°F (115°C) ensures proper marshmallow structure. Too cool and marshmallows won't set; too hot creates tough, rubbery texture.
- → How should I store homemade marshmallows?
-
Keep in an airtight container at room temperature for up to 1 week. The sugar-cornstarch coating prevents sticking and maintains freshness. Avoid refrigeration as moisture alters texture.
- → Can I substitute corn syrup?
-
Glucose syrup works identically. Honey or maple syrup change flavor dramatically and affect texture due to different sugar composition. For best results, stick with corn or glucose syrup.
