 Save to Pinterest
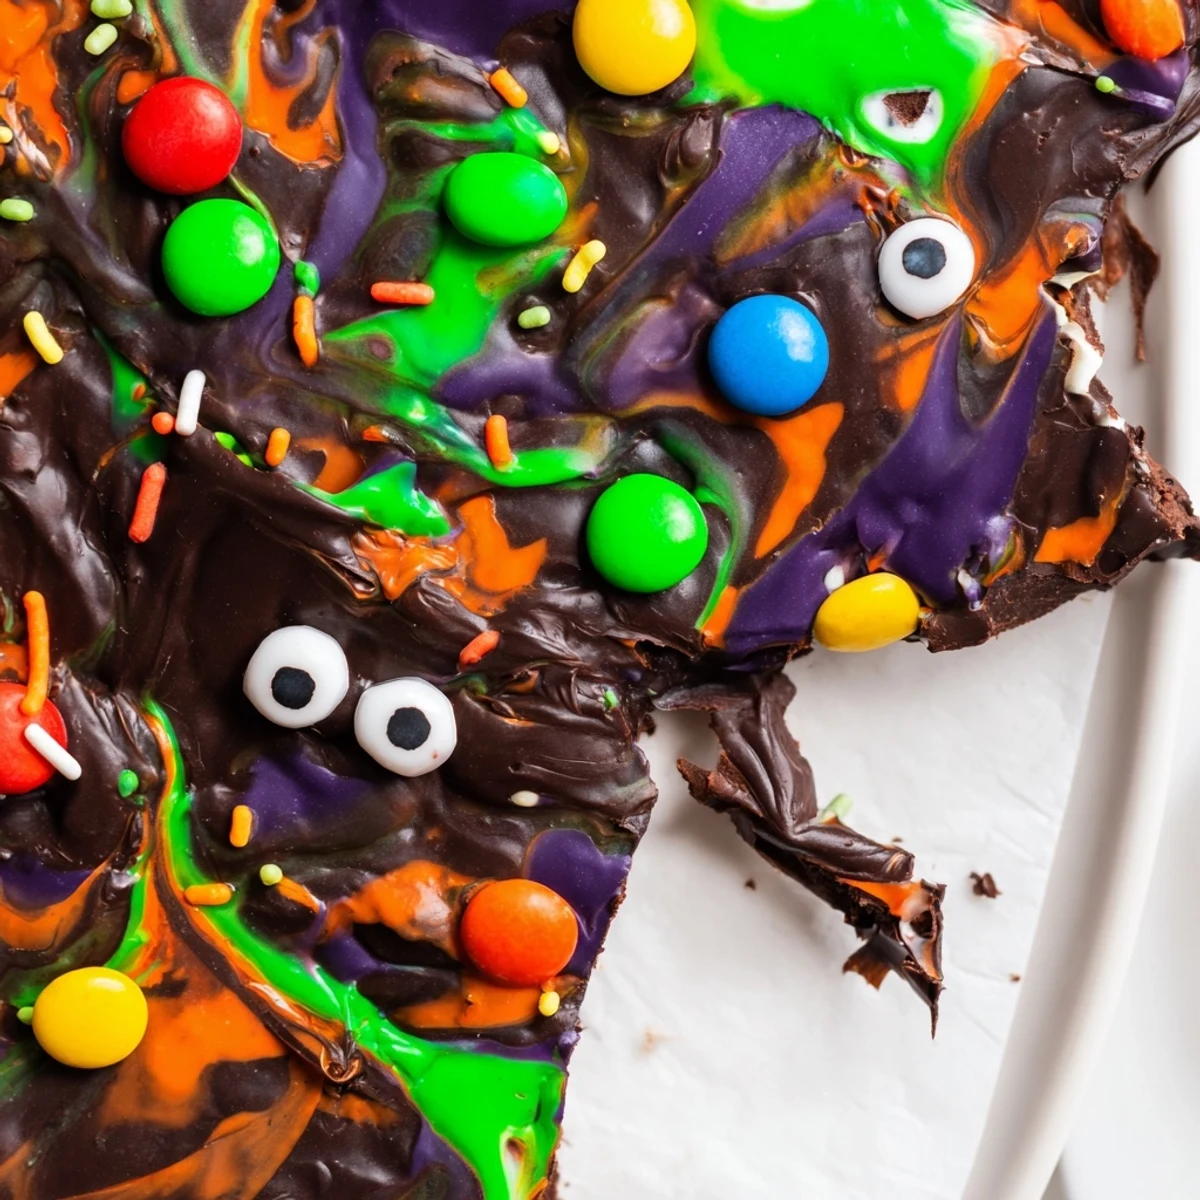
 This festive Halloween treat combines smooth semisweet and white chocolate swirled together with colorful candy melts. The marbled chocolate base gets topped with playful candy eyes, mini candy-coated chocolates, and Halloween sprinkles for a spooky presentation. Quick to prepare in just 20 minutes, this bark breaks easily into shareable pieces that delight both children and adults at autumn gatherings.
Last October, my niece decided we were 'too old' for regular Halloween treats and demanded something that looked like it came from a potion shop. We ended up in my kitchen at midnight, surrounded by more candy than any adult should legally possess, creating swirling patterns in chocolate while cackling over our cauldron creations. The bark looked so ridiculous and fun that it immediately became the most requested treat at every gathering since.
I brought a platter to my office's annual potluck last year, expecting it to sit beside the store-bought cookies. Within fifteen minutes, people were messaging me from different departments asking who made the 'witch bark' and whether I had hidden more in the breakroom. Something about those googly candy eyes staring back from swirled chocolate makes people genuinely happy.
Ingredients
- Semisweet chocolate chips (2 cups): This creates your dark canvas and provides that classic chocolate bark foundation that holds everything together
- White chocolate chips (1 cup): The creamy contrast that makes those spooky swirls really pop against the darker base
- Colorful candy melts (1/2 cup): Pick Halloween shades like purple, green, and orange to create those magical swirling effects
- Mini candy-coated chocolates (1/2 cup): These add fun pops of color and extra sweetness throughout the bark
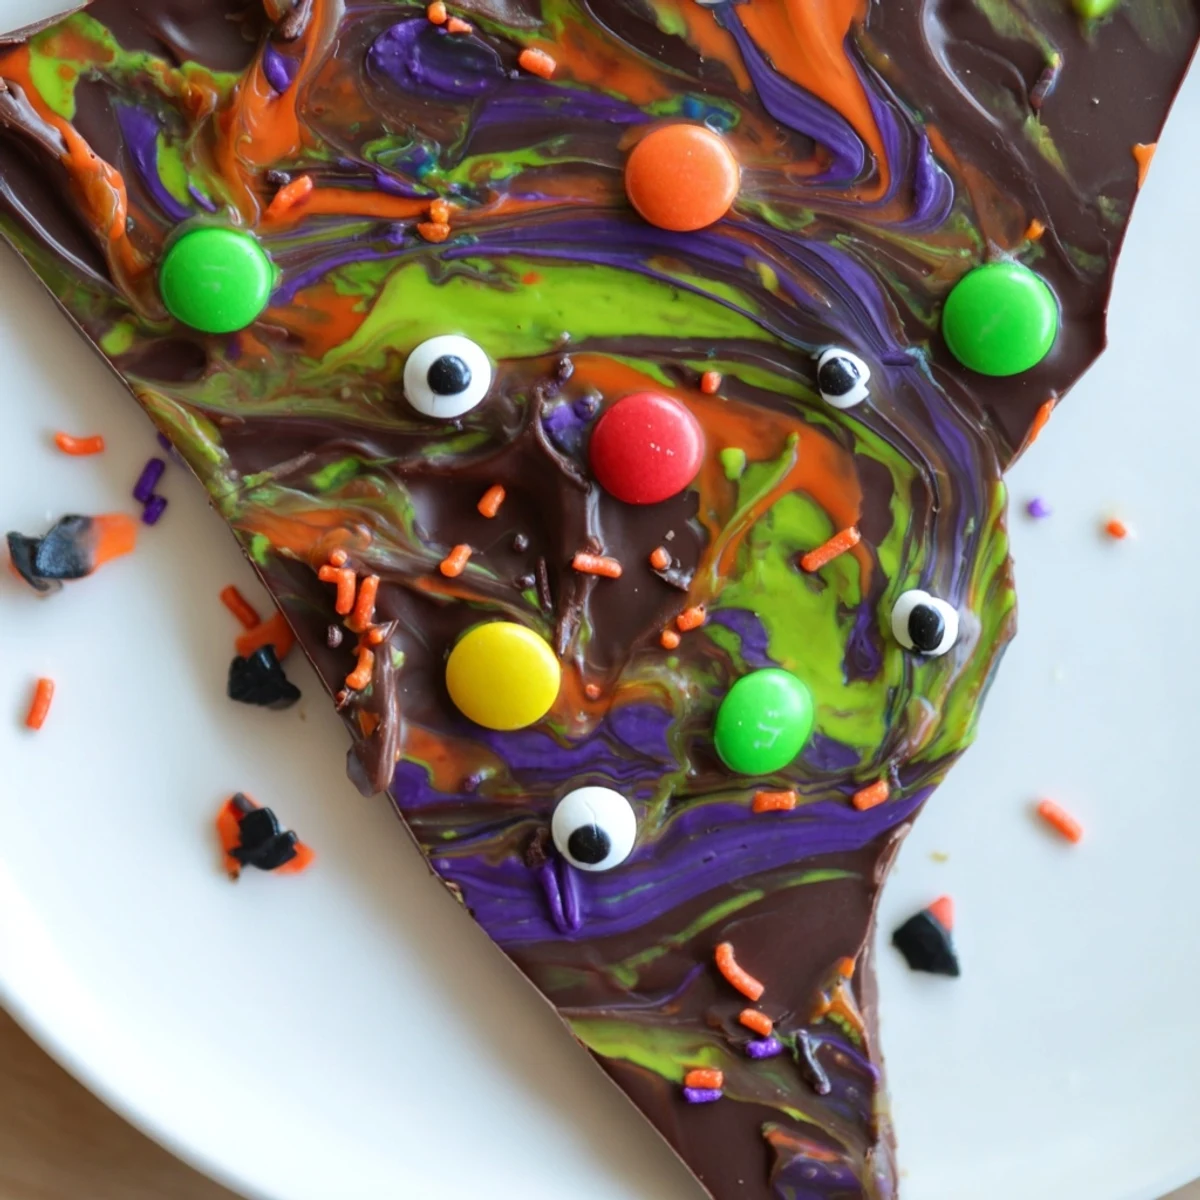
- Candy eyes (1/4 cup): The absolute MVP ingredient that transforms this from regular chocolate bark into something watching you
- Halloween sprinkles (1/4 cup): Final sparkly touches that catch the light and make everything look festive
Instructions
- Prep your canvas:
- Line a baking sheet with parchment paper, making sure it covers the entire surface with some overhang for easy removal later
- Create the dark base:
- Melt the semisweet chocolate in a microwave-safe bowl, heating in 30-second bursts and stirring between each until perfectly smooth and glossy
- Spread it out:
- Pour the melted dark chocolate onto your prepared sheet and spread it into an even layer about 1/4 inch thick, working quickly before it starts setting
- Melt the magical colors:
- In separate microwave-safe bowls, melt the white chocolate and colored candy melts using 20-second intervals, stirring each until smooth and pourable
- Swirl and swoop:
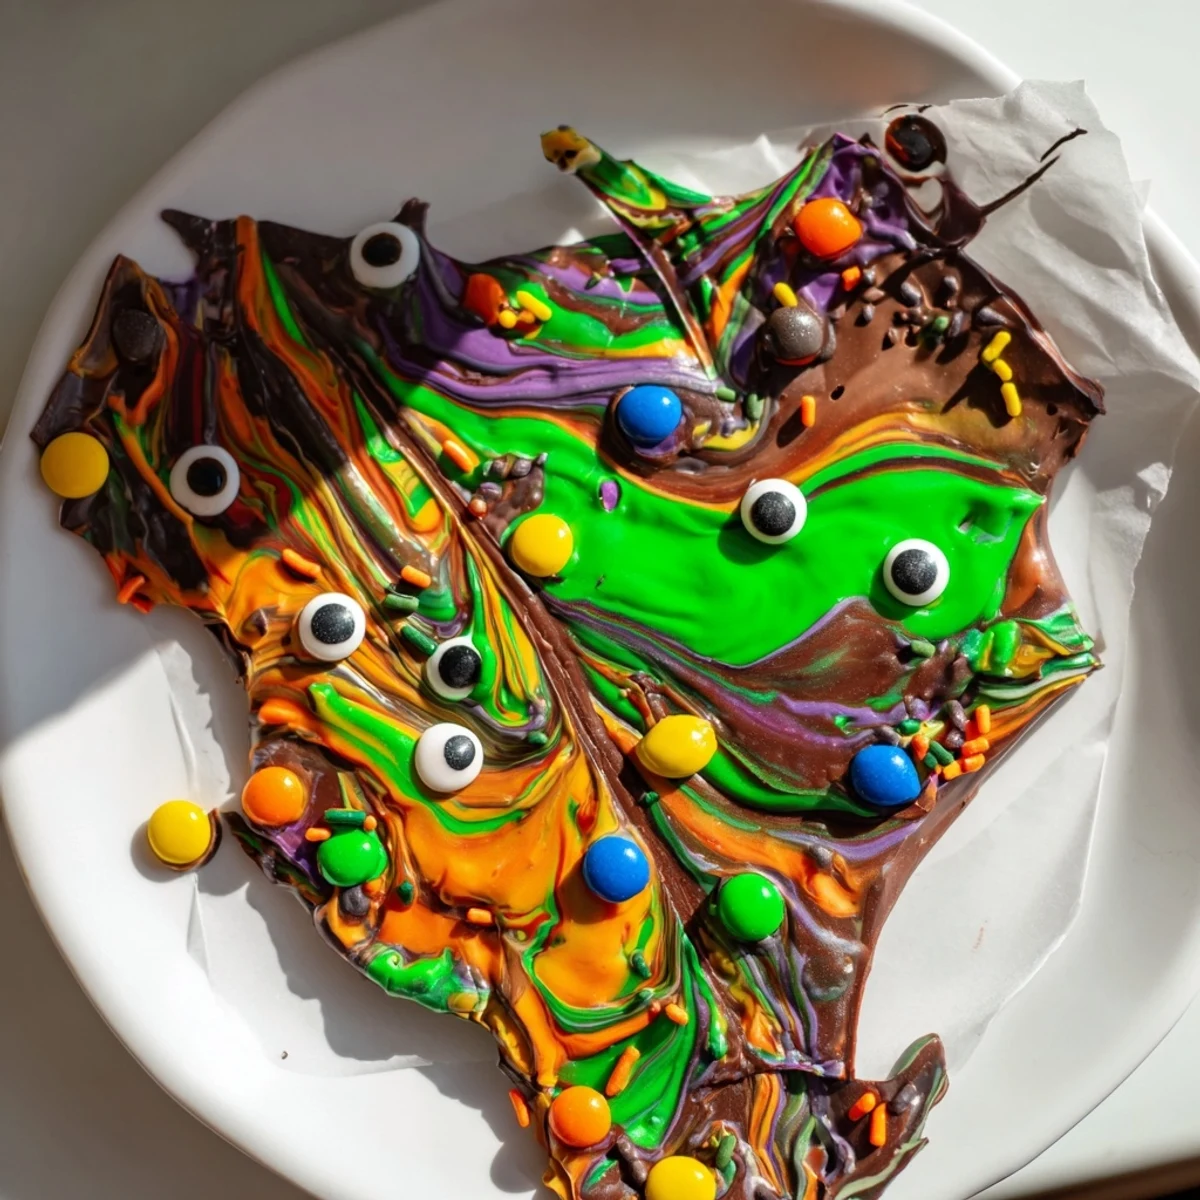
- Drop spoonfuls of the white and colored chocolates randomly over the dark base, then drag a toothpick through the puddles to create marbled patterns like swirling smoke
- Add the spooky personality:
- While everything is still warm and slightly tacky, scatter the candy-coated chocolates, press in those googly eyes, and shower with Halloween sprinkles
- Let it set:
- Leave the bark at room temperature for about an hour, or speed things up by refrigerating for 10 to 15 minutes until completely firm
- Break it apart:
- Use your hands to snap the bark into irregular, rustic pieces that look enticingly handmade and wonderfully messy
 Save to Pinterest
 My three-year-old godson helped me make a batch last weekend, and he took his job of placing candy eyes very seriously. Every time I turned around, another set of eyes had appeared, staring up from the chocolate like tiny sugary creatures emerging from a swamp.
Making It Your Own
Sometimes I swap the semisweet chocolate for milk chocolate when making this for kids who prefer sweeter treats. One friend added crushed pretzels to her version, creating this amazing salty-sweet crunch that everyone kept trying to identify.
Swirling Secrets
The marbling effect works best when your colored chocolates are slightly warmer than the base layer, so they flow easily when you drag the toothpick through them. If the colors feel too thick, pop them back in the microwave for just ten seconds.
Storage Solutions
This bark keeps beautifully for up to a week when stored in an airtight container at room temperature, which means you can make it days before your Halloween party. Layer the pieces between parchment paper to prevent sticking.
- Keep it away from direct sunlight or heat sources
- Avoid the refrigerator for long-term storage as condensation can make the chocolate bloom
- Package individual pieces in clear bags for instant party favors
 Save to Pinterest
 There is something deeply satisfying about breaking chocolate by hand, hearing that snap and revealing the jagged edges with their hidden treasures inside. It is the kind of treat that makes people smile before they even take a bite.
Recipe Questions & Answers
- → How long does it take to make this Halloween bark?
-
The entire process takes about 20 minutes total—15 minutes for preparation and 5 minutes for actual cooking time in the microwave. You'll need an additional 10–15 minutes for the chocolate to set completely before breaking into pieces.
- → Can I use different types of chocolate?
-
Absolutely. While semisweet chocolate provides a classic flavor, you can substitute milk chocolate for a sweeter taste or dark chocolate for a more intense cocoa profile. The melting method remains the same regardless of your chocolate choice.
- → How should I store the finished bark?
-
Keep your bark in an airtight container at cool room temperature for up to one week. Avoid storing in the refrigerator unless necessary, as condensation can cause the chocolate to bloom and lose its glossy appearance.
- → Is this treat nut-free?
-
The basic ingredients are nut-free, but you must carefully check all candy brands for allergen warnings. Many chocolate chips and candies are processed in facilities that handle nuts. Look for certified nut-free options if serving guests with allergies.
- → What other decorations can I add?
-
Get creative with your toppings. Pretzel pieces add satisfying crunch, chopped nuts provide texture (if allergies permit), edible glitter creates sparkle, or crushed cookies make fun additions. Adjust decorations to match your Halloween theme.
- → Why did my chocolate seize while melting?
-
Chocolate seizes when exposed to moisture or overheated. Always use dry bowls and utensils, melt in short 20–30 second intervals, and stir thoroughly between each interval. If seizing occurs, adding a teaspoon of vegetable oil can sometimes rescue the texture.
