 Save to Pinterest
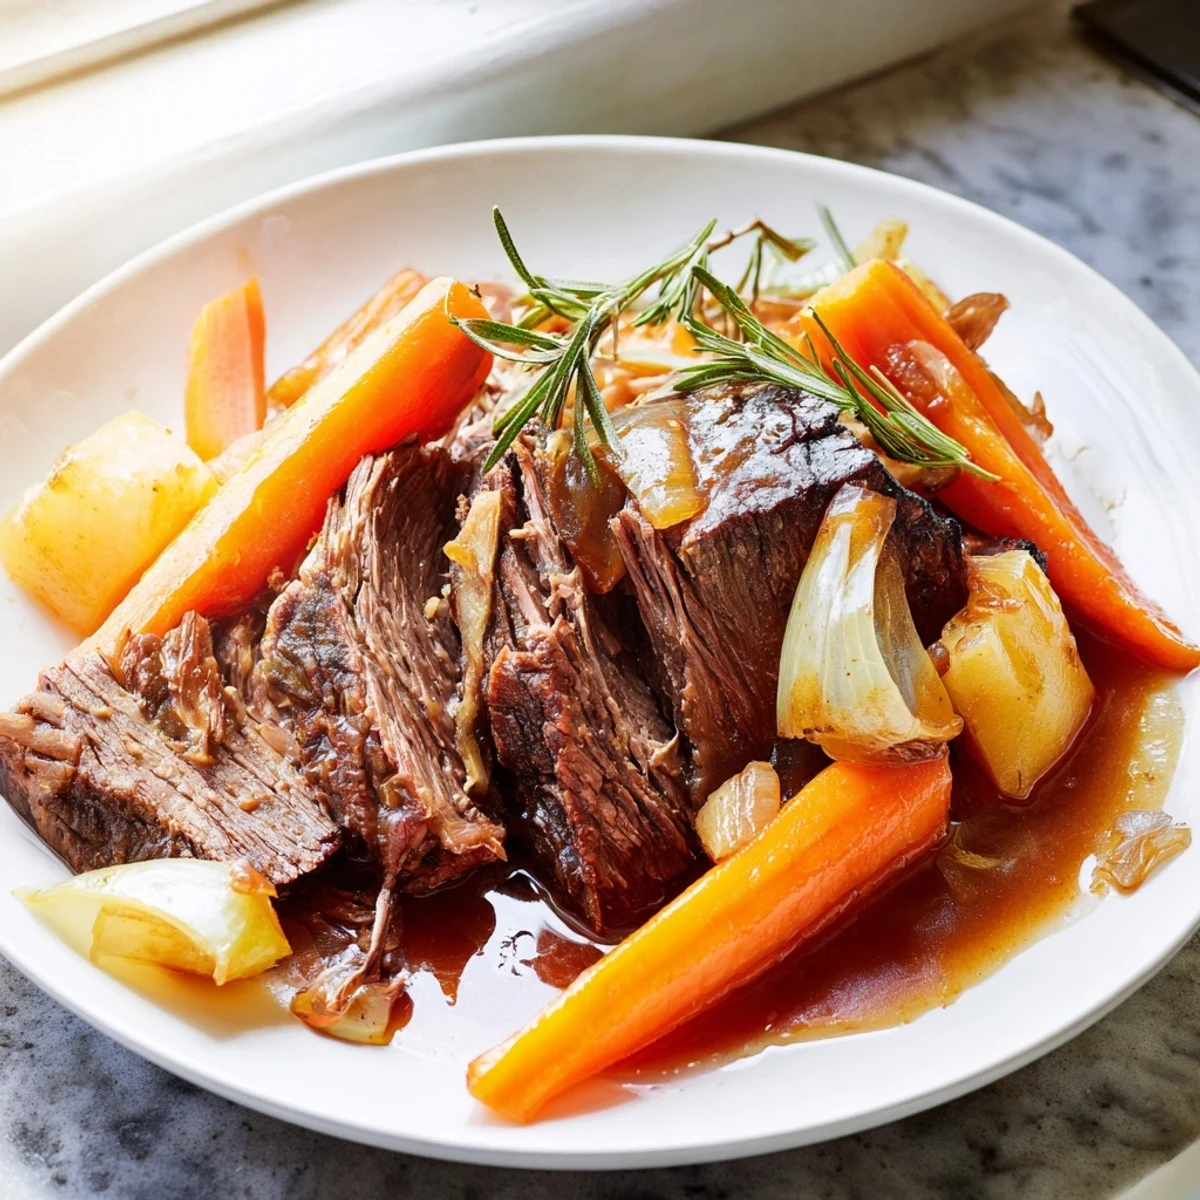
 This classic American pot roast features a well-seasoned beef chuck seared to a deep brown crust, then slow-braised in the oven for three hours alongside carrots, celery, and onions in a luscious mixture of beef broth, red wine, and tomato paste.
The low-and-slow cooking method transforms the tough chuck into a melt-in-your-mouth centerpiece, while the aromatic vegetables and herbs — thyme, rosemary, and bay leaves — infuse every bite with deep, savory flavor.
Serve the sliced or shredded beef with the tender vegetables and spoonfuls of rich pan juices for a hearty, comforting meal that feeds six.
The screen door slapped shut behind me on a January afternoon so cold my breath hung in the kitchen like smoke, and my grandmother stood at the stove browning a roast that crackled and hissed against the cast iron. She never measured anything, just tilted her wrist and let the salt rain down like she was watering a garden. That sound, fat hitting hot metal, is permanently wired into whatever part of my brain decides its time to cook something that feels like a hug.
My first solo attempt at pot roast ended with a smoke alarm solo concert and a slightly charched onion that my dog refused to eat, which really tells you everything. I called my grandmother and she laughed so hard she had to put the phone down, then came back and told me the secret is patience, not talent. Every pot roast since has been an exercise in remembering that kitchen wisdom travels through small failures.
Ingredients
- 1 (3 to 4 lb) beef chuck roast: Chuck is the workhorse here with its marbling that melts into silk during the long braise, so skip the leaner cuts unless you enjoy disappointment.
- 3 large carrots, peeled and cut into large pieces: Thick chunks hold their shape and soak up the broth like sponges, turning sweet and savory at once.
- 3 celery stalks, cut into chunks: These disappear into the background flavor but you will absolutely notice if you forget them.
- 1 large yellow onion, quartered: The onion caramelizes in the fond and builds the deep base that makes the whole pot taste like it took all week.
- 3 to 4 cloves garlic, smashed: Smashed rather than minced so they release their flavor slowly and mellow into something almost sweet.
- 2 cups beef broth: Check the label for gluten free certification if that matters to you, because not all brands are created equal.
- 1 cup dry red wine (optional): A Cabernet or Merlot adds a layer of fruity depth, but extra broth works fine if you prefer to skip it.
- 2 tablespoons tomato paste: This little spoonful is the umami bomb that ties everything together and gives the sauce its rich color.
- 2 teaspoons kosher salt: Season with confidence, because a bland pot roast is a tragedy that no amount of gravy can fix.
- 1 teaspoon freshly ground black pepper: Freshly cracked makes a real difference here since the pepper has time to bloom during the long cook.
- 1 teaspoon dried thyme: Rub it between your palms before adding to wake up the oils and release more fragrance.
- 2 sprigs fresh rosemary: Whole sprigs are easy to fish out later and they perfume the entire pot without overpowering anything.
- 2 bay leaves: Do not forget to remove these before serving unless you enjoy your guests playing a dangerous game of culinary roulette.
- 2 tablespoons olive oil: Just enough to get a hard sear on the meat without burning, and it carries flavor beautifully.
Instructions
- Get the oven ready:
- Set your oven to 300 degrees Fahrenheit and move a rack to the lower middle position so your Dutch oven sits centered in the gentle heat.
- Dry and season the meat:
- Pat the chuck roast thoroughly dry with paper towels because moisture is the enemy of a good sear, then coat all sides generously with the kosher salt and pepper.
- Build the crust:
- Heat olive oil in your Dutch oven over medium high until it shimmers and just starts to smoke, then lay the roast in and do not touch it for four to five minutes per side until you get a deep mahogany brown crust that smells like Sunday itself.
- Sweat the aromatics:
- Transfer the seared roast to a plate and drop in the onions, carrots, and celery, stirring them around in the leftover fat until they pick up some color and smell incredible, then add the smashed garlic and tomato paste for one minute of constant stirring.
- Deglaze the pot:
- Pour in the red wine and use a wooden spoon to scrape up every last bit of browned goodness stuck to the bottom, letting it bubble and reduce for two to three minutes until the harsh alcohol smell cooks off.
- Bring it all together:
- Nestle the roast back into the pot, pour in the beef broth, and tuck in the thyme, rosemary sprigs, and bay leaves, then bring everything to a gentle simmer on the stovetop before clamping on the lid.
- Let time do the work:
- Transfer the covered pot to the oven and walk away for three hours, resisting every urge to peek, until the roast yields to a fork like butter left on a warm counter.
- Finish and serve:
- Remove the pot from the oven, discard the bay leaves and bare herb stems, then slice or shred the beef and serve it piled high with the vegetables and ladled with the rich pan juices.
 Save to Pinterest
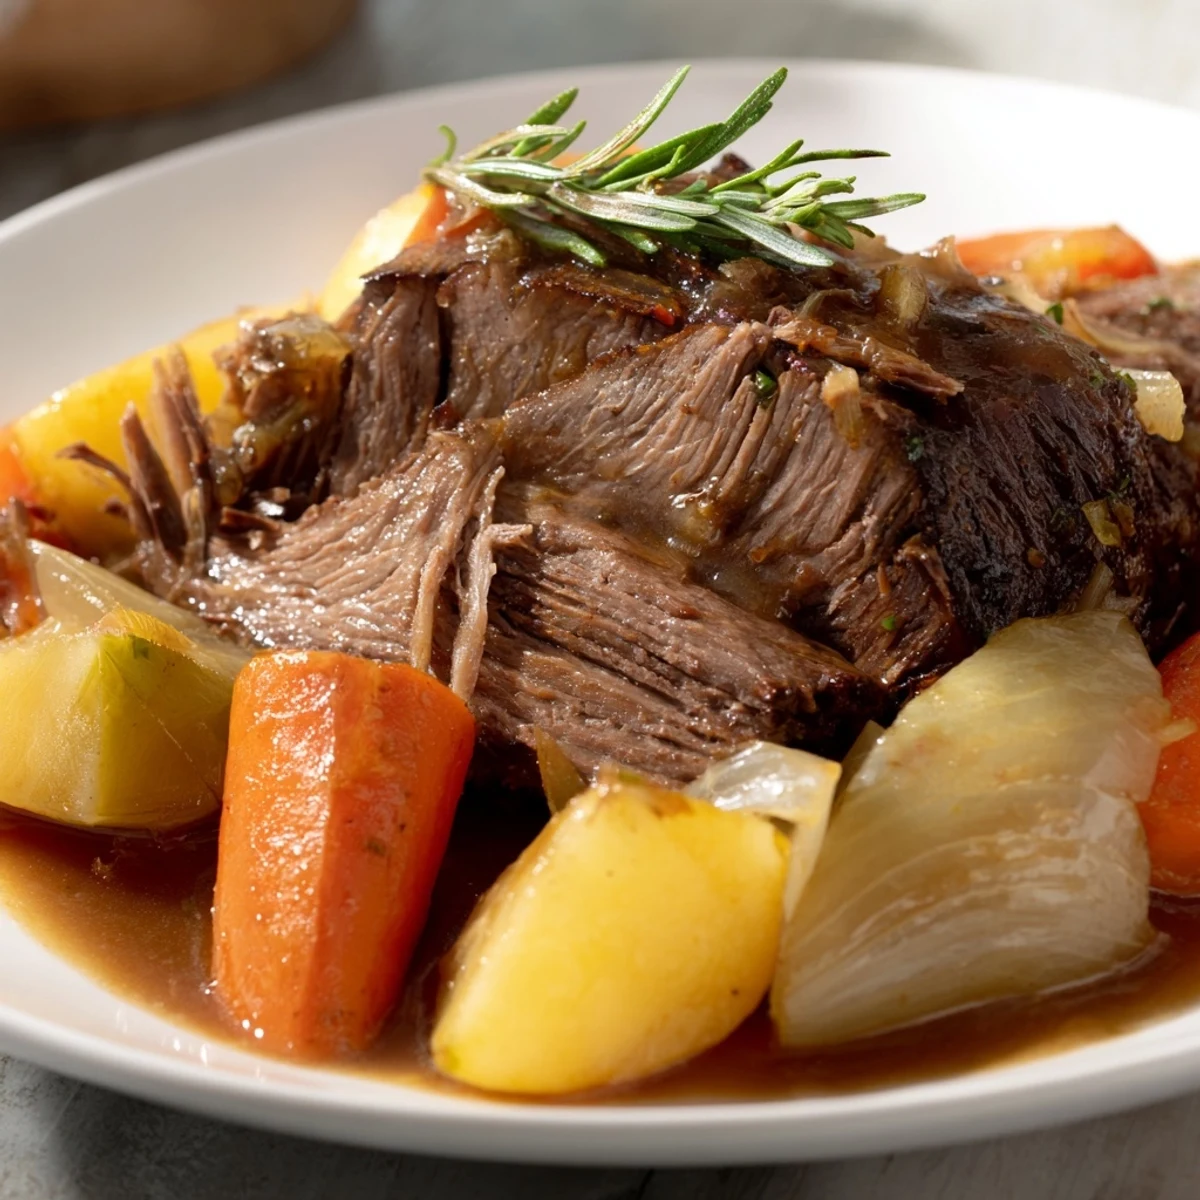
 One rainy Saturday my youngest nephew wandered into the kitchen while the roast was braising, stood on his tiptoes to sniff at the crack in the Dutch oven lid, and announced that it smelled like the house was hugging him. I set the table while the light went golden through the window, and we ate until we were drowsy, the kind of meal that makes people sit at the table long after the plates are empty.
The Right Tools Make It Easier
A heavy Dutch oven is really the MVP here because it holds heat evenly and traps moisture like a sealed cave, and I learned the hard way that lightweight pots lead to uneven cooking and dried out edges. A sturdy pair of tongs saves your forearms from hot splatter when you flip a heavy roast, and a sharp chef knife makes quick work of the vegetables. You do not need fancy equipment but you do need a pot with a tight fitting lid that can move from stovetop to oven without drama.
Making It Your Own
Toss in a handful of halved parsnips or fingerling potatoes during the last hour if you want extra heft, and they will drink up the broth and turn golden and collapsing. My neighbor swears by adding a tablespoon of balsamic vinegar at the end for brightness, and honestly it works beautifully. This recipe forgives substitutions confidently, so use what you have and trust your instincts.
Leftovers Are the Reward
Shredded pot roast piled onto crusty bread with a smear of horseradish the next day might actually be better than the original meal, and I will fight anyone who disagrees. The leftover pan juices reduce into the most incredible dipping sauce with just a few minutes on the stove. Any remaining meat and vegetables can vanish into a soup pot with extra broth for a second dinner that feels like a gift.
- Store leftovers in the braising liquid to keep everything moist and flavorful for up to four days.
- Frozen leftover meat with some juice thaws beautifully for quick weeknight sandwiches.
- Always taste the pan juices before serving and adjust salt if needed, because reduction concentrates flavors unpredictably.
 Save to Pinterest
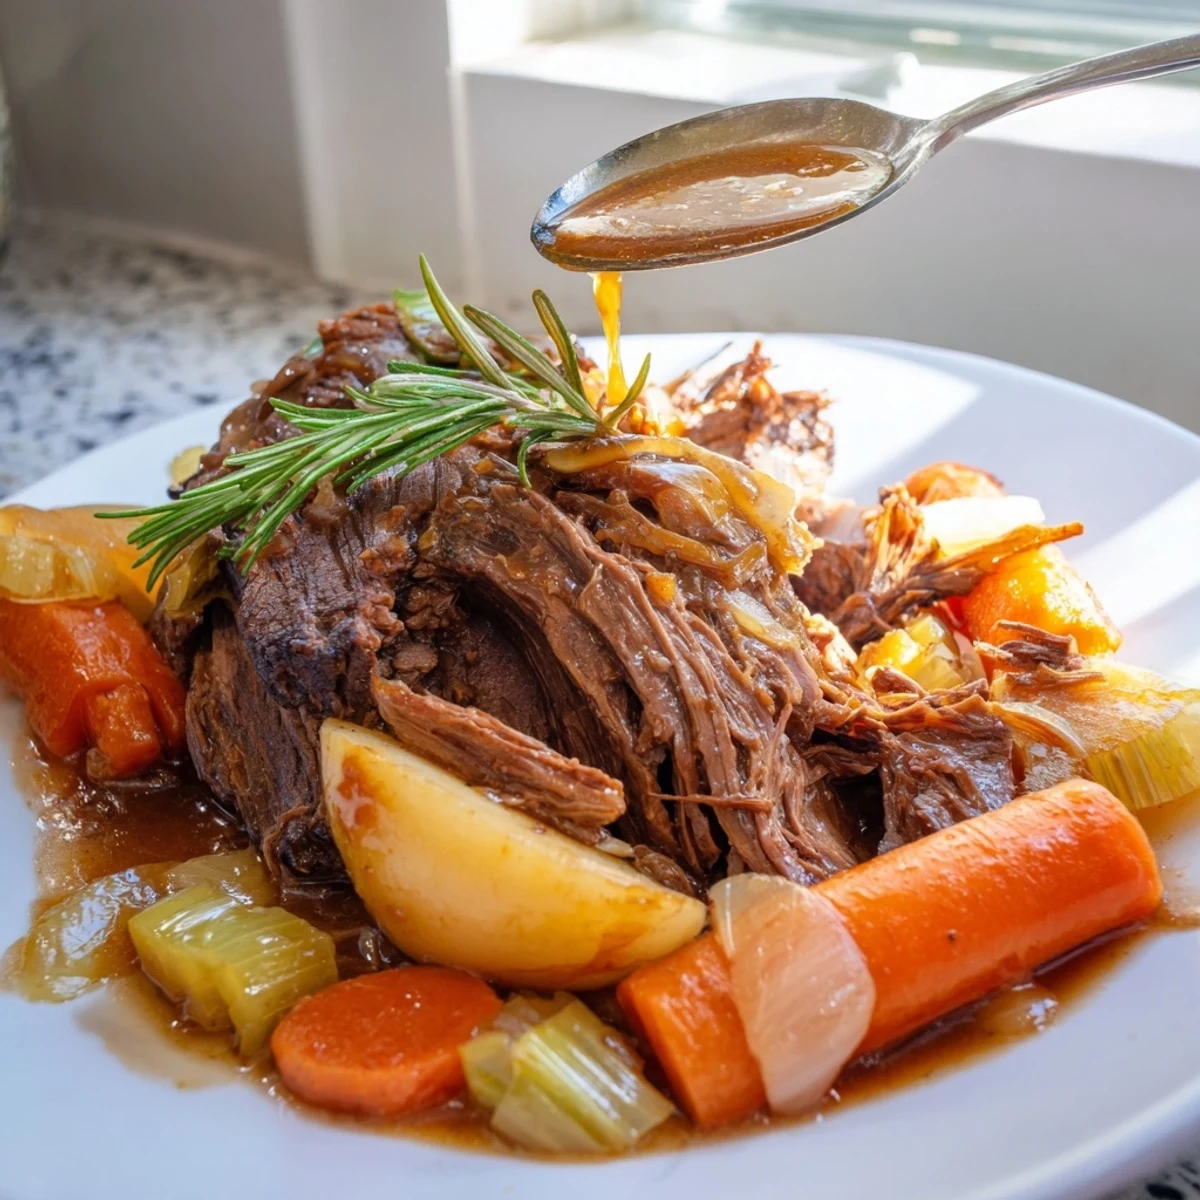
 Some recipes feed people and some recipes feed the room itself, and this pot roast fills every corner with a warmth that makes everyone linger a little longer at the table. That is really all cooking needs to do.
Recipe Questions & Answers
- → What cut of beef works best for pot roast?
-
Beef chuck roast is the ideal choice for pot roast. Its marbling and connective tissue break down during the long, slow braise, resulting in incredibly tender, flavorful meat. Chuck shoulder or arm roast are also excellent alternatives.
- → Can I make pot roast without red wine?
-
Absolutely. Simply replace the red wine with an additional cup of beef broth. The dish will still develop rich, deep flavors from the tomato paste, herbs, and the browning of the meat and vegetables.
- → Why do I need to sear the roast before braising?
-
Searing the roast creates a caramelized crust through the Maillard reaction, which adds layers of flavor that permeate the entire dish during the braising process. This step also locks in juices and gives the meat an appealing golden-brown exterior.
- → How do I know when the pot roast is done?
-
The roast is ready when it is fork-tender, meaning a fork slides in and out of the meat with very little resistance. This typically takes about 3 hours at 300°F. The meat should easily pull apart or slice without any tough or chewy spots.
- → Can I add potatoes to this pot roast?
-
Yes, potatoes are a wonderful addition. Add quartered Yukon Gold or russet potatoes during the last hour of cooking so they become tender without turning mushy. Parsnips and turnips also work beautifully for extra heartiness.
- → What should I serve with pot roast?
-
Serve the pot roast with its vegetables and pan juices over creamy mashed potatoes, buttered egg noodles, or crusty bread to soak up the flavorful broth. A simple green salad or steamed green beans makes a refreshing side.
