 Save to Pinterest
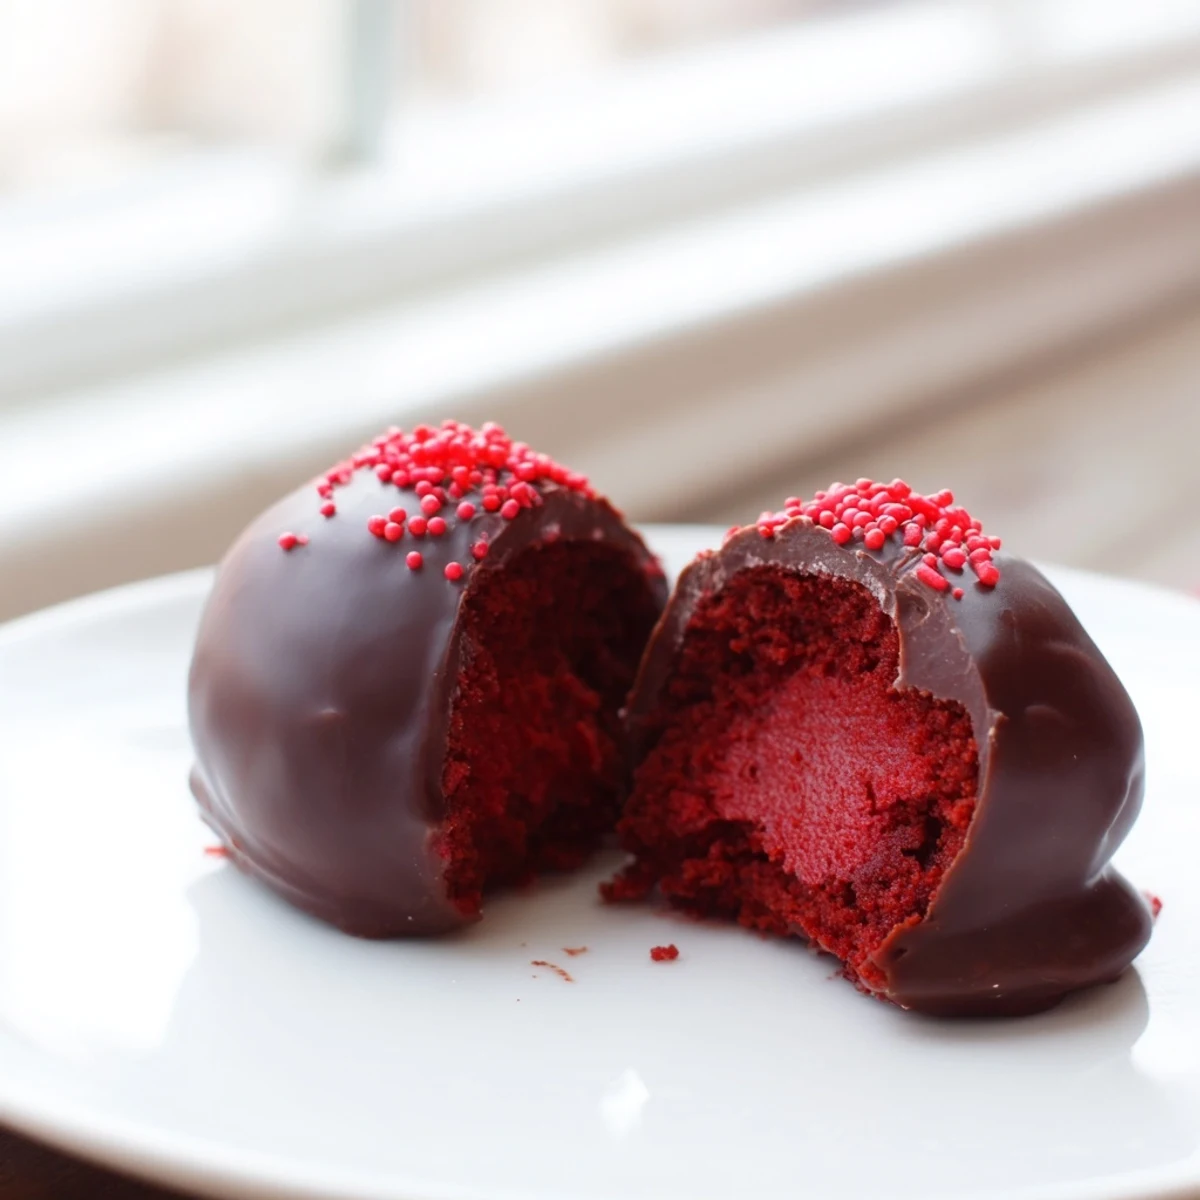
 These red velvet cheesecake balls combine the best of both worlds—rich, moist red velvet cake and creamy cheesecake filling—all dipped in smooth chocolate for an elegant finish. The process is straightforward: bake a classic red velvet cake, prepare a sweetened cream cheese mixture, combine them into a dough, roll into balls, then coat in your choice of white or dark chocolate.
The result is a stunning two-toned dessert that looks impressive on any dessert table. The chilling time is essential—freezing the balls for an hour ensures they hold their shape during dipping. You can customize with different chocolate coatings, add sprinkles for festive occasions, or even infuse the cheesecake mixture with your favorite liqueur for an adult variation.
Store them in the refrigerator for up to a week, or freeze them for a month—though they rarely last that long once guests get a taste. Perfect for holiday platters, birthday celebrations, or whenever you want to serve something that looks as good as it tastes.
The batter screamed red, the kind of red that makes you double check you did not accidentally empty the entire bottle. My sister walked in, took one look at the mixing bowl, and said that looks like a crime scene. Two hours later she ate six of these balls standing up in my kitchen and refused to admit they were good.
I brought a tray of these to a holiday potluck expecting them to disappear into the sea of cookies and fudge. Within twenty minutes the tray was empty and three people texted me the next morning asking for the recipe. My coworker Karen, who never compliments anything, called them sinful. That is when I knew this one was a keeper.
Ingredients
- All-purpose flour (1 1/4 cups or 160 g): The backbone of the cake. Spoon it into the measuring cup rather than scooping directly or you will pack it too dense and get rubbery balls.
- Granulated sugar (3/4 cup or 150 g): Standard white sugar works perfectly here. Do not try to cut back on it because the sweetness balances the tang of the cream cheese.
- Unsweetened cocoa powder (2 tbsp or 16 g): Just enough to give that subtle chocolate undertone without making it taste like a brownie.
- Baking soda (1/2 tsp): A tiny lift is all you need since this cake is meant to be dense and moist for crumbling.
- Salt (1/4 tsp): Do not skip this. It sharpens every other flavor in the cake.
- Buttermilk (1/2 cup or 120 ml, room temperature): This is what makes the cake tender. If you do not have any, stir a half teaspoon of vinegar into regular milk and wait five minutes.
- Unsalted butter (1/2 cup or 110 g, softened): Let it sit out until it holds a thumbprint easily. Cold butter leaves lumps in the batter.
- Large eggs (2, room temperature): Room temperature eggs blend more smoothly into the batter and help the cake rise evenly.
- Vanilla extract (1 tsp for cake plus 1/2 tsp for filling): Use the real stuff if you can. imitation vanilla dulls the overall flavor noticeably.
- Red food coloring (1 tbsp): Gel food coloring gives you bolder color with less liquid. Liquid works too but you may need a bit more.
- Cream cheese (8 oz or 225 g, softened): Full fat brick style cream cheese is the only way to go here. The spreadable kind in a tub will make the filling too loose.
- Powdered sugar (1/4 cup or 30 g): A little goes a long way in the filling. It sweetens without making it grainy.
- White or dark chocolate (10 oz or 285 g): Melting wafers are the easiest option for a smooth even coating. Chopped bar chocolate works but add a teaspoon of coconut oil to help it flow.
- Red or white sprinkles (optional): Purely for fun but they do make people smile before they bite in.
Instructions
- Bake the red velvet cake:
- Preheat your oven to 350F (175C). Grease and line an 8x8 inch pan with parchment. Whisk the flour, sugar, cocoa, baking soda, and salt in one bowl. In another, combine the buttermilk, butter, eggs, vanilla, and red food coloring until evenly colored. Fold the wet into the dry until just smooth, then pour into the pan and bake 18 to 20 minutes until a toothpick comes out clean. Let it cool completely, which takes about an hour and you cannot rush this part.
- Whip the cheesecake filling:
- Beat the softened cream cheese with powdered sugar and vanilla until silky and lump free. If your kitchen is warm and the mixture feels too soft, pop it in the fridge for 15 minutes so it firms up enough to hold its shape inside the balls.
- Form the balls:
- Crumble the cooled cake into a large bowl with your fingers until no large chunks remain. Add the cheesecake mixture and work it together with your hands or a spoon until it forms a cohesive dough. Roll into one inch balls and set them on a parchment lined sheet. Freeze for a full hour until they are rock solid, which makes dipping dramatically easier.
- Dip in chocolate:
- Melt the chocolate in a microwave safe bowl in 20 second bursts, stirring between each round until glossy and smooth. Drop a frozen ball in, roll it with a fork to coat every side, then lift it out and tap the fork gently on the bowl edge to shed excess chocolate. Set each one back on the parchment and add sprinkles immediately before the shell hardens.
- Let them set:
- Leave the balls at room temperature until the chocolate firms up, or refrigerate for about 15 minutes if you are impatient. Serve them chilled or at room temperature, though I think chilled is best because the cheesecake center stays dense and truffle like.
 Save to Pinterest
 One Christmas Eve my niece helped me make these and she ate so many cake crumbs during the crumbling step that she declared herself full before dinner. She still asks for them every year, and now she is old enough to dip them herself without dropping half of them in the bowl.
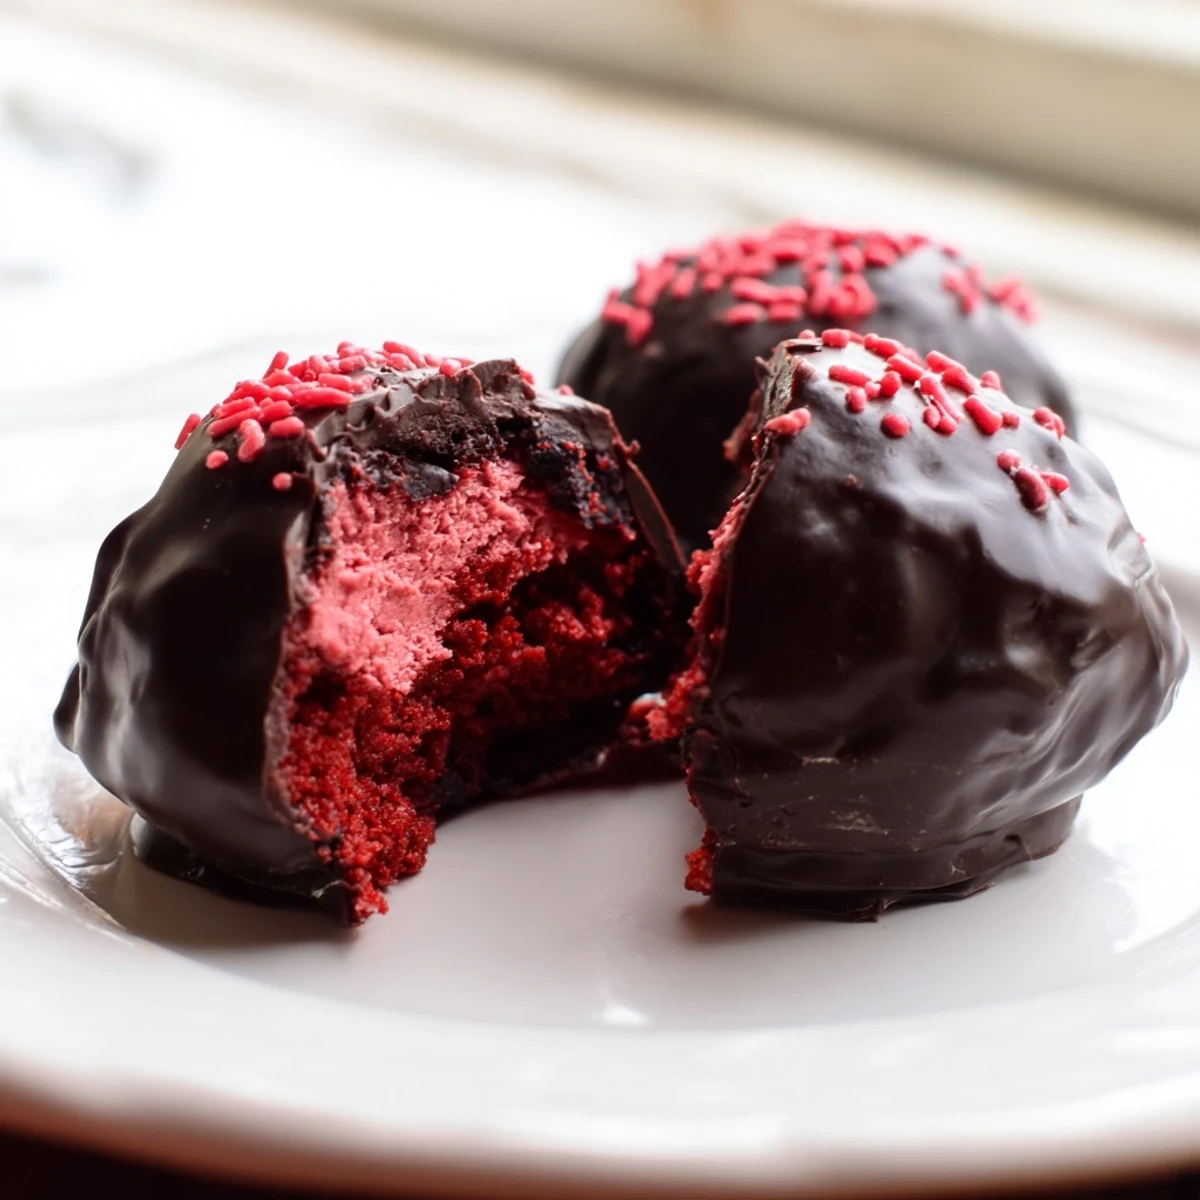
Choosing Your Chocolate Coating
White chocolate gives a beautiful contrast against the red interior and looks striking when you bite through. Dark chocolate adds a slight bitterness that balances the sweetness of the cake and filling. Ruby chocolate is a wild card option that turns the whole thing pink on the outside and deep red inside, which teenagers seem to love. Whatever you choose, use good quality chocolate because the coating is the first thing people taste and a waxy coating ruins the whole experience.
Making Them Ahead for Parties
These balls are one of the best make ahead desserts I know. They hold perfectly in an airtight container in the fridge for up to a week, and the flavors actually deepen after a day or two as the cake and cheesecake meld together. You can also freeze them for up to a month, just layer parchment between them so they do not stick. Pull them out an hour before serving and they thaw beautifully without any soggy spots.
Flavor Variations Worth Trying
Once you have the basic method down, you can start playing around with additions that make each batch feel completely different. A tablespoon of Bailey's or Chambord in the cheesecake filling turns these into a genuinely adult dessert that surprises people at dinner parties. You can also roll the finished balls in crushed graham crackers, toasted coconut, or finely chopped pecans instead of dipping them in chocolate for a completely different texture. My favorite twist is adding a single frozen raspberry inside each ball before dipping, which creates a tart little surprise in the center.
- Try adding a half teaspoon of espresso powder to the cake batter for a deeper chocolate note.
- Roll the edges in crushed freeze dried strawberries instead of sprinkles for a naturally colored finish.
- Always taste the cake and filling mixture before rolling to make sure the sweetness level is where you want it.
 Save to Pinterest
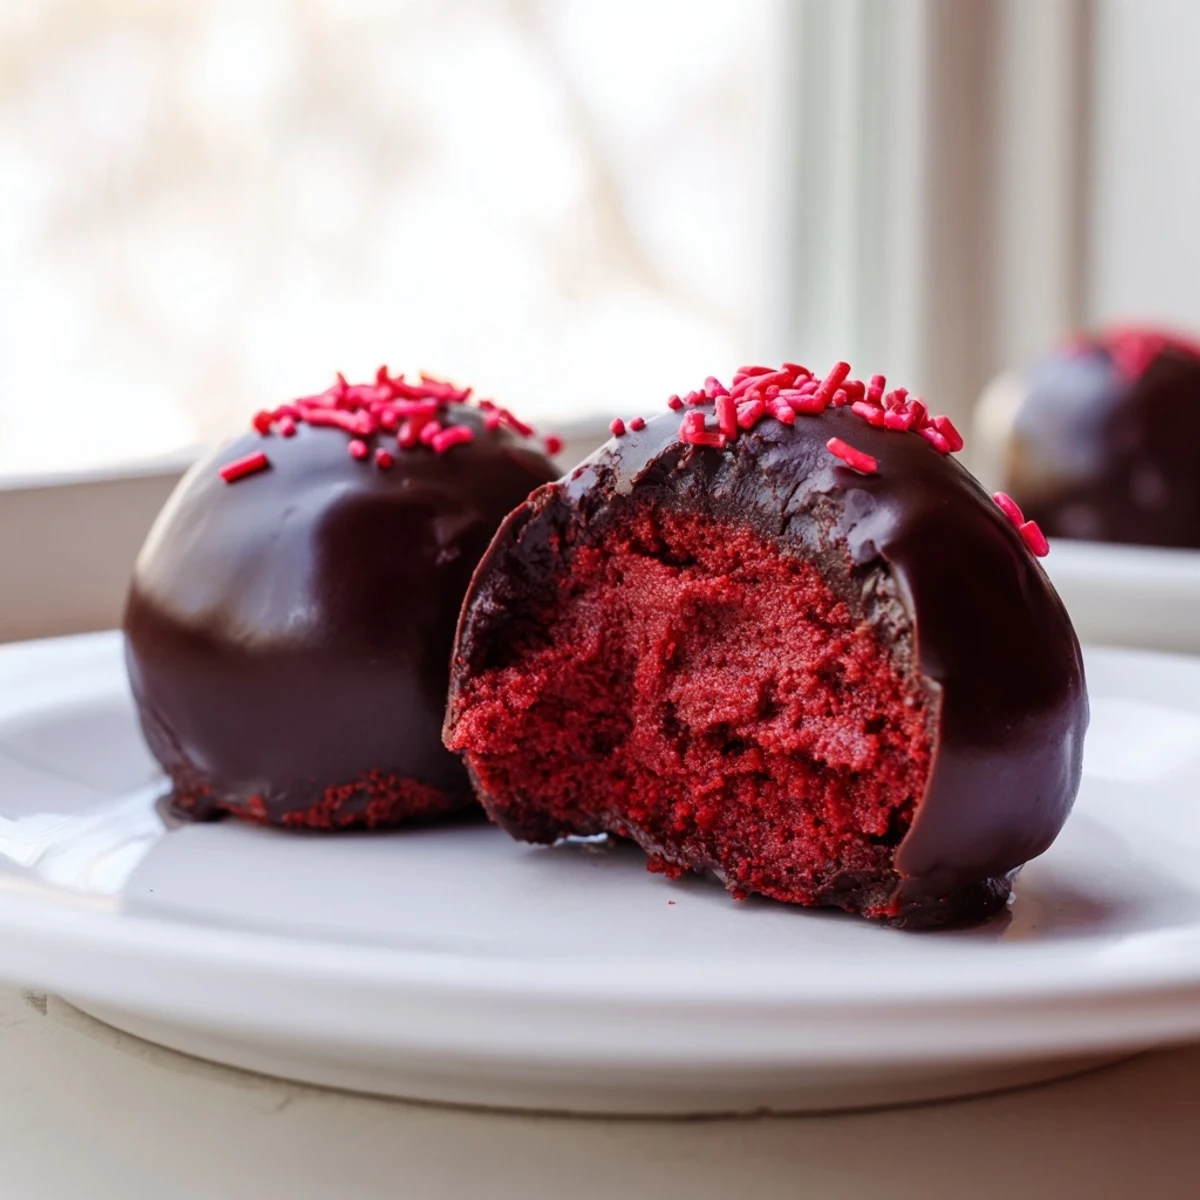
 These little red velvet cheesecake balls are proof that the best desserts do not need to be complicated to be unforgettable. Make a batch, share them with someone you love, and watch them disappear.
Recipe Questions & Answers
- → Can I make red velvet cheesecake balls ahead of time?
-
Absolutely! These balls are perfect for preparing in advance. You can make them up to a week before serving and store them in an airtight container in the refrigerator. They also freeze beautifully for up to a month—just thaw them in the fridge overnight before serving. The chocolate coating actually helps preserve them and keeps them fresh.
- → What type of chocolate works best for coating?
-
Both white and dark chocolate create stunning visual contrast against the red velvet. Dark chocolate provides a sophisticated flavor balance, while white chocolate offers a sweeter, creamier finish. For easiest dipping, use chocolate wafers or melting chips specifically designed for coating—they melt smoothly and set beautifully at room temperature.
- → Why do my cheesecake balls crack when dipping?
-
Cracking typically happens when the balls are too cold or the chocolate is too hot. Let your chilled balls sit at room temperature for about 5 minutes before dipping. Heat your chocolate to 90-95°F (32-35°C)—not boiling hot. Work quickly but gently, and tap off excess chocolate rather than shaking vigorously.
- → Can I use store-bought red velvet cake instead of baking from scratch?
-
Yes! A store-bought red velvet cake or cake mix works perfectly fine. You'll need about 4 cups of crumbled cake. This shortcut saves time without compromising flavor. Just ensure the cake is completely cooled before crumbling and combining with the cheesecake mixture.
- → How do I prevent the chocolate from seizing when melting?
-
Melt chocolate slowly using 20-second intervals in the microwave, stirring thoroughly between each interval. Avoid getting any water into the chocolate—even a drop can cause seizing. If your chocolate does seize, add a teaspoon of vegetable oil and stir vigorously to smooth it out again.
- → What's the best way to roll uniform balls?
-
Use a small cookie scoop to portion out equal amounts of mixture before rolling—this ensures consistent sizing. Roll gently between your palms with light, even pressure. If the mixture feels too sticky, lightly grease your hands with a bit of butter or oil. Aim for about 1-inch diameter for the perfect bite-sized treat.
