 Save to Pinterest
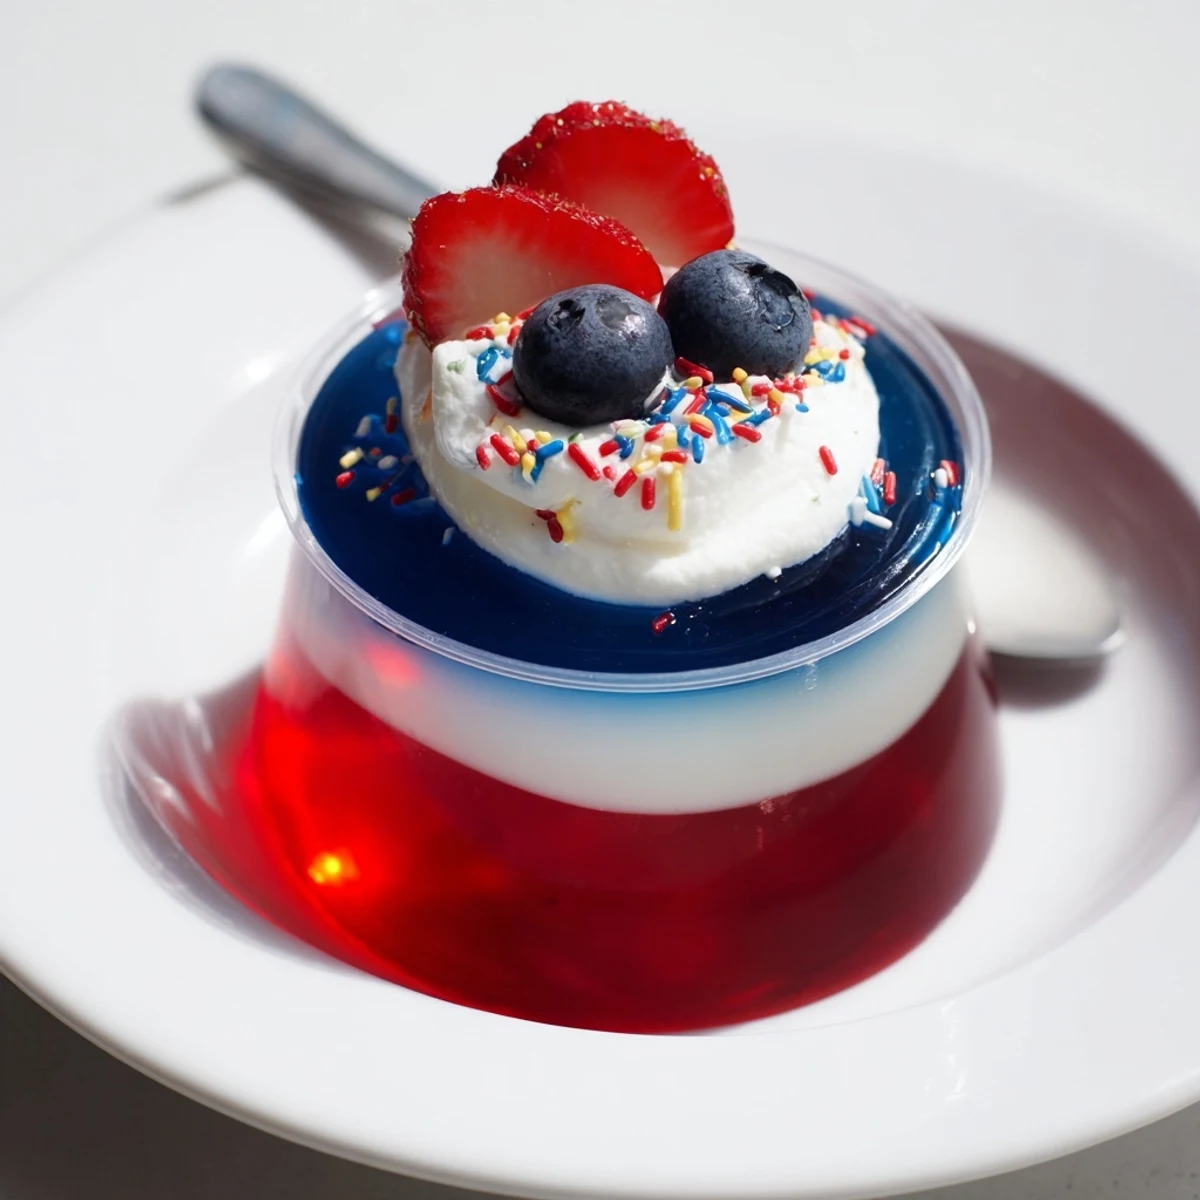
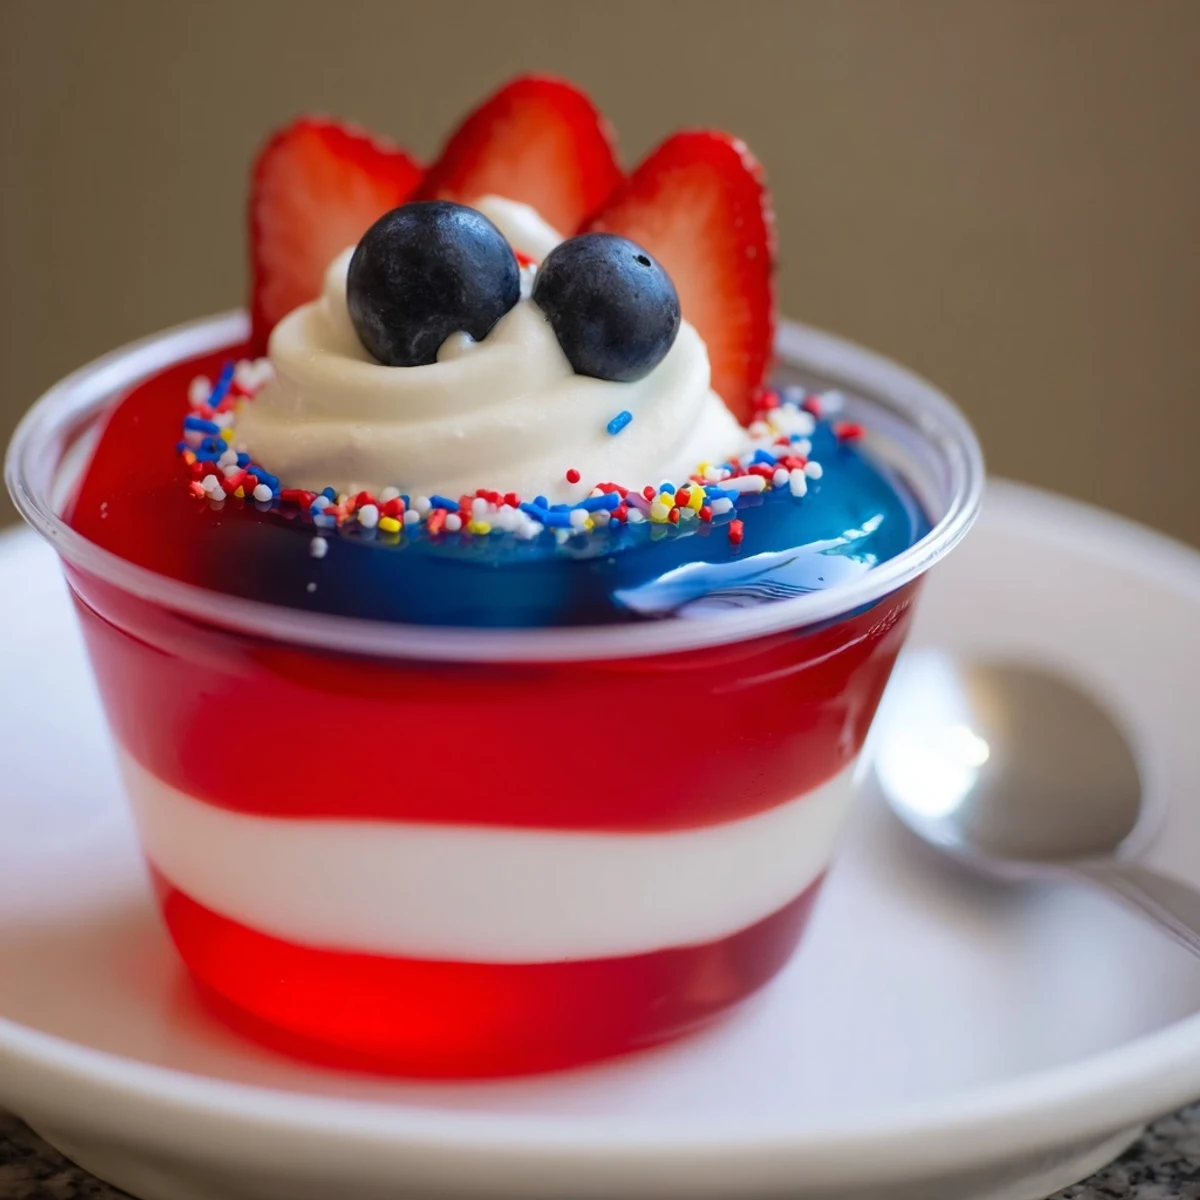
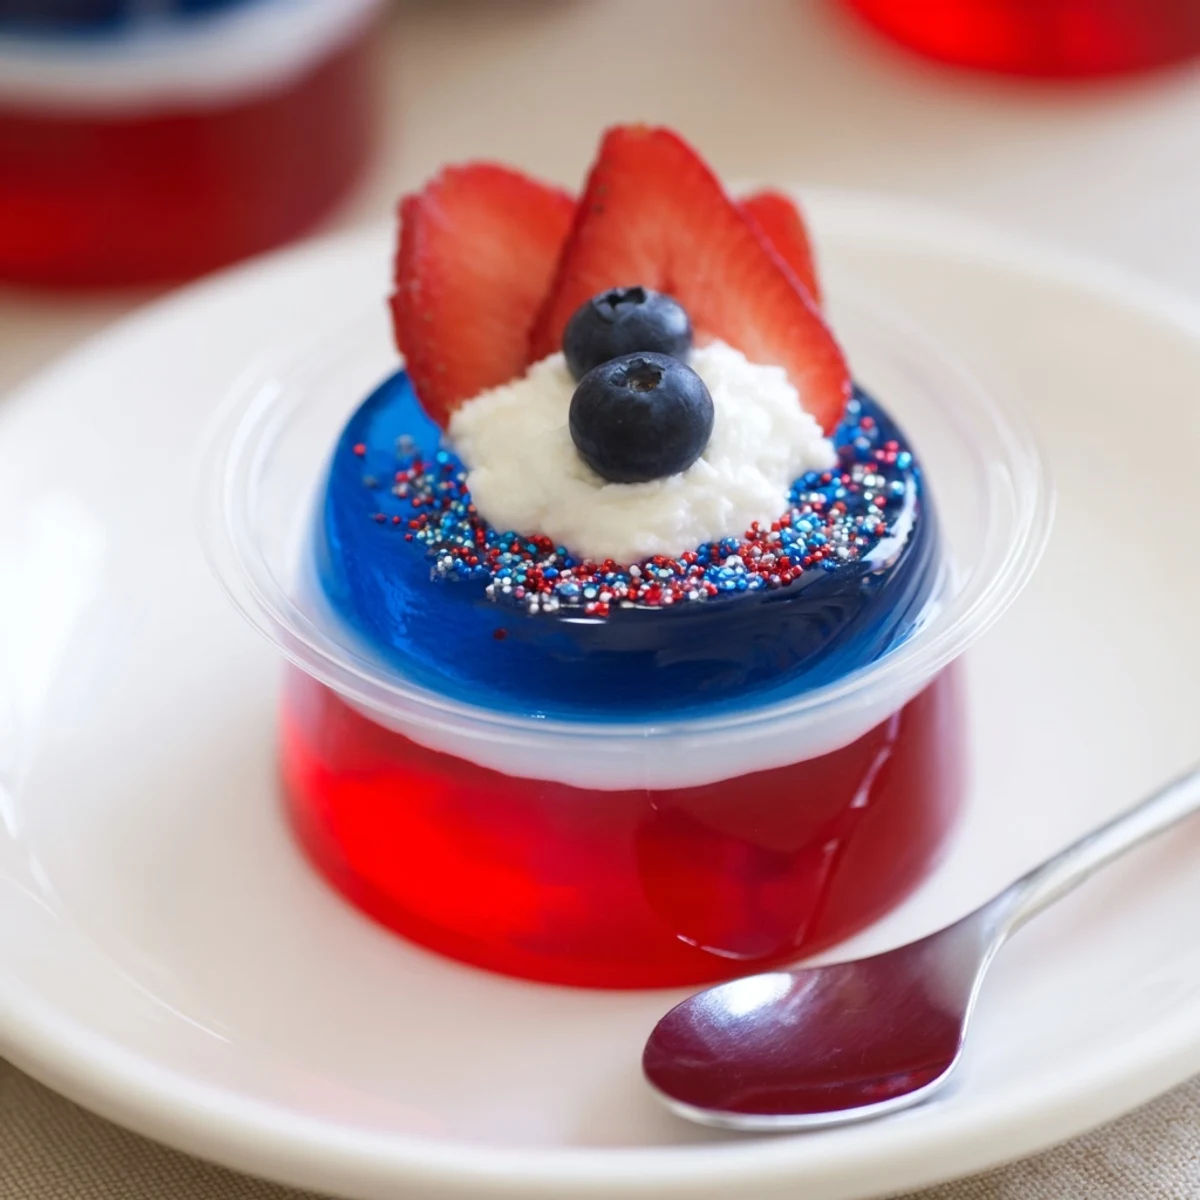
 These layered red, white and blue jello cups combine bright gelatin layers with a whipped vanilla pudding center for a striking, chilled dessert. Dissolve gelatin in boiling water, chill each layer until set before adding the next, and finish with whipped topping and fresh berries. Allow several hours to fully set and assemble up to a day ahead for easy serving.
When the air hums with summer heat and laughter spills from open windows, I always find myself craving something playful in the kitchen. That was how these Red White and Blue Jello Cups emerged one sunny July afternoon, when the neighbors wandered in, curious about the mysterious layers peeking out of my fridge. The thrill of unmolding each colorful cup and seeing the stripes land perfectly quickly became part of my seasonal ritual. Some years, it’s the impatient clatter of spoons and giggles over dessert that truly brings these treats to life.
One Fourth of July, my cousin and I hurried these cups together while the parade marched by on TV in the background. We tried to peek in the fridge every ten minutes, unable to resist checking if our layers had set or if we could sneak a taste. It became an improvised dance: one of us whisking the pudding, the other lining up the cups, quickly wiping sticky red droplets off the counter before anyone noticed. That afternoon, dripping berries and whipped topping crowned our efforts – a mess, yes, but a delicious one that nobody minded cleaning up.
Ingredients
- 1 (3 oz) box strawberry or cherry-flavored gelatin: Pick a deep red for the most eye-popping base – cherry lines up perfectly if you like a touch of tartness, and always stir until completely dissolved.
- 1 cup boiling water (for red layer): Ensure it’s really boiling – lukewarm water leaves sneaky lumps that never set right.
- 1/2 cup cold water (for red layer): This cools the mixture so it won’t melt right through to your serving cups.
- 1 (3 oz) box instant vanilla pudding mix: I’ve found the instant kind delivers the creamiest white layer without fuss; double-check that it’s gluten-free if needed.
- 1 1/4 cups cold milk: Whole milk gets a rich, dreamy texture, but any milk works – just make sure it’s super cold for smooth whisking.
- 1 cup whipped topping (plus more for garnish, optional): Folding this in gently keeps the middle layer cloud-light; extra on top never hurt anyone.
- 1 (3 oz) box berry blue-flavored gelatin: Go bold here for that classic color pop – blue raspberry is what you’re after, and like with the red, stir to dissolve completely.
- 1 cup boiling water (for blue layer): Same as with the red, this gets your gelatin sparkling clear and lump-free.
- 1/2 cup cold water (for blue layer): Again, cooling things down ensures a clean layer that sits perfectly atop the white.
- Fresh berries (blueberries, strawberries, optional): These turn each cup into a little celebration – I only skip them if I’m truly out.
- Extra whipped topping and sprinkles (optional): Sometimes the sprinkle jar does the final magic, especially for kids’ parties.
Instructions
- Mix the Red Layer:
- Pour the strawberry or cherry gelatin into a bowl and add 1 cup of boiling water, stirring well until every grain has dissolved. Stir in the 1/2 cup cold water, then gently ladle into the bottoms of your clear cups; slide them into the fridge for an hour, resisting the urge to poke.
- Whip Up the White Center:
- In a fresh bowl, whisk your vanilla pudding mix and cold milk together briskly – it should thicken in a couple of minutes. Fold in the whipped topping with a light hand until it’s smooth and fluffy, then spoon the snowy mixture over the chilled red jello once set, smoothing the tops with the back of a spoon; chill for half an hour more.
- Layer the Blue Top:
- Dissolve the blue gelatin with boiling water as before, stirring thoroughly, then cool down with 1/2 cup cold water. Carefully pour or ladle the blue layer atop the set white, then return to the fridge for two to three more hours so all layers are firm and stunning.
- Decorate for Serving:
- Just before bringing to the table, swirl on extra whipped topping, nestle a few berries, and rain down some festive sprinkles if you like – then serve, watching the eyes light up.
 Save to Pinterest
 I’ll never forget my niece’s delight as she grabbed her own little layered dessert, marveling at the colors through the cup before digging in. That moment it felt less like a recipe and more like a shared celebration, no matter why we gathered.
Getting Picture-Perfect Layers
The trick I picked up was always pouring gently, especially for the blue gelatin on top. I use the back of a spoon to soften the fall so it doesn’t break through the layer underneath. A steady hand means you get photo-ready stripes every time.
Swapping in Flavors and Colors
One time, I experimented with raspberry and lemonade jello when supplies ran low and the result surprised everyone in the best way. Don’t be afraid to switch the flavors for your crowd’s preferences as long as you keep one clear, pale, and deep color for the layers. It’s a flexible template that’s all about celebration.
Make It Even Easier
If you’re making lots, set all your cups on a big tray before starting; this makes moving them to and from the fridge much simpler and safer. Mix all the gelatin ahead so you’re not frantically boiling water multiple times. When you keep your whipped topping in the coldest part of the fridge, it holds its shape best when folded in.
- Don’t skip checking for setness with a gentle jiggle.
- Use a spoon or piping bag for neater white layers.
- Cover cups with plastic wrap if you’re making these the day before.
 Save to Pinterest
 Here’s hoping every spoonful gives you as much delight as it does our crew, year after year. Let the colors spark joy before the first bite disappears.
Recipe Questions & Answers
- → How do I prevent layers from mixing?
-
Chill each layer until fully set before adding the next. Pour gently over the back of a spoon or use a ladle to slow the stream and avoid breaking the layer beneath.
- → How long should each layer chill before adding the next?
-
Chill the gelatin layers about 45–60 minutes to firm up; the pudding center needs about 30 minutes. The key is firmness, not complete freezing, before proceeding.
- → Can I make dairy-free substitutions?
-
Yes—use plant-based milk and a dairy-free instant pudding mix plus non-dairy whipped topping. Check labels to ensure compatible thickening and set behavior.
- → How far ahead can these be assembled?
-
Assemble up to 24 hours in advance and keep covered in the refrigerator. Garnish just before serving to preserve texture and appearance.
- → How should I store leftovers?
-
Cover and refrigerate for up to 2–3 days. The gelatin will hold shape, but textures may soften slightly; give a gentle stir of the garnish before serving.
- → Any tips for vivid color and clear layers?
-
Use clear cups, follow the boiling water amounts to fully dissolve gelatin, and avoid over-diluting with cold water. Chilling between layers helps maintain sharp separation.
