 Save to Pinterest
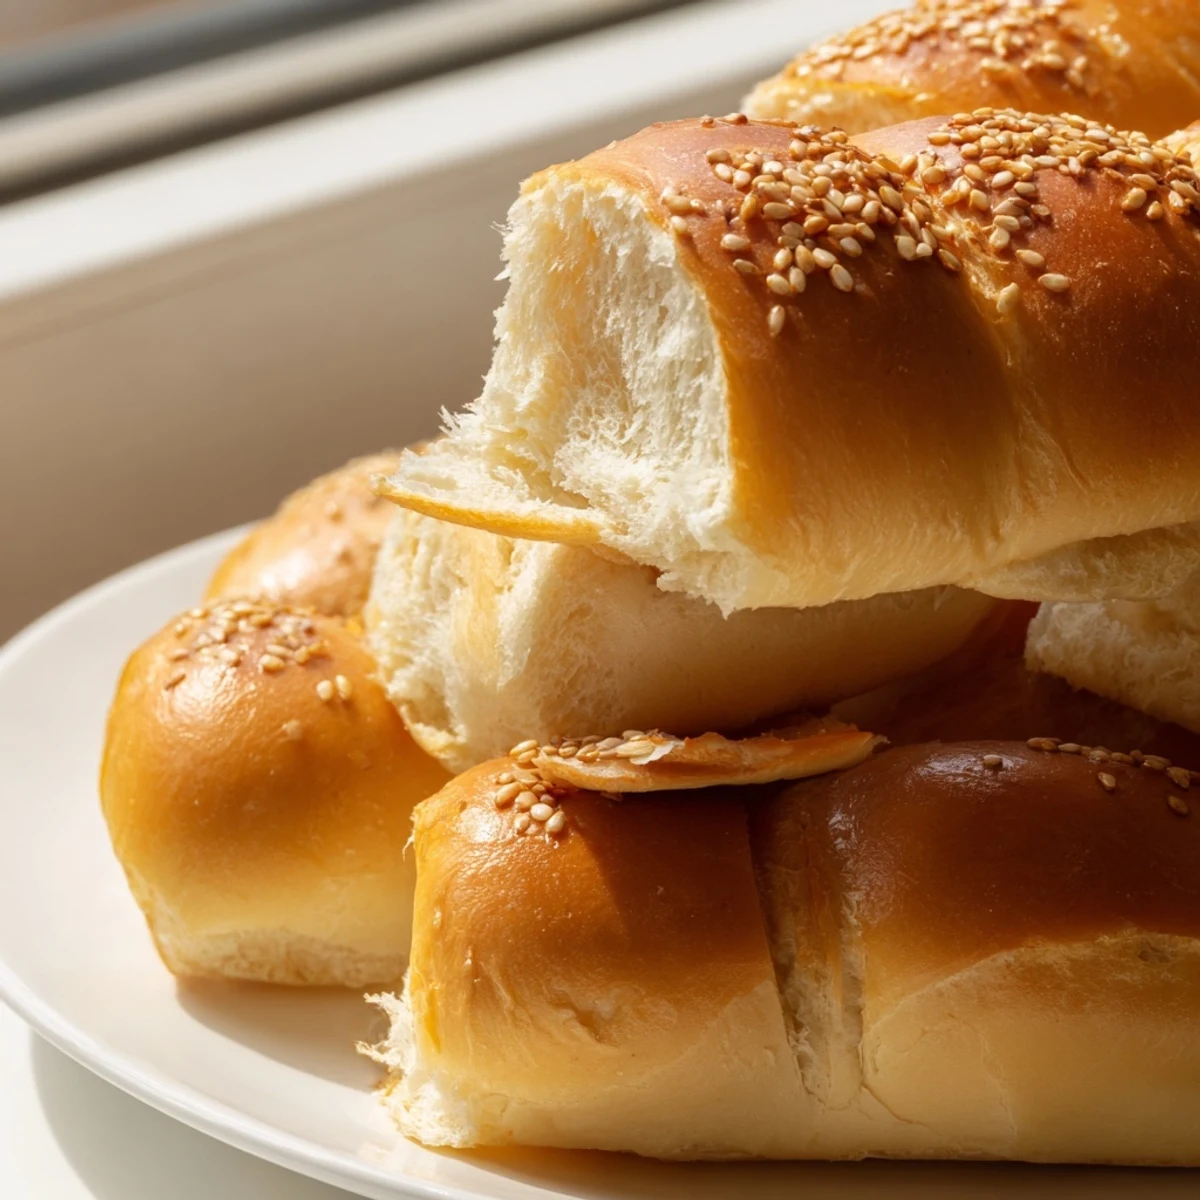
 Create bakery-quality hot dog buns using your sourdough discard for added depth and flavor. These soft, golden buns feature a subtle tang that perfectly complements grilled sausages and toppings.
The dough comes together easily with pantry staples, requiring just one rise before shaping into classic logs. Brush with butter after baking for an irresistibly tender crust.
Make a batch to freeze ahead, or customize with sesame seeds, poppy seeds, or everything bagel seasoning for extra crunch.
Last summer my neighbor started smoking ribs every weekend, and the store-bought buns just could not keep up. They would collapse under the weight of the barbecue sauce or tear apart when you tried to load them with toppings. After watching one too many perfect dogs meet their doom on a flimsy bun, I decided to bake my own.
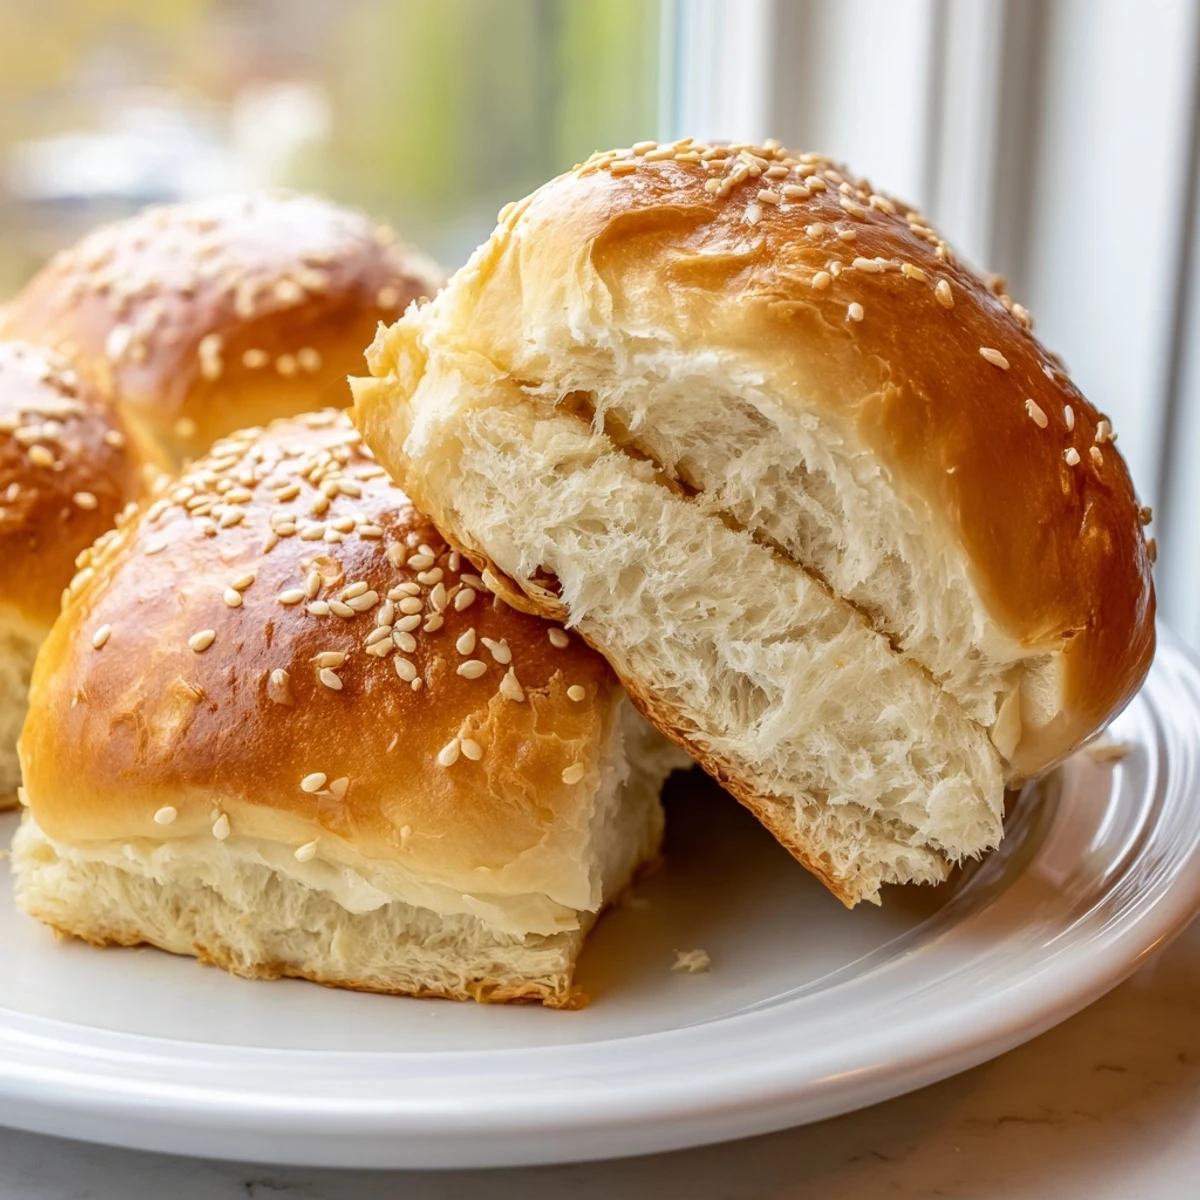
I made a double batch for the Fourth of July block party, and honestly, people were more excited about the buns than the actual hot dogs. My friend Sarah asked for the recipe before she even took her first bite, just based on how they looked coming out of the oven. Now I keep sourdough discard in the freezer specifically for these moments.
Ingredients
- Sourdough discard: Use unfed starter at 100 percent hydration for the best balance of tang and structure
- Warm milk: Should feel like a comfortable bath temperature, around 105°F, to activate the yeast without killing it
- Unsalted butter: Melt it completely so it incorporates evenly into the dough
- Sugar: Feeds the yeast and helps the buns develop that gorgeous golden brown color in the oven
- Large egg: Adds richness and helps create a tender crumb structure
- Salt: Do not skip this, it enhances all the flavors and keeps the yeast in check
- All-purpose flour: Start with less and add more as needed, humidity affects how much flour your dough will want
- Instant yeast: No need to proof it separately, it goes right into the warm milk mixture
Instructions
- Wake up the yeast:
- Combine warm milk and sugar in a large bowl, sprinkle in the yeast, and watch it bubble to life
- Build the base:
- Stir in the sourdough discard, melted butter, egg, and salt until everything is well incorporated
- Form the dough:
- Add flour gradually, one cup at a time, mixing until the dough pulls away from the sides of the bowl
- Knead it out:
- Turn onto a floured surface and knead for 7 to 8 minutes until the dough feels smooth and bounces back when pressed
- First rise:
- Place in a greased bowl, cover with a warm towel, and let it double in size
- Shape the buns:
- Punch down gently, divide into 8 equal pieces, and roll each into a 6 inch smooth log
- Second rise:
- Arrange on parchment paper with space between them, cover, and let them puff up for 30 to 45 minutes
- Bake to golden:
- Brush with milk, add seeds if you want, and bake at 375°F for 18 to 20 minutes
- The finishing touch:
- Brush immediately with melted butter for that bakery-soft crust
 Save to Pinterest
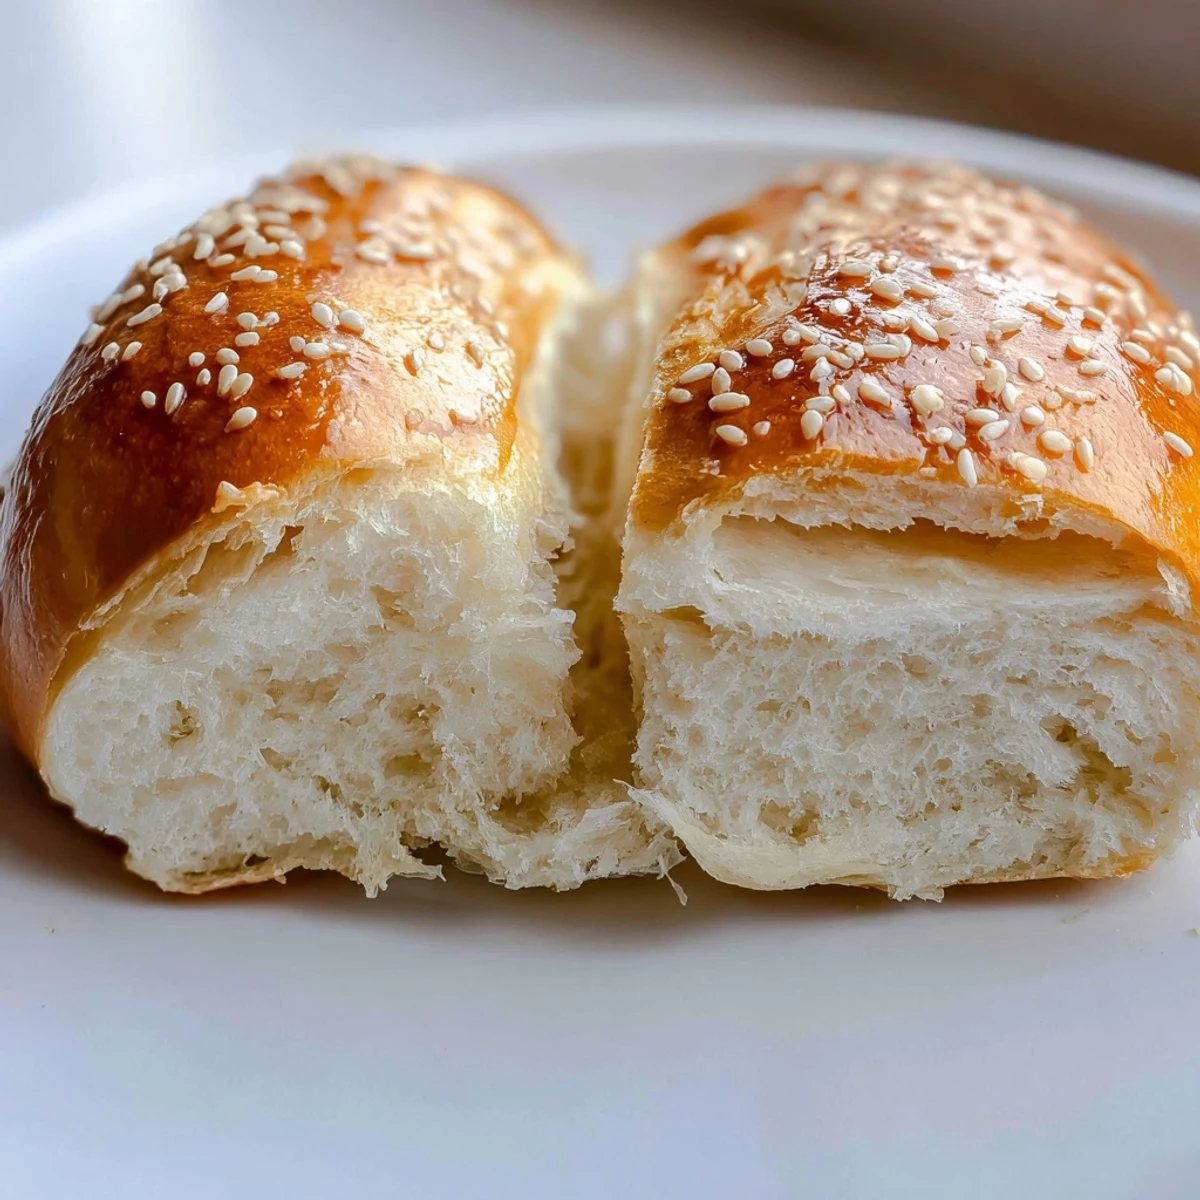
 My dad visited last month and I served these with his signature chili dogs. He took one bite, looked at me with genuine surprise, and said these were better than the bakery buns he grew up with. That might just be the proudest moment of my baking career.
Making Them Ahead
You can shape the buns after the first rise and refrigerate them overnight on the baking sheet, covered tightly with plastic. Let them come to room temperature and finish rising the next morning before baking.
Freezing Instructions
Once completely cooled, wrap the buns individually in plastic and freeze in a freezer bag for up to three months. Thaw on the counter for an hour, then pop them in a warm oven for 5 minutes to refresh.
Customizing Your Buns
These buns are incredibly versatile and can adapt to whatever you are craving.
- Brush with garlic butter after baking for garlic bread style buns
- Mix shredded cheese into the dough during the final flour addition
- Swap some flour for whole wheat for a heartier, nuttier flavor
 Save to Pinterest
 There is something deeply satisfying about serving food you made entirely from scratch, especially when it brings people together around the table. These buns might just become your new summer tradition.
Recipe Questions & Answers
- → Can I make these buns without a stand mixer?
-
Absolutely. Knead by hand on a floured surface for 8–10 minutes until the dough becomes smooth and elastic. The process is simple and rewarding.
- → How should I store these buns?
-
Keep in an airtight bag at room temperature for up to 3 days. For longer storage, freeze individually wrapped and thaw at room temperature when needed.
- → Can I use active sourdough starter instead of discard?
-
Yes, though the flavor may be more pronounced. Reduce the yeast slightly and expect a faster rise time due to the active cultures.
- → What's the best way to shape the buns?
-
Roll each dough piece into a 6-inch rope, tapering the ends slightly. Place seam-side down on the baking sheet for smooth, uniform buns.
- → Can I make these dairy-free?
-
Simply replace the milk with your favorite plant-based alternative and use vegan butter. The texture remains just as soft and delicious.
