 Save to Pinterest
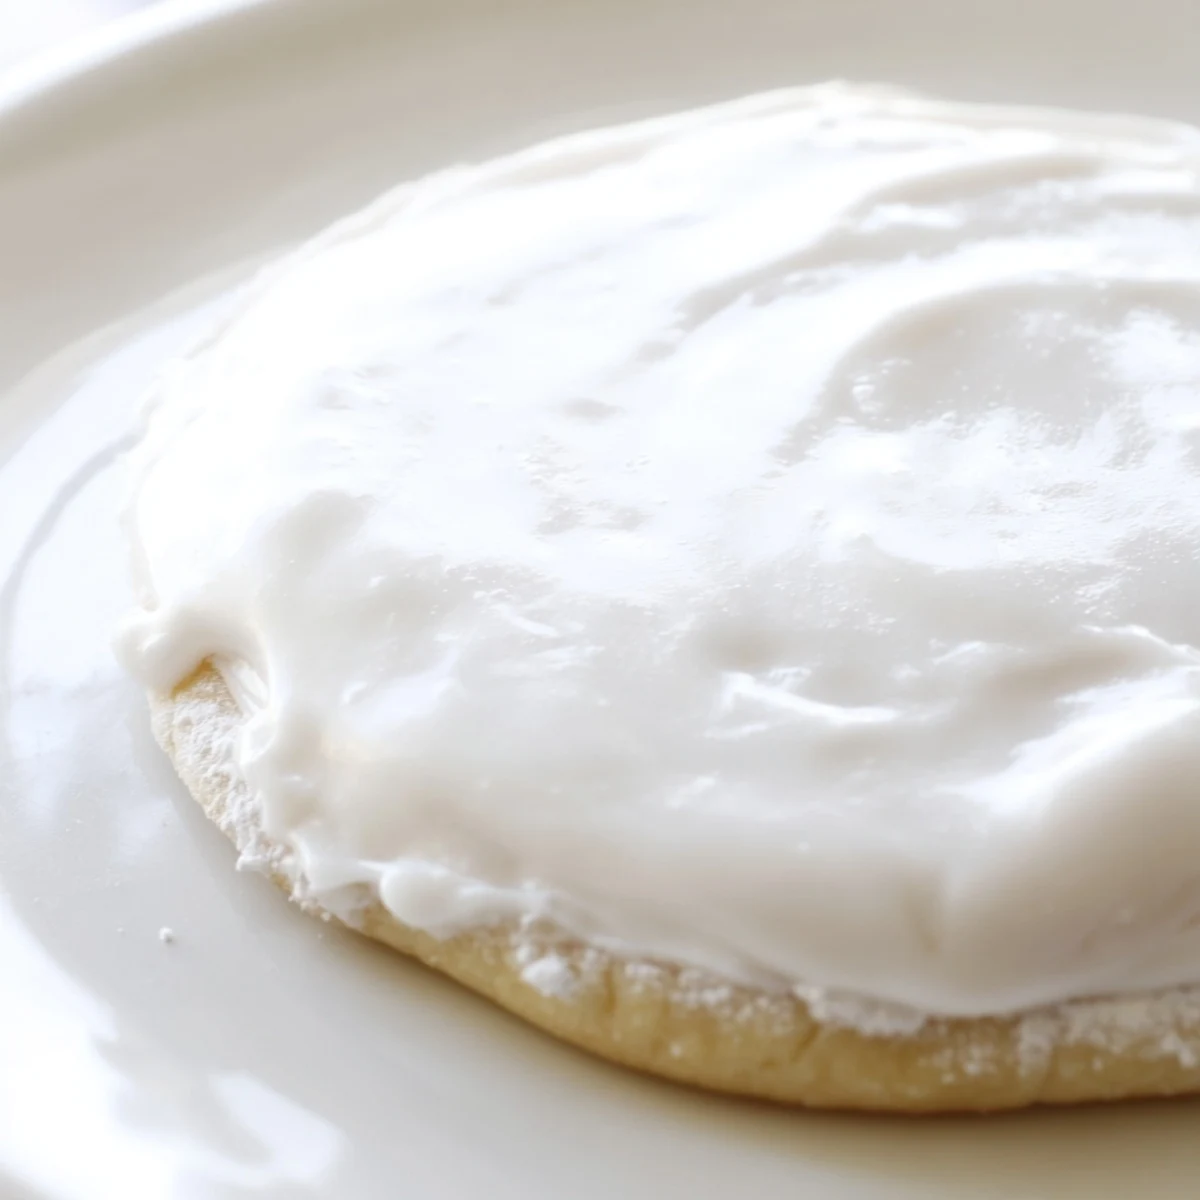
 This glossy icing transforms plain sugar cookies into beautifully decorated treats. The mixture of powdered sugar, milk, and corn syrup creates a smooth consistency that dries firm and shiny—perfect for detailed designs or simple dipped finishes. Adjust thickness easily with additional milk or sugar. Customize with gel food coloring for vibrant hues, or add sprinkles while wet for extra texture. The icing sets completely at room temperature, making it ideal for cookie gifts, party favors, or holiday treats.
My kitchen counter looked like a rainbow had exploded across it, and I couldn't stop grinning. I'd finally figured out the secret to that gorgeous, glass-like icing you see on bakery cookies—the kind that dries smooth enough to stack without smudging. After three failed attempts using different recipes, my daughter pointed out that the corn syrup was the missing ingredient. Now it's our December tradition, blasting holiday music while we flood cookies with glossy white icing and watch them transform into edible art.
Last Christmas, I made six batches for classroom treats and teacher gifts. My neighbor came over to borrow eggs, saw the drying racks lined with snowflakes and trees, and ended up staying three hours to decorate her own batch. We laughed so hard when her three-year-old somehow got blue food coloring on the ceiling—still not sure how that happened. Now every time she walks past my house in December, she yells through the mailbox to ask if it's icing week yet.
Ingredients
- 2 cups powdered sugar (240 g), sifted: Sifting isn't optional here—lumps will ruin that glass-smooth finish, and I learned this the frustrating way
- 2 to 3 tablespoons milk: Start with less, since you can always add more, and it works beautifully with any milk you keep in your fridge
- 1 tablespoon light corn syrup: This creates that gorgeous shine and keeps the icing from becoming rock-hard once it sets
- 1/2 teaspoon pure vanilla extract: Don't skip this even for white icing—it adds depth that balances all that sugar
- Food coloring (optional): Gel coloring gives you vibrant colors without thinning your consistency like liquid does
- Sprinkles or colored sugars: Add these while the icing is still wet so they actually stick instead of rolling right off
Instructions
- Mix your glossy base:
- Whisk together your sifted powdered sugar, 2 tablespoons milk, corn syrup, and vanilla in a medium bowl until completely smooth and glossy
- Find your perfect consistency:
- Add milk 1/2 teaspoon at a time until the icing ribbons off your whisk and settles back into itself within about 10 seconds—thick enough to hold its shape but pourable enough to spread
- Create your color palette:
- Divide icing into separate bowls if you're using multiple colors, then stir in food coloring drop by drop until you reach your desired shade
- Decorate your cookies:
- Work quickly while the icing is fresh, dipping cookies face-down, spreading with a small knife, or piping designs using bags or squeeze bottles
- Let it set completely:
- Allow decorated cookies to dry at room temperature for at least 4 hours or overnight before stacking or storing
 Save to Pinterest
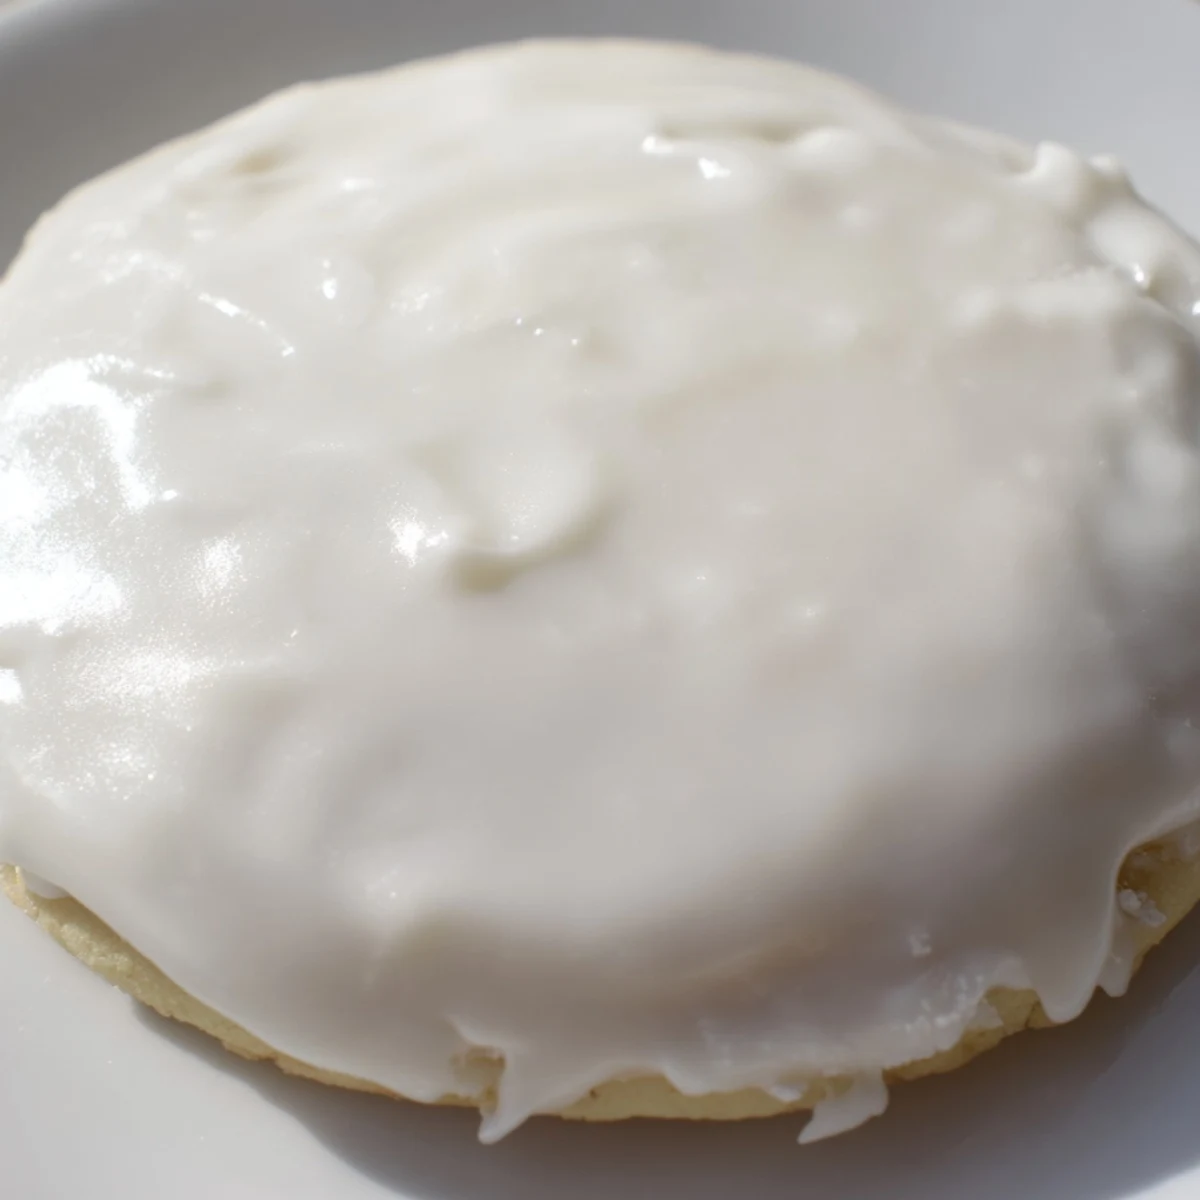
 My mom still talks about the first time I brought her a tin of these iced cookies. She said they looked like something from a fancy bakery window, and she carefully rearranged them on a plate just to admire how the light caught the glossy surface. Now she saves the tins I send her, stacking them in the pantry like treasure boxes long after the cookies are gone.
Getting the Right Consistency
The difference between icing that spreads beautifully and icing that runs off your cookies is shockingly small. I test mine by lifting a spoon and watching how the ribbon falls—if it disappears into the surface within 10 seconds, it's perfect for flooding. Any faster and it's too thin, any slower and it'll leave streaks. I keep a small bowl of extra powdered sugar and another of milk nearby, adjusting as I work since the icing naturally thickens as it sits exposed to air.
Making This Your Own
Beyond the classic vanilla base, this icing is incredibly forgiving to flavor variations. Almond extract creates that nostalgic Danish cookie flavor, while lemon extract brightens everything up for spring batches. I've even whisked in instant espresso powder for mocha versions and cinnamon for autumn leaves. The key is starting with a tiny amount—you can always add more, but you can't take it back once it's in there.
Storage and Make-Ahead Tips
This icing keeps surprisingly well, which means you can make it days before your big cookie decorating session. Store it in airtight containers with a piece of plastic wrap pressed directly against the surface to prevent a skin from forming. When you're ready to use it again, give it a good stir and add a few drops of milk to return it to your original consistency. Leftover colored icing? Cover it tightly and it'll wait in the refrigerator for those weekday lunchbox cookie surprises.
- Always let iced cookies dry flat rather than stacking them, even after they feel set to the touch
- If you're transporting these, wait 24 hours if possible—the longer they dry, the more durable that glossy surface becomes
- Crisp, cool days are ideal for faster drying, while humid summer days might require extra patience
 Save to Pinterest
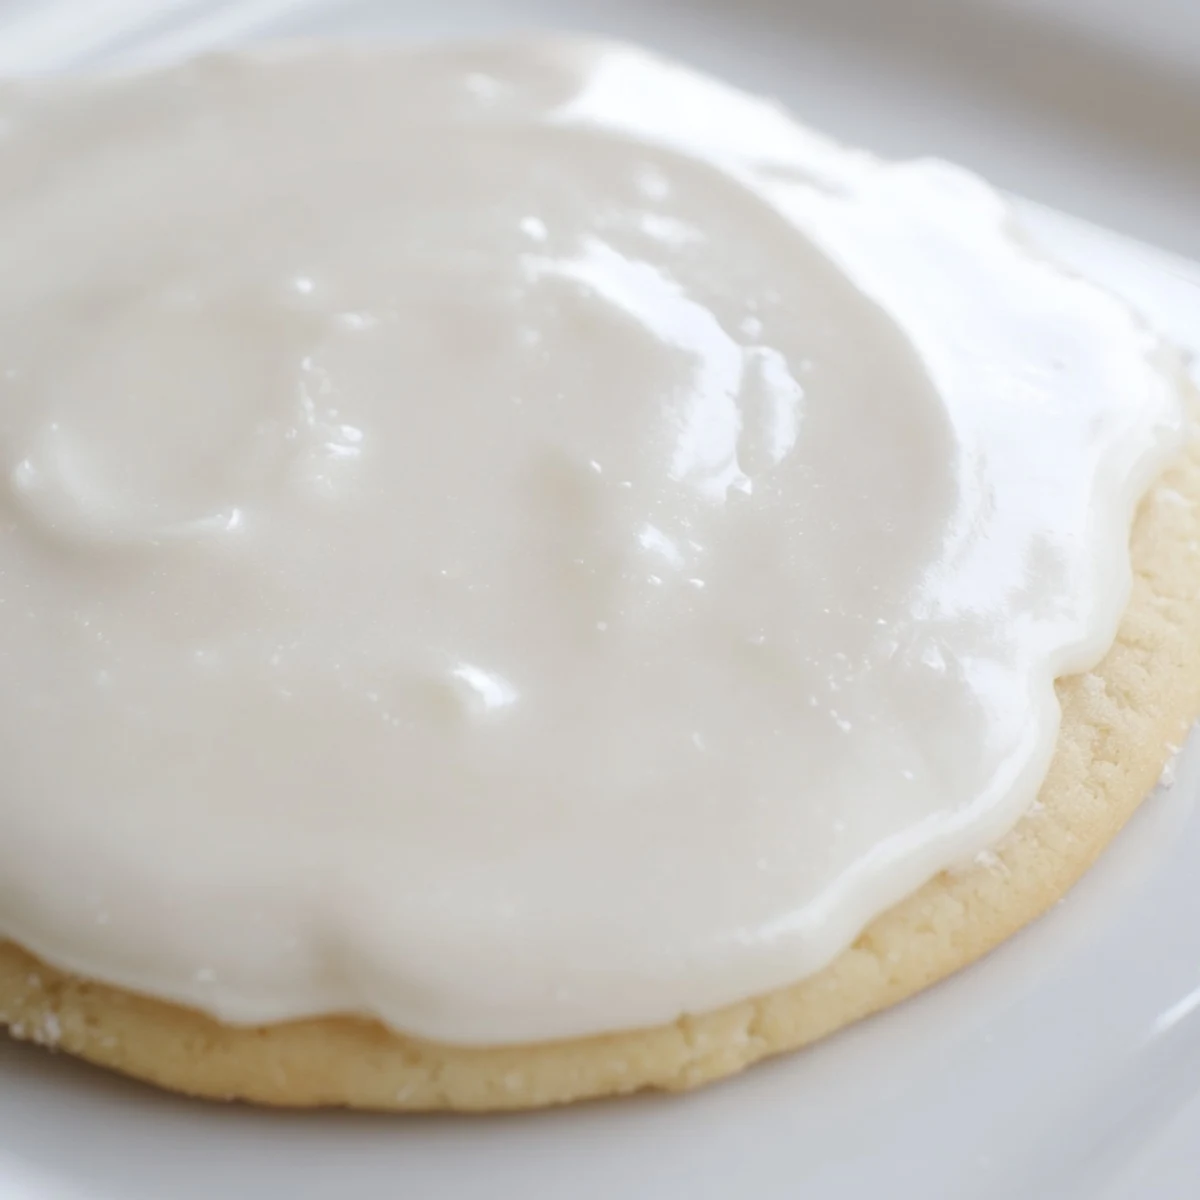
 There's something deeply satisfying about pulling a tray of newly iced cookies from the drying rack and seeing that perfect glassy surface staring back at you. Hope your kitchen gets just as messy and your holidays get just as bright.
Recipe Questions & Answers
- → How long does the icing take to dry completely?
-
Allow decorated cookies to dry at room temperature for at least 4 hours until the icing is completely set. Humidity may extend drying time slightly.
- → Can I make this icing ahead of time?
-
Yes, store leftover icing in an airtight container in the refrigerator for up to 1 week. Stir well before using and adjust consistency with small amounts of milk if needed.
- → What's the best way to color this icing?
-
Gel food coloring works best as it doesn't thin the consistency. Add drops gradually and mix thoroughly until you achieve the desired color intensity.
- → Can I pipe detailed designs with this icing?
-
For intricate piping, thicken the icing by adding more powdered sugar until it holds its shape. Transfer to a piping bag with a small tip for fine details.
- → What gives this icing its glossy finish?
-
The corn syrup creates the shiny, smooth surface. For extra gloss, increase to 1.5 tablespoons. This ingredient also helps the icing dry firm rather than brittle.
