 Save to Pinterest
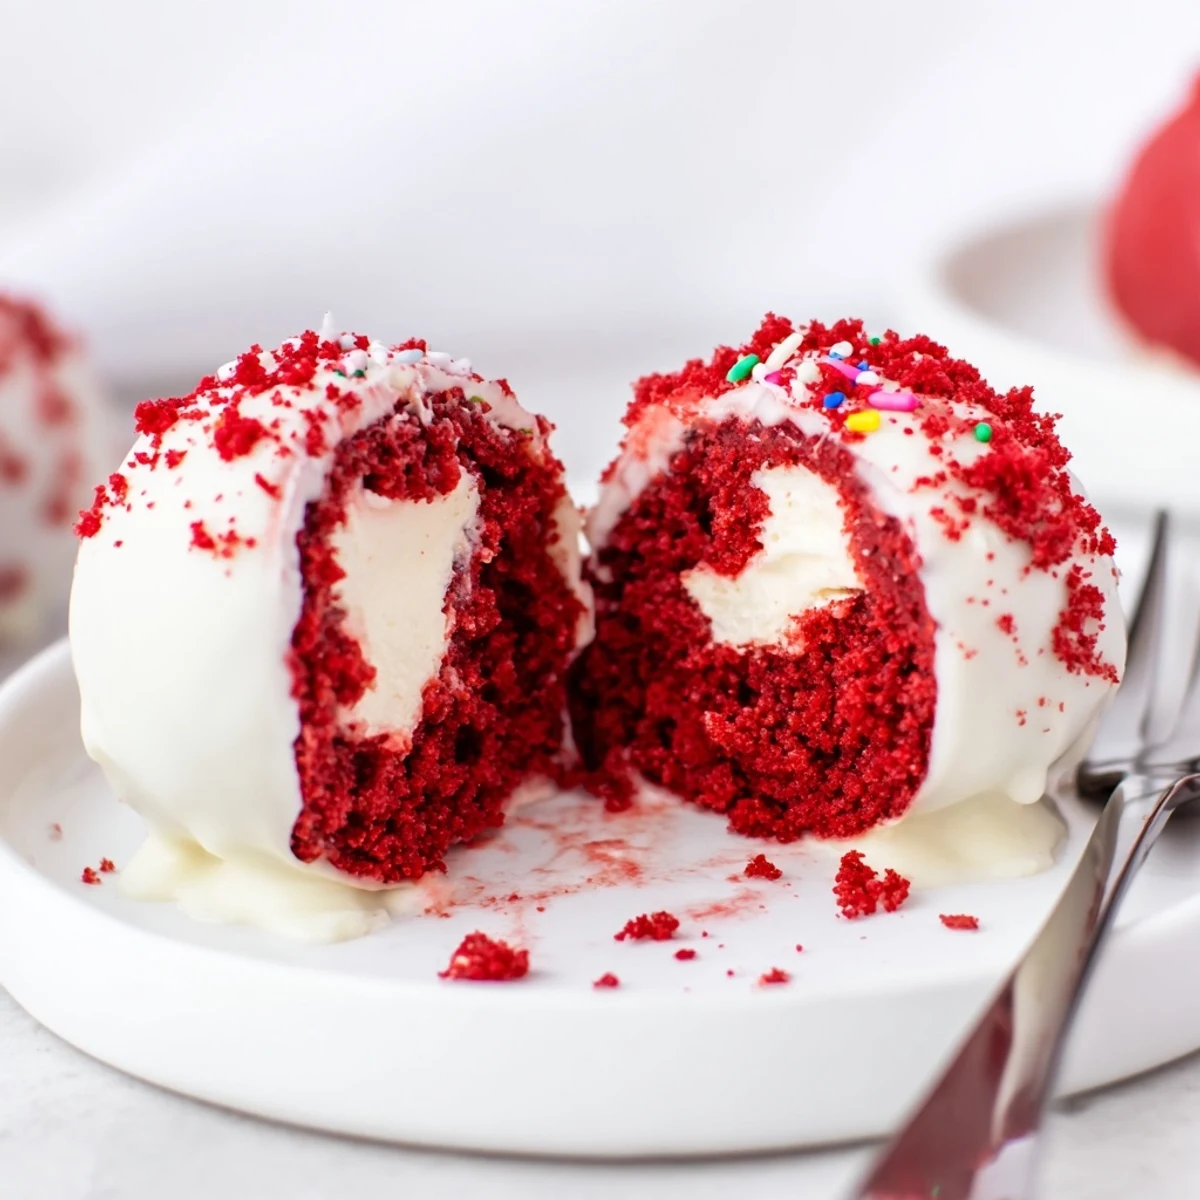
 Soft red velvet cake crumbs are blended with sweetened cream cheese, shaped into tablespoon-sized balls and chilled until firm. Each chilled bite is dipped in melted white or dark chocolate (tinted red if desired) and finished with crumbs or sprinkles. Variations include folding in nuts or coconut for texture and swapping coatings for contrast. Store airtight in the fridge for up to five days.
My kitchen counter looked like a crime scene the first time I made these, red crumbs everywhere, fingers stained pink, and a smear of cream cheese on my forehead I did not notice until an hour later. But those little chocolate dipped balls sitting on parchment paper were so gorgeous I almost did not want to eat them. Almost. Red velvet cheesecake balls have since become my go to when I need something impressive without turning on the oven for hours.
I brought a tray of these to a holiday potluck last December and watched a friend try to sneak three into her purse before the night was over. She denied it completely, but the red velvet crumbs on her coat pocket told the truth. That kind of reaction is really all the feedback you need.
Ingredients
- Red velvet cake (300 g, fully baked and cooled): Store bought works beautifully here, so do not let anyone guilt you into baking from scratch if you are short on time.
- Cream cheese (200 g, softened): Let it sit out for at least thirty minutes because cold cream cheese will leave you with frustrating lumps.
- Powdered sugar (40 g): Just enough sweetness to bring the filling together without making it cloying.
- Vanilla extract (1 tsp): A small splash that quietly rounds out every other flavor in the mix.
- White chocolate (250 g, for coating): I reach for a decent quality bar rather than chips since chips have stabilizers that make melting unpredictable.
- Red food coloring (optional): A few drops swirled into the melted white chocolate gives the coating a dreamy blush tone.
- Red velvet crumbs and sprinkles (for decorating): Purely optional but they make the finished balls look polished and festive with almost zero effort.
Instructions
- Break down the cake:
- Tear the cooled cake into chunks and crumble it finely with your fingers in a large bowl. You want the texture of wet sand, with no large pieces hiding in the mix.
- Whip the cheesecake filling:
- Beat the softened cream cheese, powdered sugar, and vanilla together until completely smooth and silky. Scrape the bowl once or twice so nothing escapes the whisk.
- Bring it all together:
- Pour the cream cheese mixture over the crumbs and stir, mash, and fold until everything becomes a soft, uniform dough. It should hold its shape when you squeeze a small amount in your palm.
- Roll into balls:
- Scoop out tablespoon sized portions and roll them gently between your palms. Place each one on a parchment lined tray and try to keep them roughly the same size so they set evenly.
- Chill thoroughly:
- Slide the tray into the refrigerator for at least one full hour. This step is not optional because warm or even cool balls will fall apart the second they hit melted chocolate.
- Melt the chocolate:
- Use a microwave in short thirty second bursts, stirring between each, or set up a gentle double boiler. Add red food coloring now if you want that gorgeous pink coating.
- Dip and coat:
- Drop each chilled ball into the chocolate, roll it to cover completely, then lift it out with a fork letting excess drip back into the bowl. Work with a light hand and a bit of patience here.
- Decorate and set:
- Sprinkle crumbs or sprinkles on top while the coating is still wet. Let them sit undisturbed at room temperature or in the fridge until the shell is firm to the touch.
 Save to Pinterest
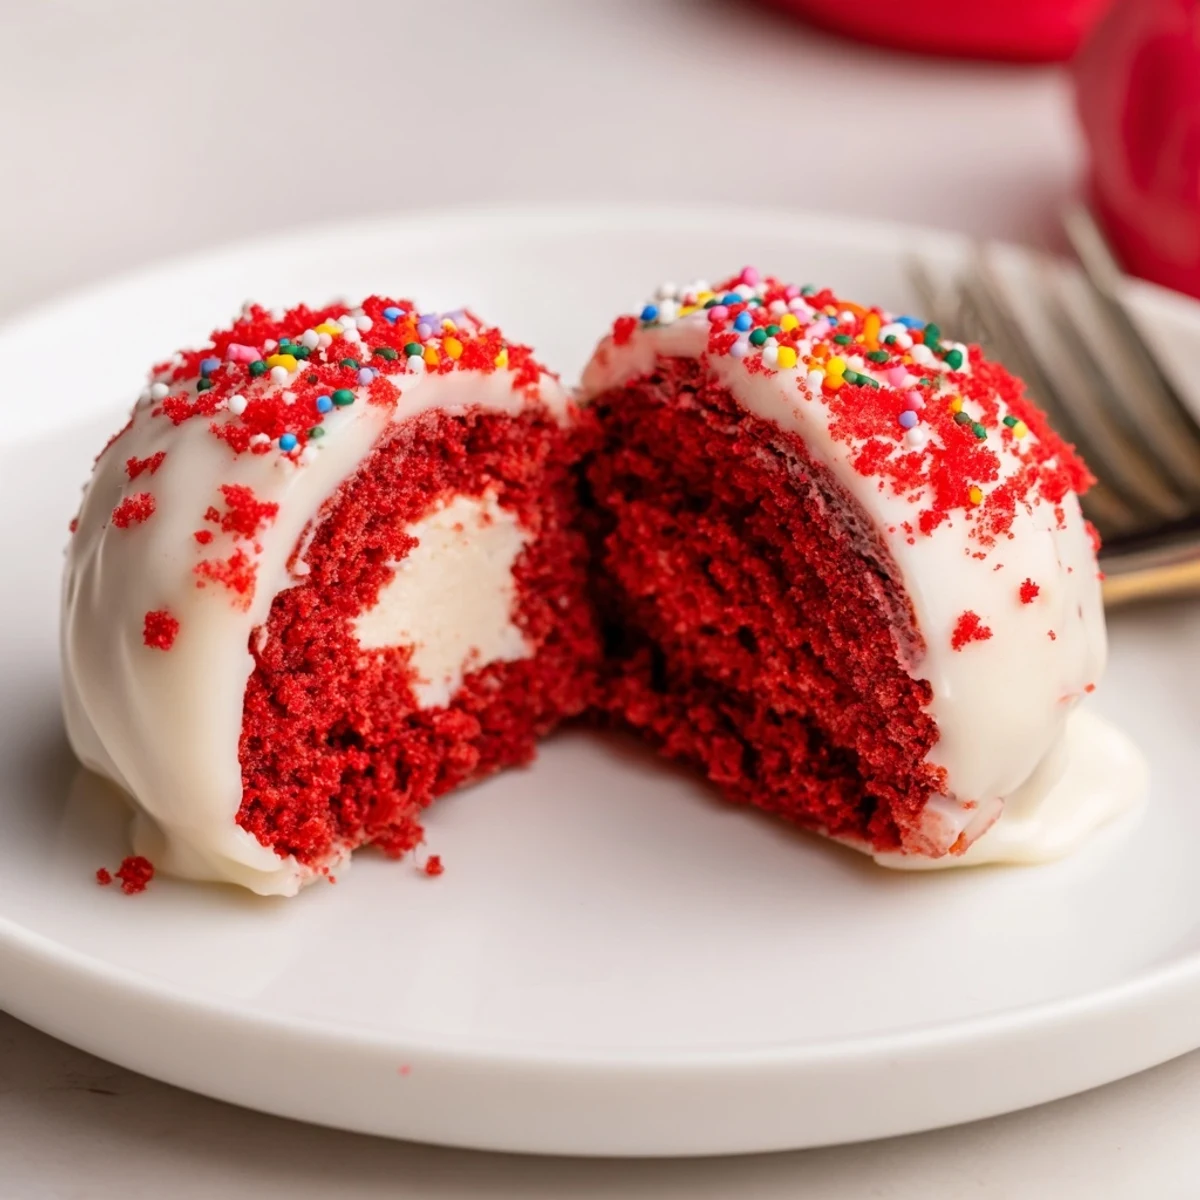
 There is something deeply satisfying about peeling a finished cheesecake ball off the parchment and hearing that faint snap of the chocolate shell. It is the sound of a small kitchen victory.
Choosing Your Chocolate Coating
White chocolate gives these a classic, bakery window look, but dark chocolate creates a gorgeous contrast against the deep red interior that I genuinely prefer some days. Milk chocolate lands somewhere in the middle, sweeter and softer, which pairs nicely if your cake itself is already quite sweet. Use whatever you have on hand because the filling carries so much flavor that the coating is more about texture than taste.
Storing and Make Ahead Advice
These keep beautifully in an airtight container in the refrigerator for up to five days, and they actually taste better on day two when the flavors have had time to mingle. I have frozen them successfully for up to a month by layering parchment between each one so they do not stick together. Thaw them in the fridge overnight rather than on the counter to keep the chocolate coating from sweating.
Getting Creative With Flavors
Once you master the basic technique, the variations are honestly endless and a lot of fun to play with on a lazy weekend afternoon.
- Stir a tablespoon of espresso powder into the cheesecake filling for a mocha twist that pairs wonderfully with dark chocolate coating.
- Roll the finished balls in crushed pecans, toasted coconut, or even graham cracker crumbs instead of dipping them in chocolate for a totally different texture.
- A splash of peppermint extract in the white chocolate turns these into an instant holiday crowd pleaser that disappears within minutes at any party.
 Save to Pinterest
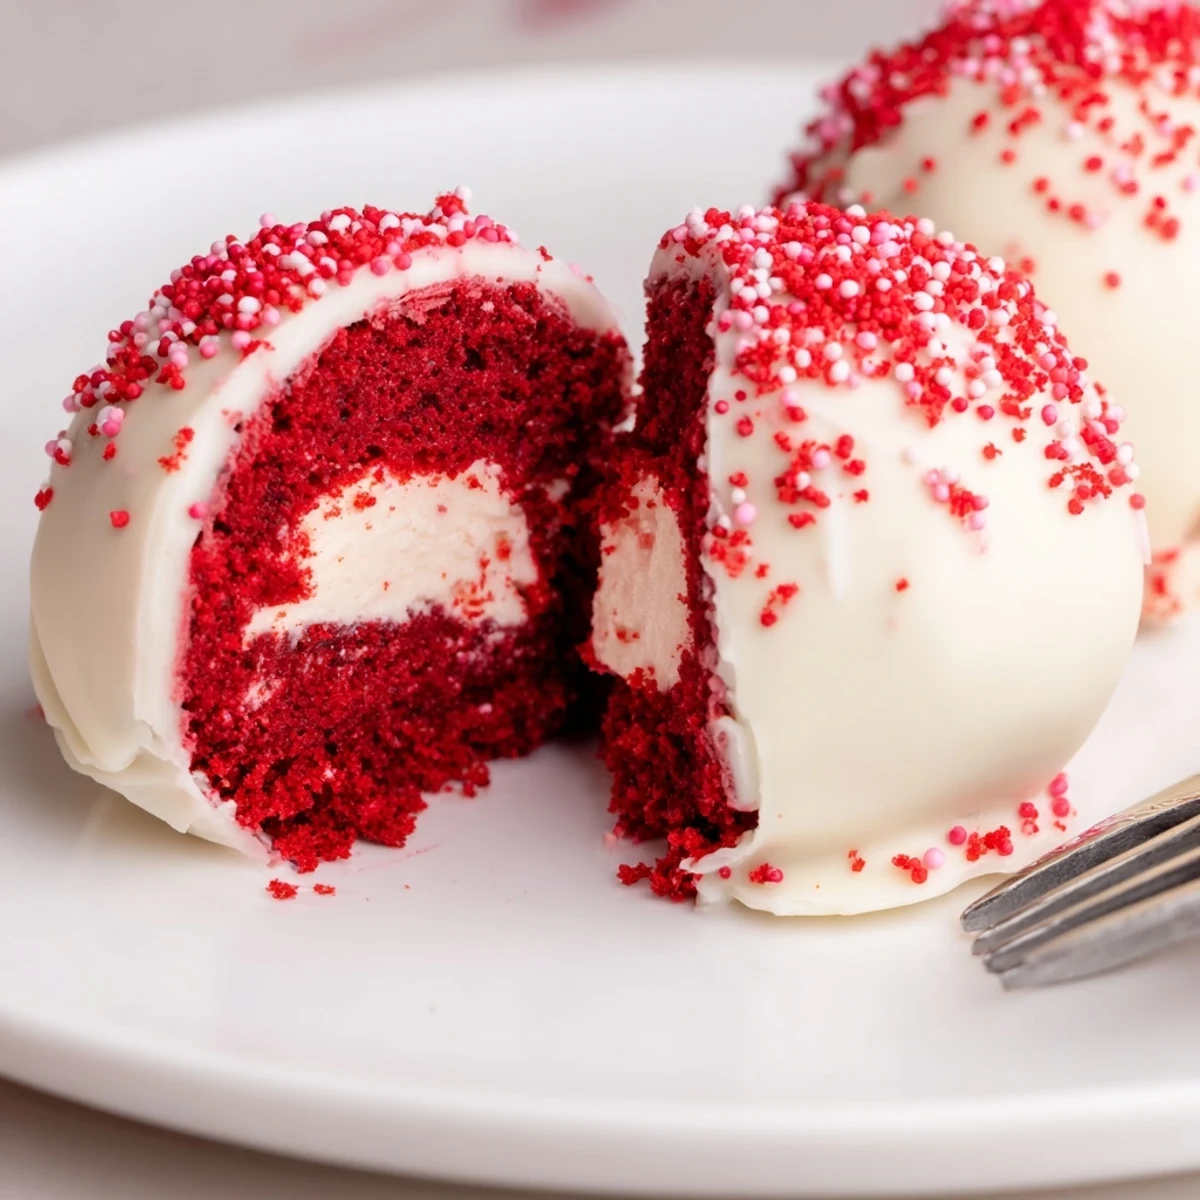
 These little bites are proof that the best recipes do not need to be complicated to be unforgettable. Share them generously and watch them vanish.
Recipe Questions & Answers
- → How do I get the filling to hold its shape?
-
Ensure the cream cheese is fully softened and mix until smooth before combining with cake crumbs. Chill the formed balls for at least an hour to firm up before dipping.
- → Can I use different chocolate for coating?
-
Yes. White, dark, or semisweet chocolate all work. Dark chocolate adds contrast and deeper flavor, while white chocolate can be tinted with food coloring for a red finish.
- → How can I add extra texture or flavor?
-
Fold in 1–2 tablespoons of crushed nuts, toasted coconut, or finely chopped chocolate into the filling for crunch and additional flavor layers.
- → What’s the best way to melt the chocolate?
-
Melt gently over a double boiler or in short bursts in the microwave, stirring between intervals to avoid overheating. A smooth, slightly cooled melt gives the best coating.
- → Can these be prepared ahead of time?
-
Yes. Form and chill the balls in advance, then dip and decorate the day of serving. Fully coated balls can be stored in an airtight container in the refrigerator for up to five days.
- → Can I freeze the balls?
-
You can freeze uncoated balls on a tray until firm, then transfer to a sealed container. Thaw in the fridge before dipping; coated balls are best refrigerated rather than frozen to preserve texture.
