 Save to Pinterest
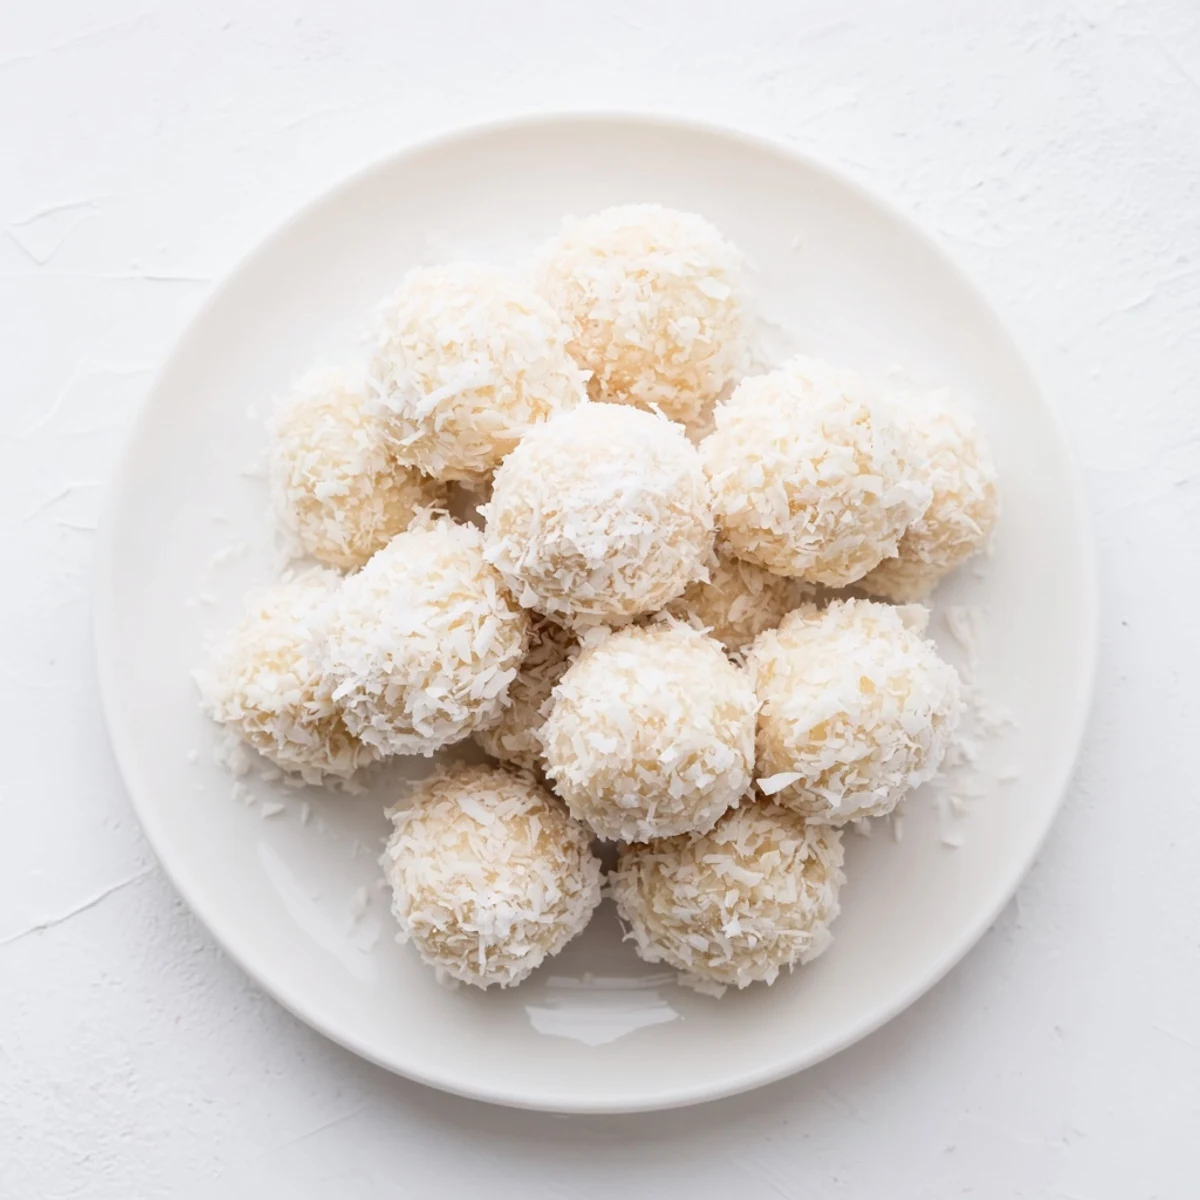
 These adorable Easter Bunny Coconut Tails are a festive twist on classic coconut confections. Soft, sweet shredded coconut meets creamy condensed milk and vanilla, forming bite-sized balls that get rolled in either unsweetened coconut or powdered snow-like sugar. The result is an irresistible two-bite treat that's perfect for spring gatherings, Easter baskets, or classroom parties.
What makes these extra special is how incredibly simple they are to assemble. Just mix, roll, coat, and chill—no oven required. Kids love getting their hands in on the action, helping shape the coconut mixture into little tails and choosing their favorite coating. The pastel-colored sprinkles option adds an extra dose of holiday cheer.
These keep beautifully in the fridge for up to a week, making them ideal for prep-ahead entertaining. Plus, they're naturally gluten-free and vegetarian-friendly, so everyone at your celebration can enjoy them.
My kitchen counter looked like a coconut snowstorm had blown through, powdered sugar dusting everything including my nose. These little bunny tails started as a desperate attempt to use up a can of sweetened condensed milk that had been sitting in my pantry since last holiday season. Now they have become the most requested treat at every spring gathering, mostly because adults sneak them just as often as the kids do.
Last Easter my niece decided coconut tails needed extra sparkle and dumped an entire container of edible glitter into the coating bowl. The result was mesmerizing, and honestly, I have never seen a group of adults more excited about dessert that looked like it came from a fairy garden. Sometimes the best kitchen accidents happen when you surrender control to a determined six year old.
Ingredients
- Sweetened Shredded Coconut: This creates the fluffy texture and tropical sweetness that makes these irresistible, so do not substitute with desiccated coconut which is too dry
- Powdered Sugar: Essential for binding the mixture together while adding just the right amount of sweetness without grainy texture
- Sweetened Condensed Milk: The magical binder that holds everything together while creating that chewy, fudgy consistency we love
- Pure Vanilla Extract: Use the good stuff here because the flavor comes through clearly in such a simple recipe
- Unsweetened Shredded Coconut: Creates a beautiful contrast against the sweet center and gives the tails their snowy appearance
Instructions
- Mix the Coconut Dough:
- Combine sweetened shredded coconut, powdered sugar, sweetened condensed milk, vanilla extract, and salt in a large mixing bowl. Stir until the mixture becomes uniformly sticky and holds together when pressed.
- Shape the Bunny Tails:
- Use clean hands or a small cookie scoop to roll about one tablespoon of mixture into balls. Work quickly and keep palms slightly damp to prevent sticking.
- Coat Each Tail:
- Roll each coconut ball in unsweetened shredded coconut or additional powdered sugar until evenly covered. Press gently to help the coating adhere.
- Chill Before Serving:
- Arrange the coconut tails on a parchment lined tray and refrigerate for at least 30 minutes. This step firms them up for the perfect texture.
 Save to Pinterest
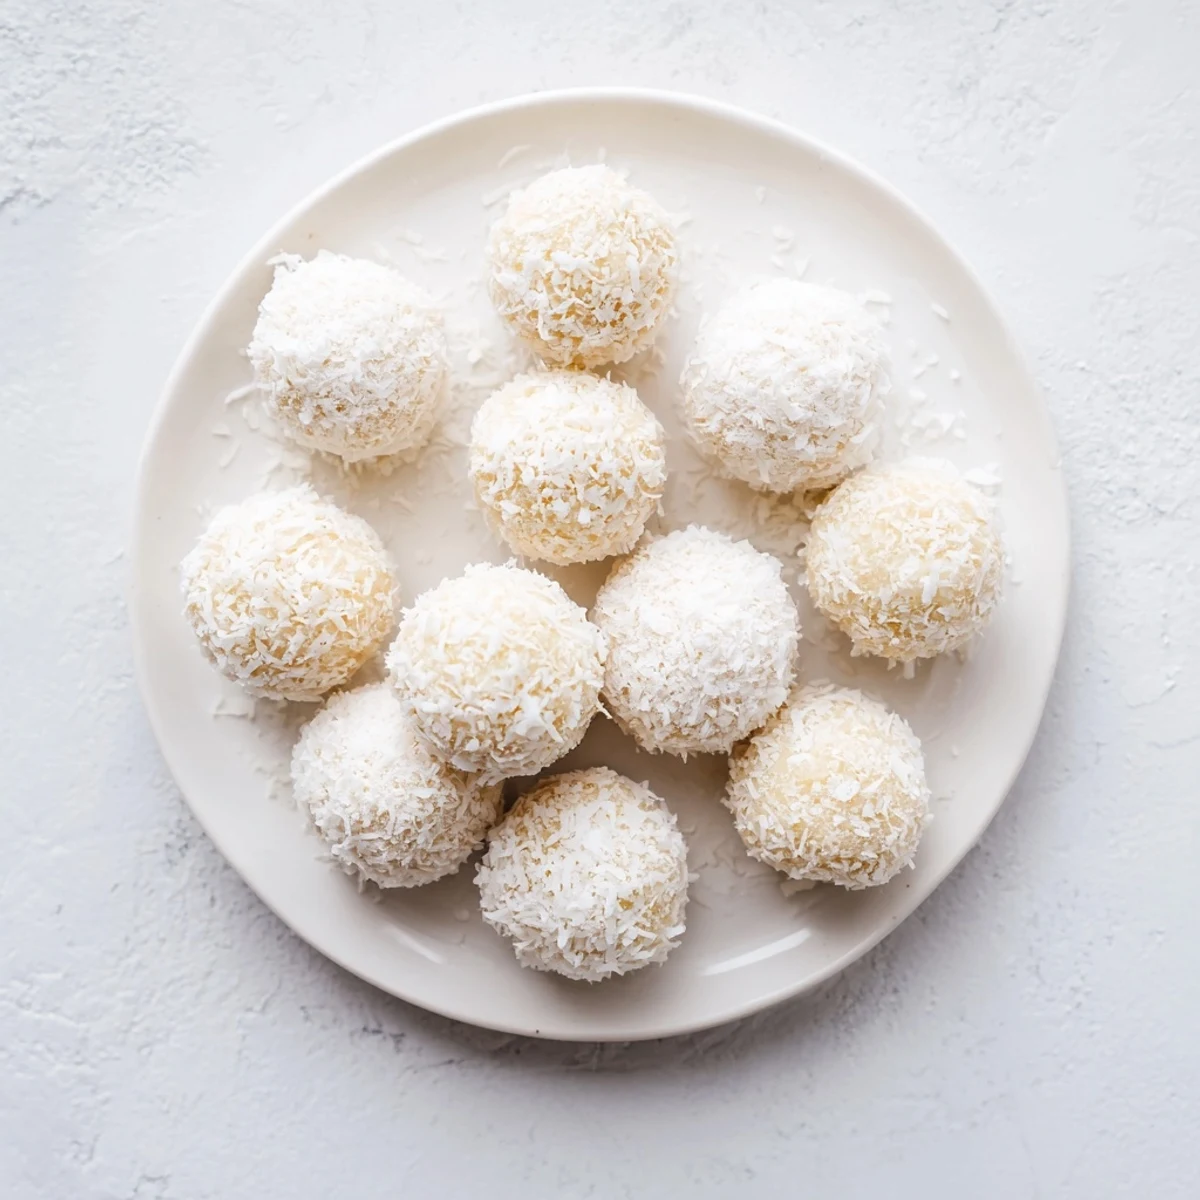
 These became a staple in my house after I brought them to a potluck and watched them disappear within minutes. Someone actually asked for the recipe while still chewing, which I consider the highest compliment possible.
Make Them Festive
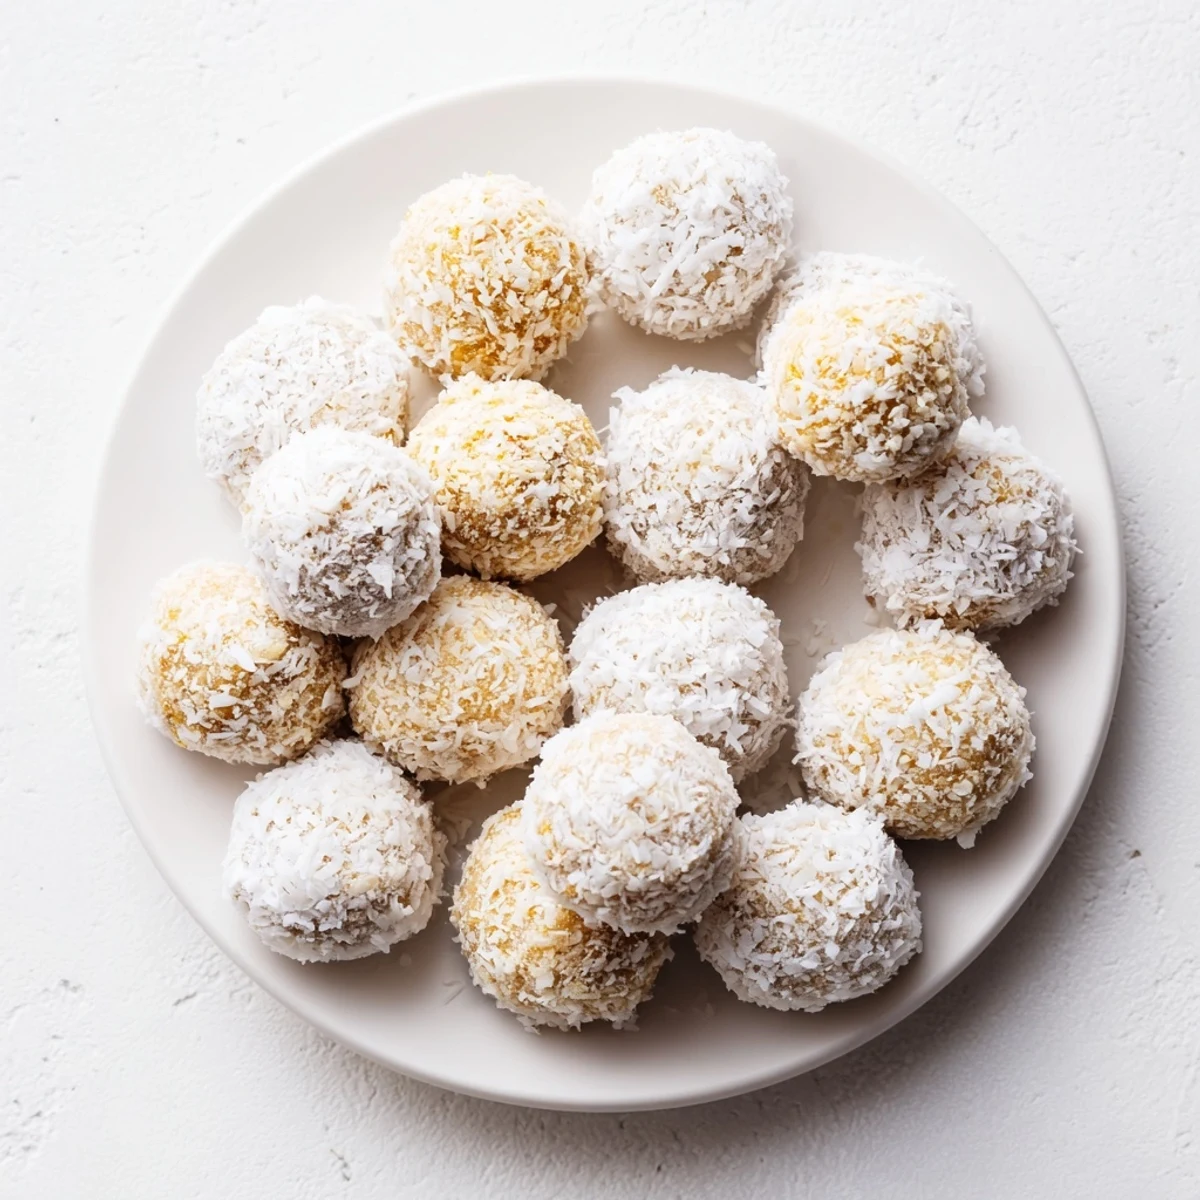
Roll some of the tails in pastel colored sprinkles or edible glitter for Easter, or try crushed graham crackers for a different texture. I have found that mixing a few colored tails among the plain ones creates the prettiest presentation.
Flavor Variations
Swap vanilla extract for almond extract to create a completely different flavor profile that tastes surprisingly sophisticated. A drop of coconut extract amplifies the tropical notes, while a pinch of cinnamon adds warmth and depth.
Storage and Serving
These coconut tails store beautifully in an airtight container in the refrigerator for up to a week, and they actually taste better on day two when the flavors have melded together. Serve them chilled or let them sit at room temperature for 10 minutes before serving.
- Layer the tails between parchment paper to prevent them from sticking together
- Freeze uncoated balls for up to a month and coat them right before serving
- Bring these to room temperature for 15 minutes if they have been stored longer than a few days
 Save to Pinterest
 These little coconut tails have become my go to contribution for spring gatherings because they are adorable, delicious, and never fail to make people smile. Hope they bring some joy to your table too.
Recipe Questions & Answers
- → Can I make these coconut tails ahead of time?
-
Absolutely. These coconut tails actually benefit from chilling, making them perfect for preparing 1-2 days before your Easter gathering. Store them in an airtight container in the refrigerator until ready to serve.
- → What's the best way to get evenly shaped coconut tails?
-
Use a small cookie scoop or tablespoon measure to portion the mixture evenly. Then roll gently between your palms with light pressure—if the coconut mixture feels too sticky, slightly dampen your hands with water first.
- → Can I substitute sweetened condensed milk?
-
Sweetened condensed milk provides the essential binding and sweetness. While you could experiment with alternatives like coconut cream mixed with powdered sugar, the texture and flavor profile will change. For best results, stick with the original ingredient.
- → How do I store leftover coconut tails?
-
Keep them in an airtight container in the refrigerator for up to one week. Place parchment paper between layers if stacking to prevent them from sticking together. They can also be frozen for up to 3 months—thaw in the fridge before serving.
- → Can I make these dairy-free?
-
Yes, you can substitute the sweetened condensed milk with a dairy-free alternative or try using full-fat coconut cream combined with extra powdered sugar to achieve a similar consistency. The coating options remain the same.
- → Why chill the coconut tails before serving?
-
Chilling helps firm up the texture, making them easier to handle and giving them a more satisfying bite. It also allows the flavors to meld together. Thirty minutes minimum is ideal, but longer chilling works well too.
